Preparation:
Step 1: MAKE polenta PORRIDGE
In a small pot, combine cornmeal, water, and salt. Cook over medium heat. Bring to a boil, and then reduce to a simmer. Cook until very thick (3-4 minutes). Remove porridge from the pot onto a tray and cool to room temperature.
Step 2: room temperature autolyse
Add the warm water, active starter, bread flour, to a medium bowl. Mix by hand for 1-2 minutes until all the flour is absorbed. You want to ensure that there are no dried bits of flour in the mixture. Cover with a banneton cover and let rest at room temperature for 30 minutes.
Step 3: MIX
Sprinkle salt evenly over the top of the dough. Squeeze in by hand and knead for 1-2 minutes. Spread the cooled polenta and squeeze in by hand for another 2 minutes. It’s okay if some large chunks of polenta remain. Cover with a banneton cover and let it ferment at room temperature for 3 hours.
Step 4: BULK fermenTATION
Fold the dough after 45 minutes, 1.5 hours, and 2.5 hours.
STep 5: PRE-SHAPE
At the end of 3 hours, pre-shape your dough into a nice round ball. Cover with a cloth and let rest for 15 minutes.
STep 6: Shape & Room Temperature Proof
Dust your banneton lightly with flour. Shape the dough into an oval, and place it seam-side up in your banneton and cover with a banneton cover. Let the dough proof at room temperature for two hours. To test for appropriate proof, press your finger lightly into the dough. It should feel like it has air in it. Your fingerprint should not remain in the dough but slowly fill back in.
STep 7: COLD Proof
Place your covered banneton in the refrigerator for 12-15 (up to 24) hours. The best temperature for your fridge is 39°F/4°C.
STep 8: SCORE & BAKE
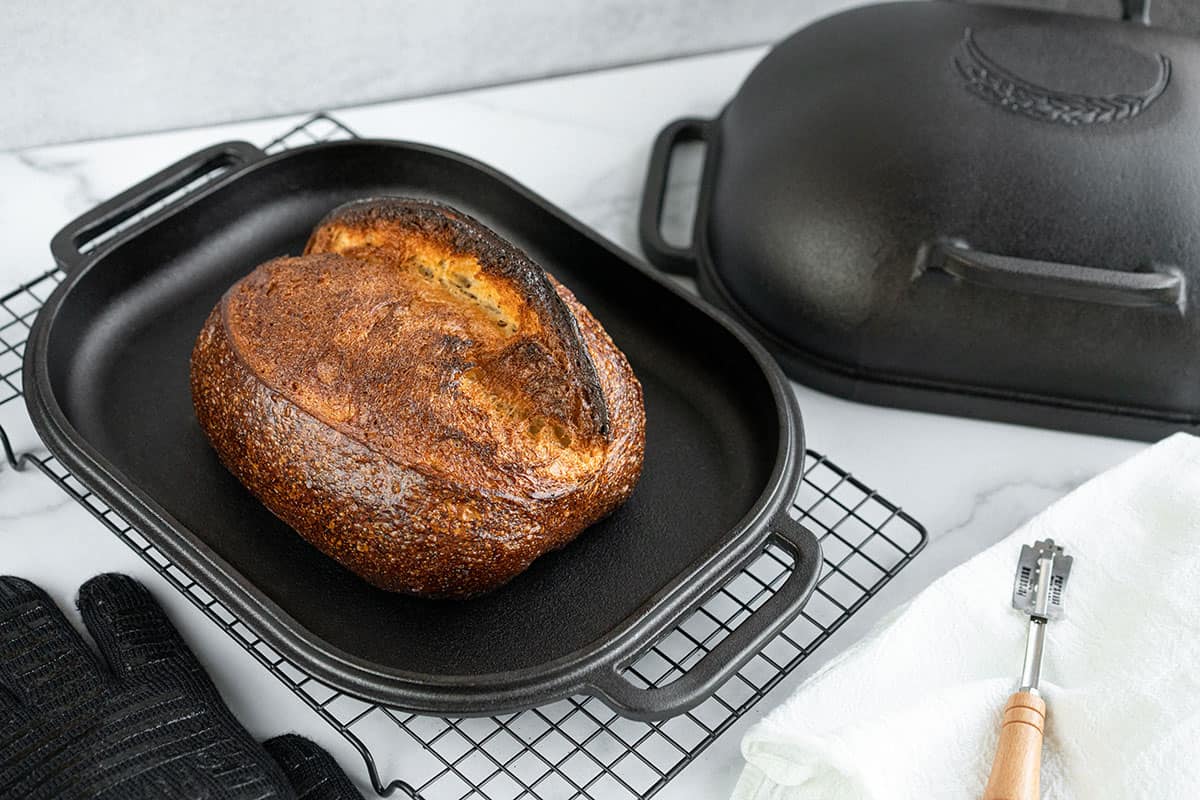
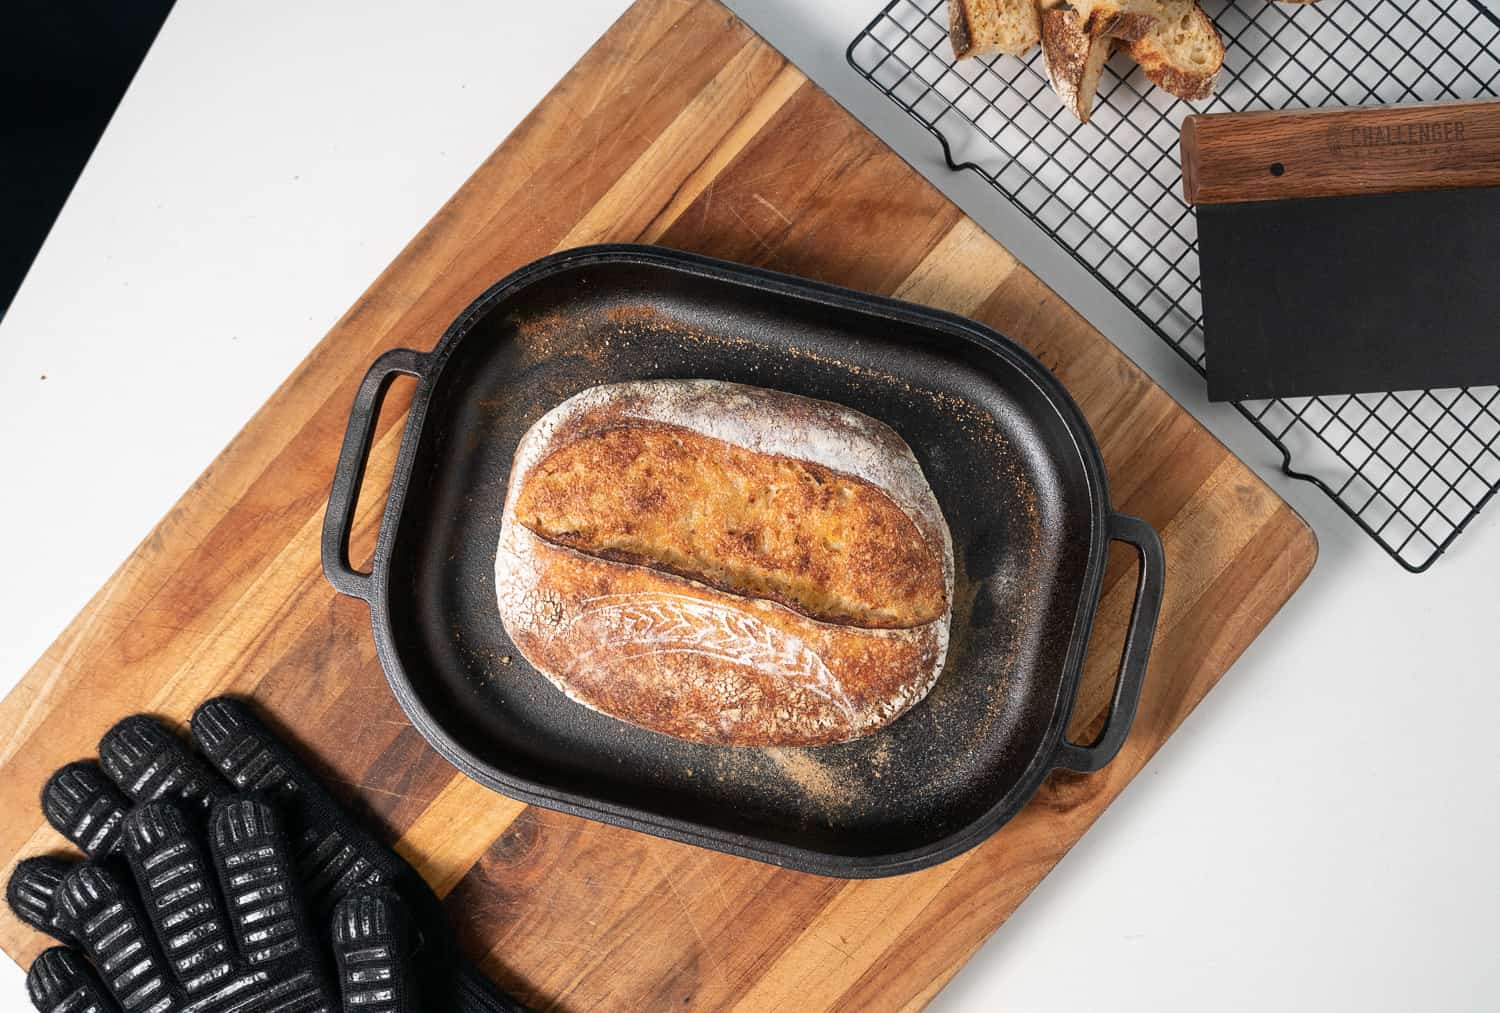
Preheat your oven and Challenger Bread Pan (with lid) at 475°F/245°C for one hour. Take your pan out of the oven and remove its cover. Carefully turn your dough into the base of the pan. Score your loaf. Place the cover back on and return your pan to the oven.
STep 9: remove lid
After 20 minutes, take your Challenger Bread Pan out of the oven. Remove the cover and turn it over. Place the base on top of the inverted lid and return both to the oven.
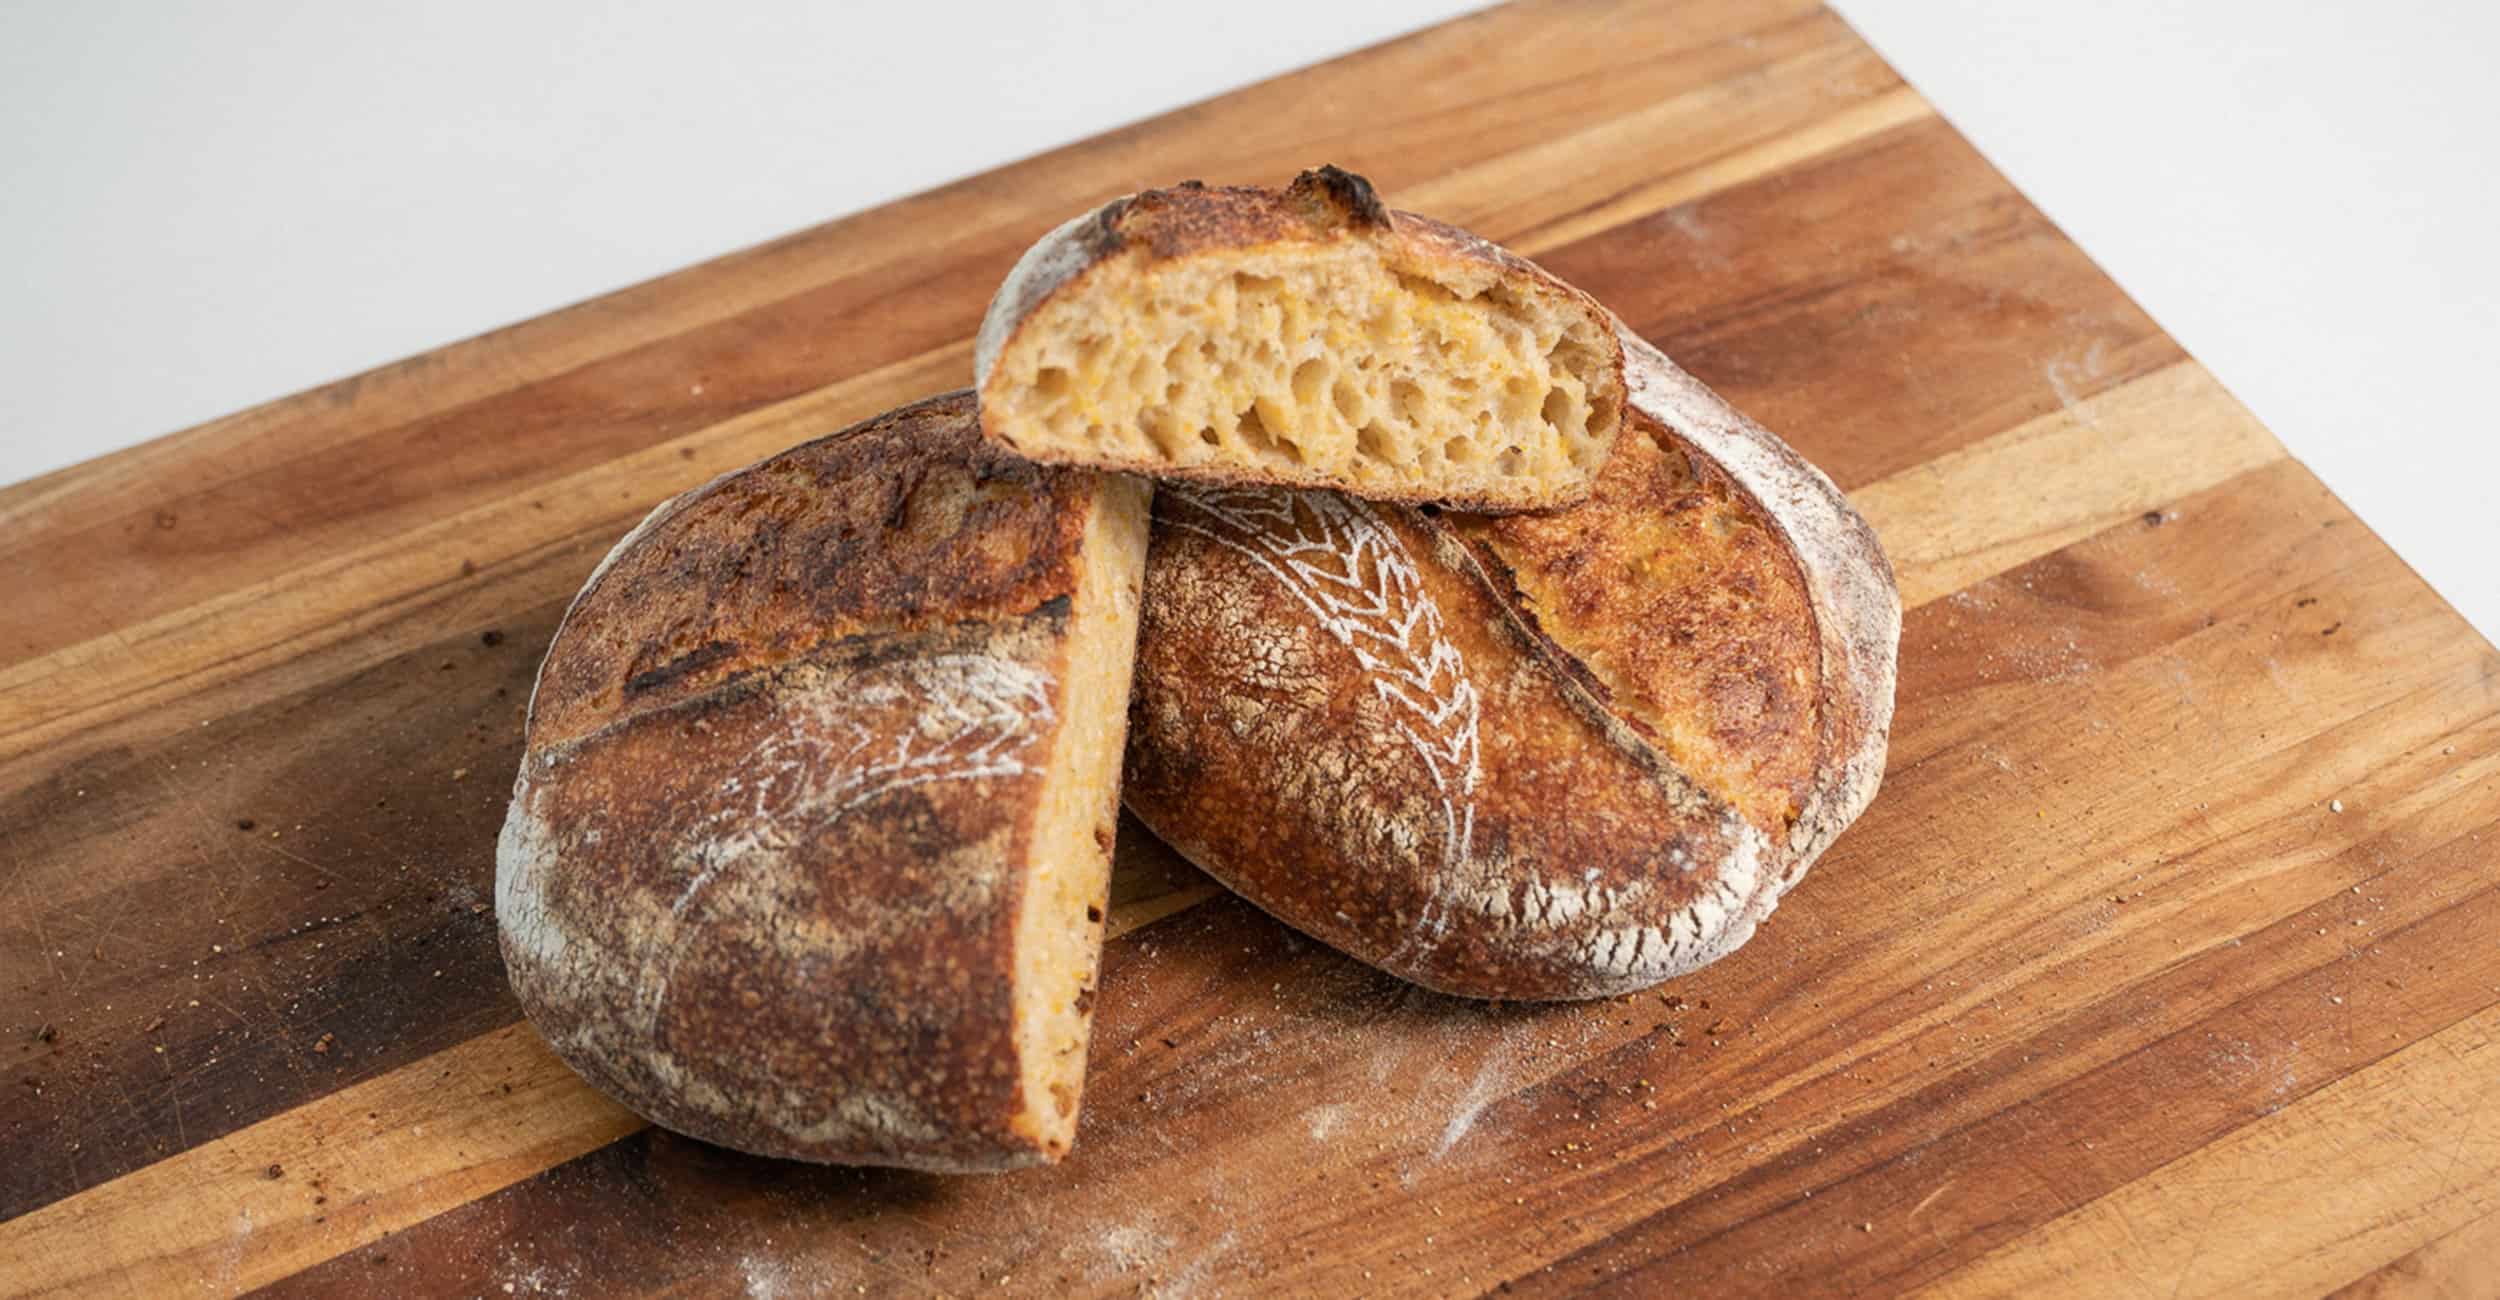
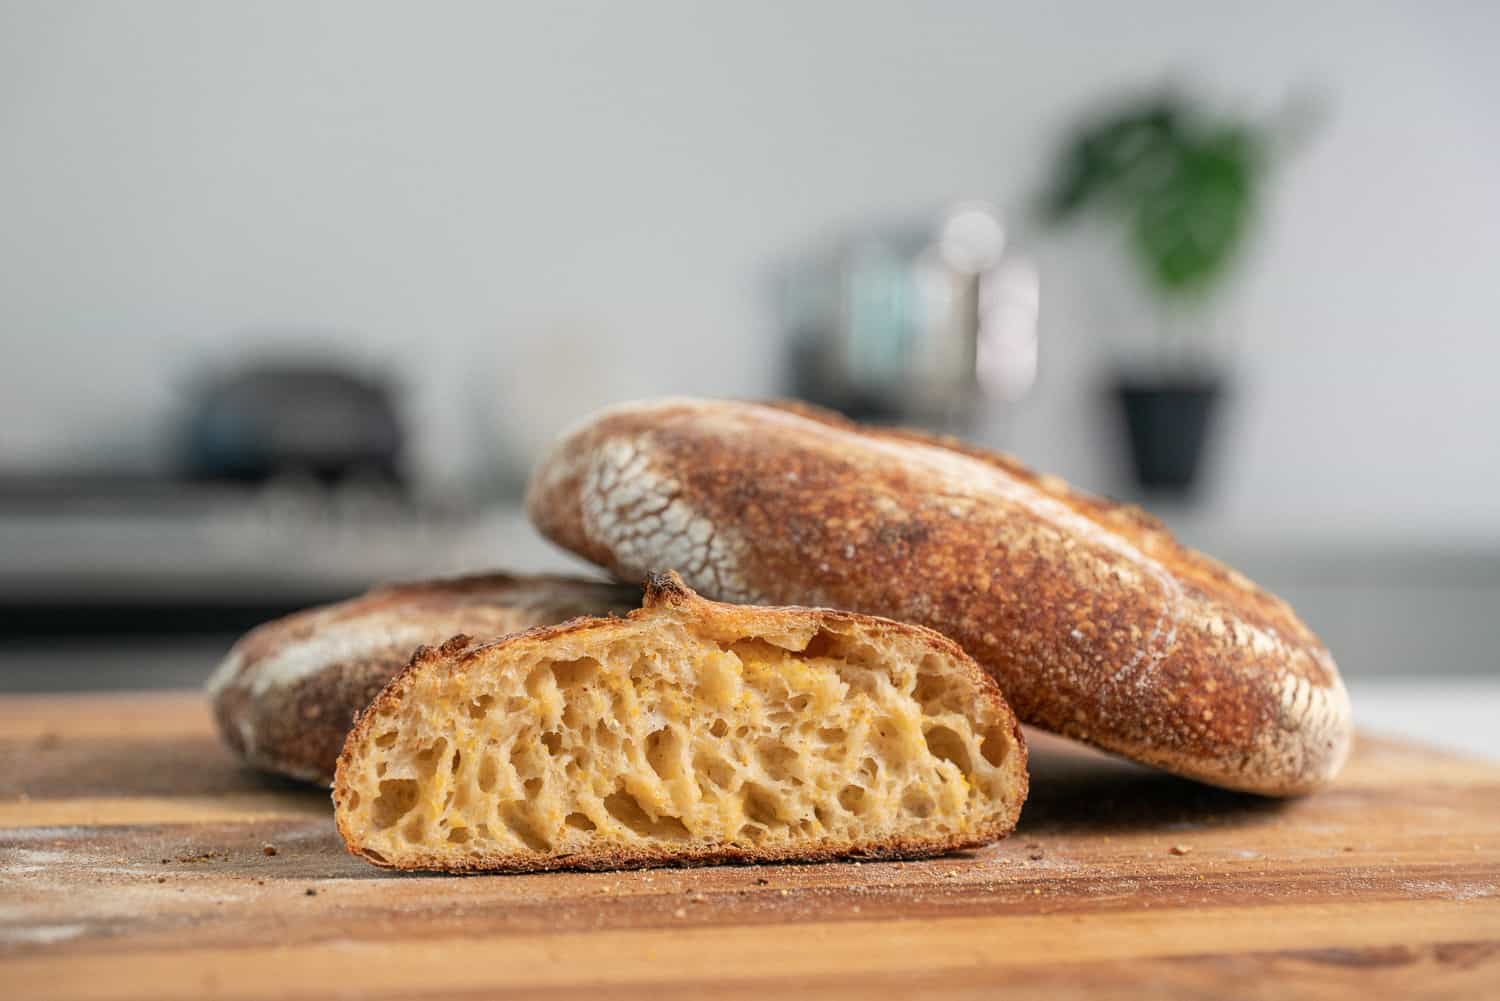
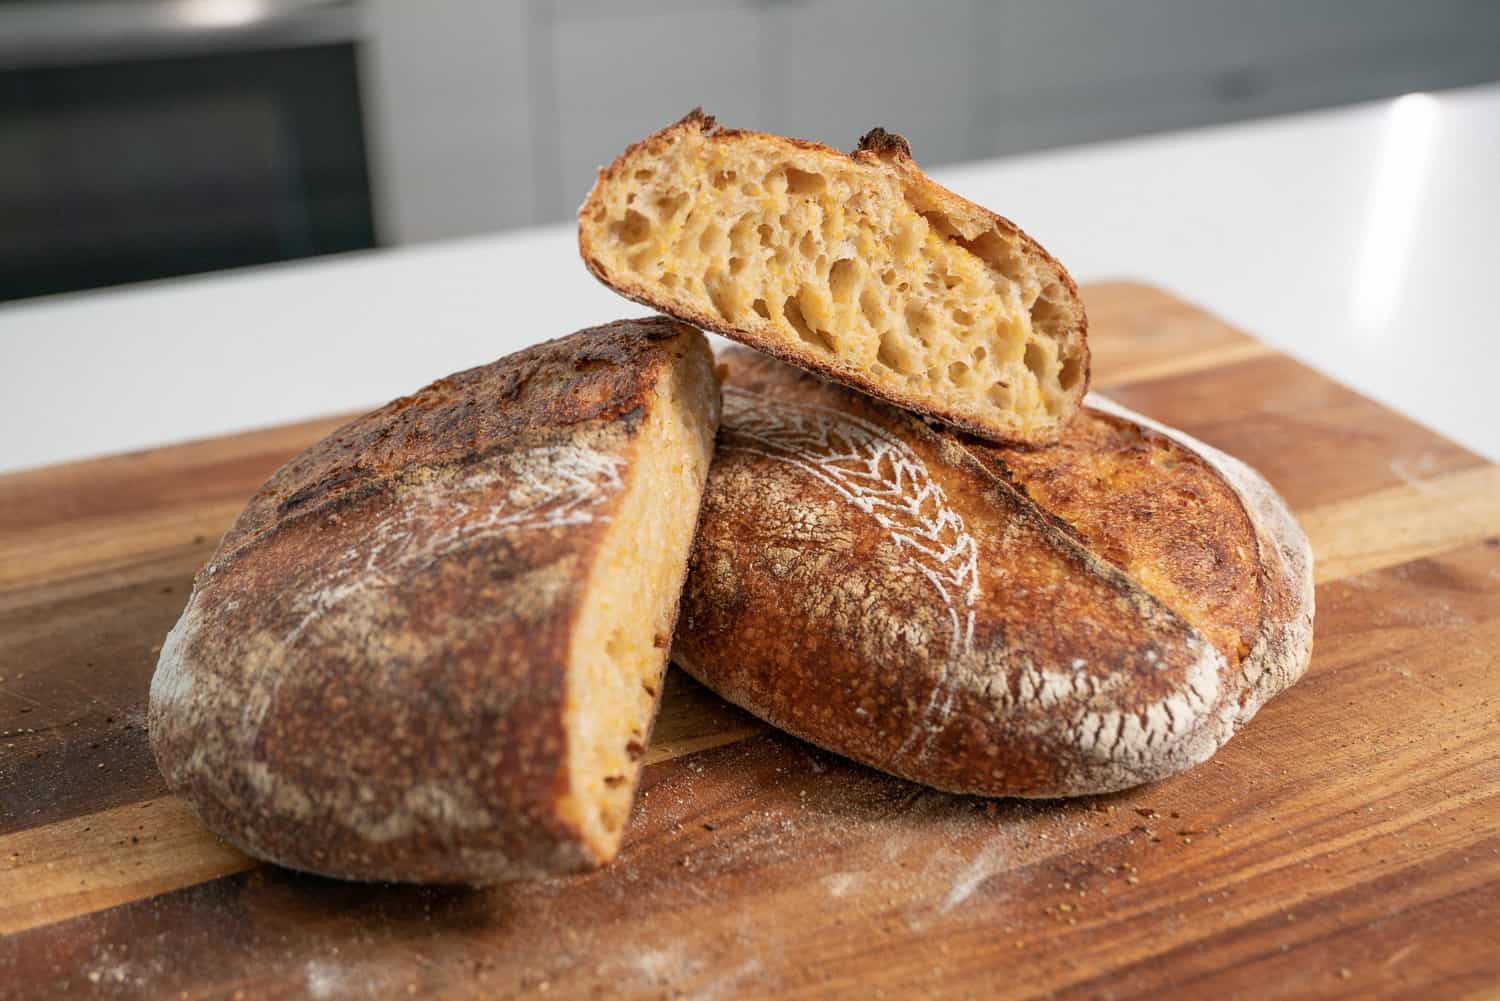
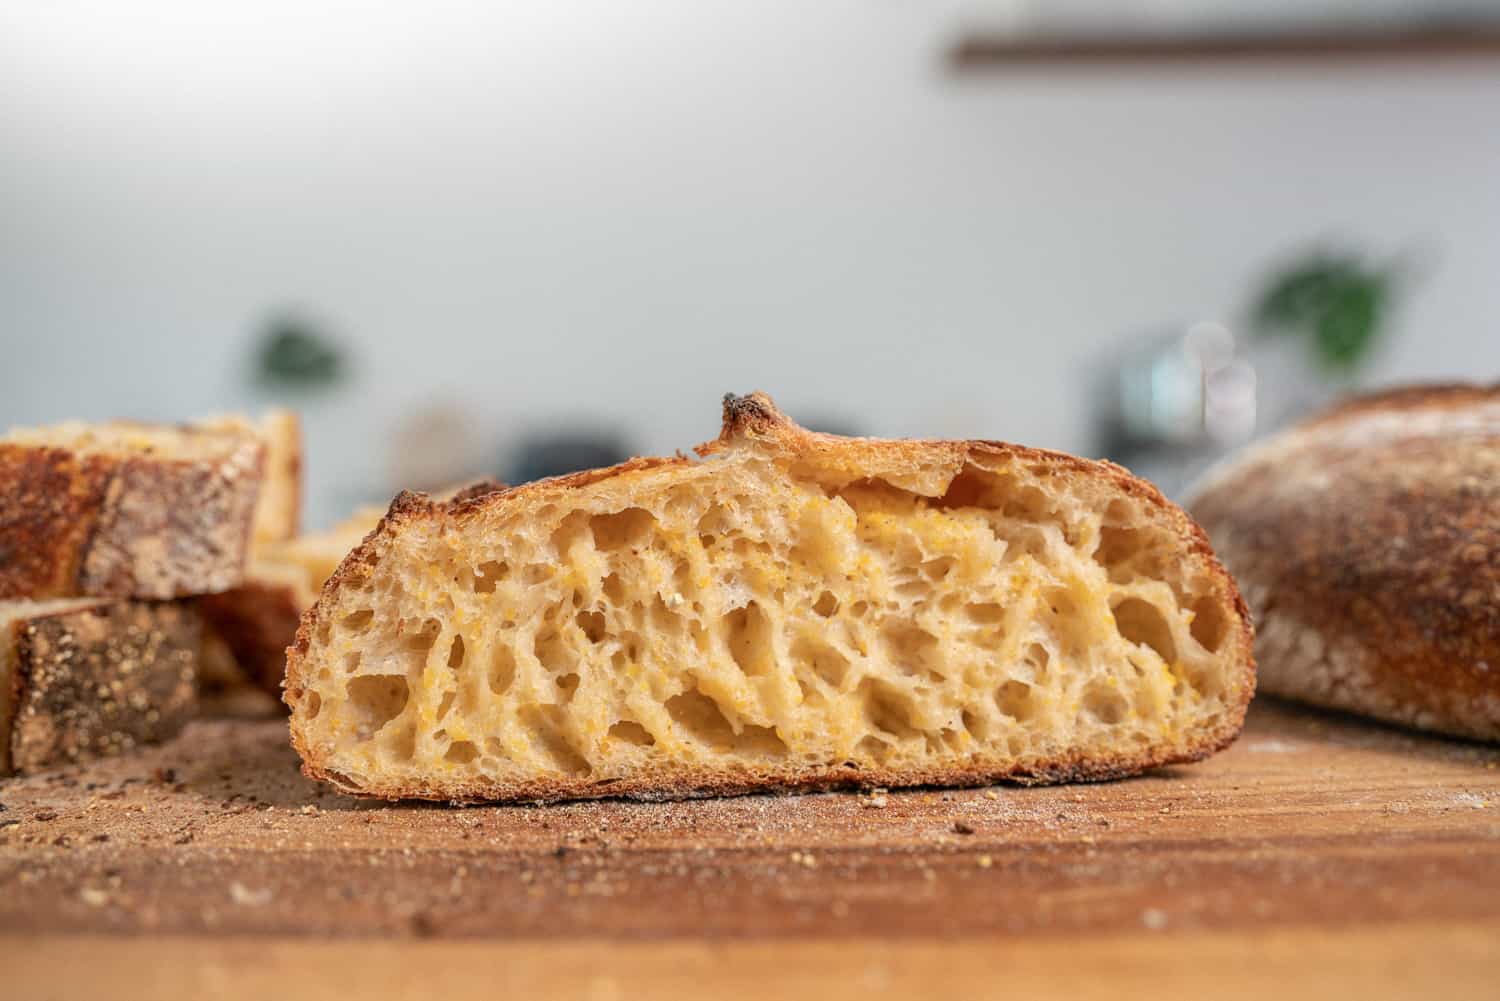
After another 20-30 minutes, remove your loaf from the oven and place on a wire rack. Wait 30 minutes and cut yourself a slice. Slather it with butter. Sprinkle with crunchy salt and enjoy!

