

After much research, Jim Challenger discovered it’s the best material for baking bread, especially artisan-style bread.
Discover the Challenger Bread Pan and fall in love with its perfectly placed handles, its thick cast iron and sealed environment for optimal steam creation, and its versatile design that accommodates numerous bread shapes and sizes. The Challenger Bread Pan was made by bakers, for bakers.
Do I need to do anything before my first bake?
Your Challenger Bread Pan® comes expertly pre-seasoned with grapeseed oil that’s been meticulously applied so that you can start using your pan right away. To keep your Challenger performing beautifully for years to come, it’s a good idea to re-season it from time to time.
What can I expect with the first few bakes?
Your pan retains consistent heat longer than other baking vessels, so you may need to adjust your usual bake times. Please monitor baking times closely during the first few uses and adjust oven heat and timing as necessary. Minor smoking may occur during your first few bakes. This is normal and safe, and will not affect your bread.
Storage
When you’re done baking, you can let your pan cool in the oven after you turn it off. Store your Challenger Bread Pan in a cool, dry place.
Looking for tips on how to best handle your Challenger Bread Pan? Learn the basics fast with this quick how-to video.

Preheat oven, with pan inside:
Preheat fully at 475°F (246°C) for 45 minutes. Always preheat your oven and the pan together. This ensures the cast iron is primed to deliver immediate, even heat.
Load and Score:
Transfer your shaped loaf onto the shallow base. The low sides make loading smooth so you don’t risk collapsing the dough’s structure.
Score your bread. Use your lame or a razor blade to cut ¼–½ inch deep at a 20–30° angle. This guides controlled expansion and creates that signature ear.
Add Steam:
For that signature Challenger oven spring, toss a few ice cubes into the hot base before covering. This creates additional steam to maintain crust flexibility as the loaf rises.
Bake (Part 1)
Once ice cubes are added, immediately place the lid onto the base, close the oven, and adjust oven temperature to 435°F (~224°C). Bake for 15-20 minutes with the lid on.
Bake (Part 2)
About 15 or 20 minutes into your bake is the best time to implement our Challenger Inversion Method; find a quick tutorial video here.
Open your oven, remove the lid, turn it upside down, and place it next to the base, right in your oven. Then, simply lift the base, with the bread still in it, and set it gently on top of the inverted lid. The Challenger Inversion Method creates an air pocket between the base and inverted lid. This space protects the bottom of your loaf, while enabling the top to continue developing that perfect, golden crust. Want the best tips for that signature Challenger oven spring? Watch this quick how-to-video.

Seasoning
What makes taking care of your Challenger Bread Pan different from your trusty everyday cast iron skillet? To start, it’s the seasoning. While your cooking skillet gains natural seasoning from fatty foods like bacon or steak, your bread is not full of fat! Your Challenger Pan comes pre-seasoned to perfection with oil that’s been carefully applied.
Seasoning refers to the process of baking oil onto cast iron, also known as polymerization. This process gives your Challenger Bread Pan its classic black patina, and forms a natural cooking surface that helps prevent your pan from rusting. It may take a little extra care, but a well-seasoned Challenger Pan will last for generations.
Like with all cast iron, your Challenger Bread Pan is susceptible to steam and moisture. If you look closely after each bake, you may see spots where the pan is not quite as black as it used to be, or even may show signs of superficial rust, but fear not! This is a normal part of owning cast iron, and does not affect the quality or functionality of your pan. Maintenance of your Challenger Pan is easy with our Cast Iron Care Kit. And when you love your pan as much as we do—and we know you will—you’ll enjoy giving it a little tender loving care.
Step 1: Remove any debris
Brush away any loose crumbs or dried food debris with the Bamboo Brush.
Step 2: Scrub your pan
Scrub any remaining food residue with the Chainmail Scrubber. Use warm, soapy water, focusing on any discolored or rusty spots. It’s okay to use soap if needed since you’re preparing to re-season the pan. Rinse and hand dry thoroughly.
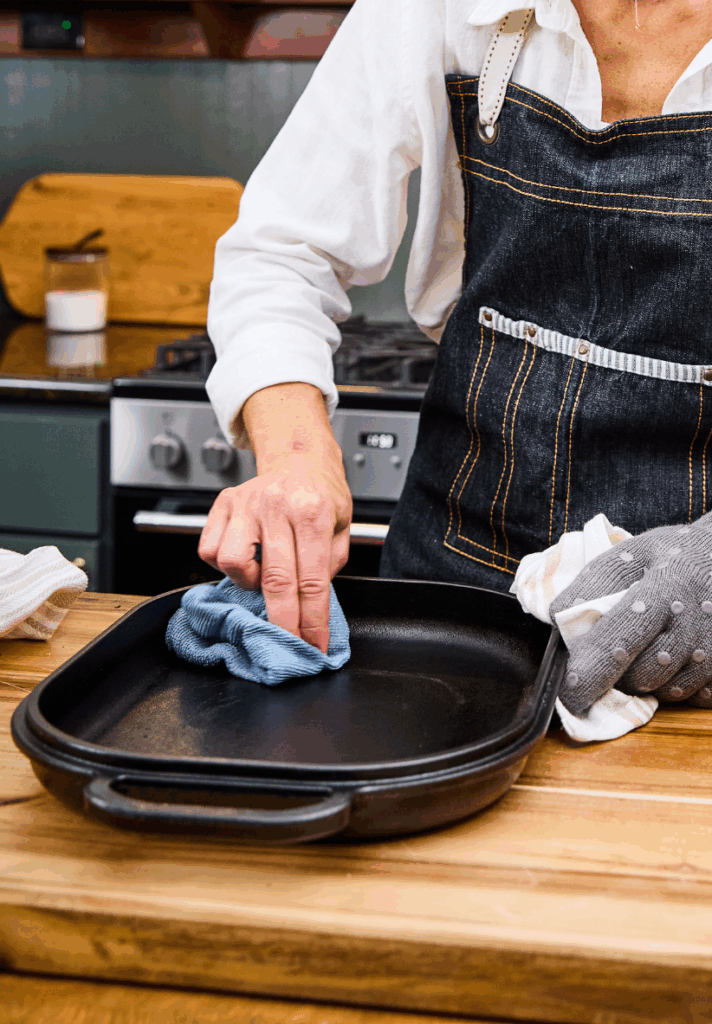
Step 3: Apply oil
Coat the pan lightly (inside and out of both the base and the lid) with the Grapeseed Seasoning Oil. If you use too much oil, your cookware may become sticky, or smoke a lot in the oven. Remove any excess oil with a lint-free cloth.
Step 4: Bake for 30 minutes
Place the pan in the oven with both pieces upside down. Place a large baking sheet or aluminum foil on the bottom rack to catch any possible oil drips. Bake at 450°F for 30 minutes. Allow to cool.
Caring for your Challenger Bread Pan is easier than you think! Check out the quick instructional video here.

The weight and thickness of the Challenger Bread Pan is what allows it to absorb, store, and release heat. Thick cast iron is the key to creating enough consistent radiant heat to give your bread the perfect environment for a successful bake.
That being said, we understand that it can be a bit of a workout to load your pan into the oven. Here are some tips on lightening the load. To safely put your Challenger Pan into the oven with minimal lifting follow these easy steps:
Step 1
When pre-heating your oven with the Challenger Pan inside, place the base and the lid side by side instead of on top of each other.
Step 2
When you are ready to load your bread, remove only the base from the oven. Load your bread, and place the pan base back down onto the oven rack. Place the lid on top of the loaded base, push the oven rack in, and proceed with the bake.
Step 3
Watch this video for careful pan handling.
Rust
Rust forms when the cast iron is exposed to moisture for extended periods of time but it is not harmful in any way. Because baking bread involves steam, it is normal to see rust spots appear on your pan after baking. Similarly, if cast iron is left in the sink to soak, put in the dishwasher, or allowed to air dry, it will rust. It can also happen when you store your cookware in any moist environments, including outside.
To restore and re-season your Challenger Bread Pan using our Cast Iron Care Kit, follow the seasoning instructions as listed above.
Flaking
Occasionally, the seasoning on your pan may break down and leave flaky black specks, especially if the cookware is over-seasoned because too much oil was used in the seasoning process, but it is not harmful in any way.
To remove any loose flakes, lightly scour the cookware using the Chainmail Scrubber, then follow the directions for seasoning your pan. As the pan’s seasoning layer builds up over time, the flaking will eventually reduce.
Stuck-On Food
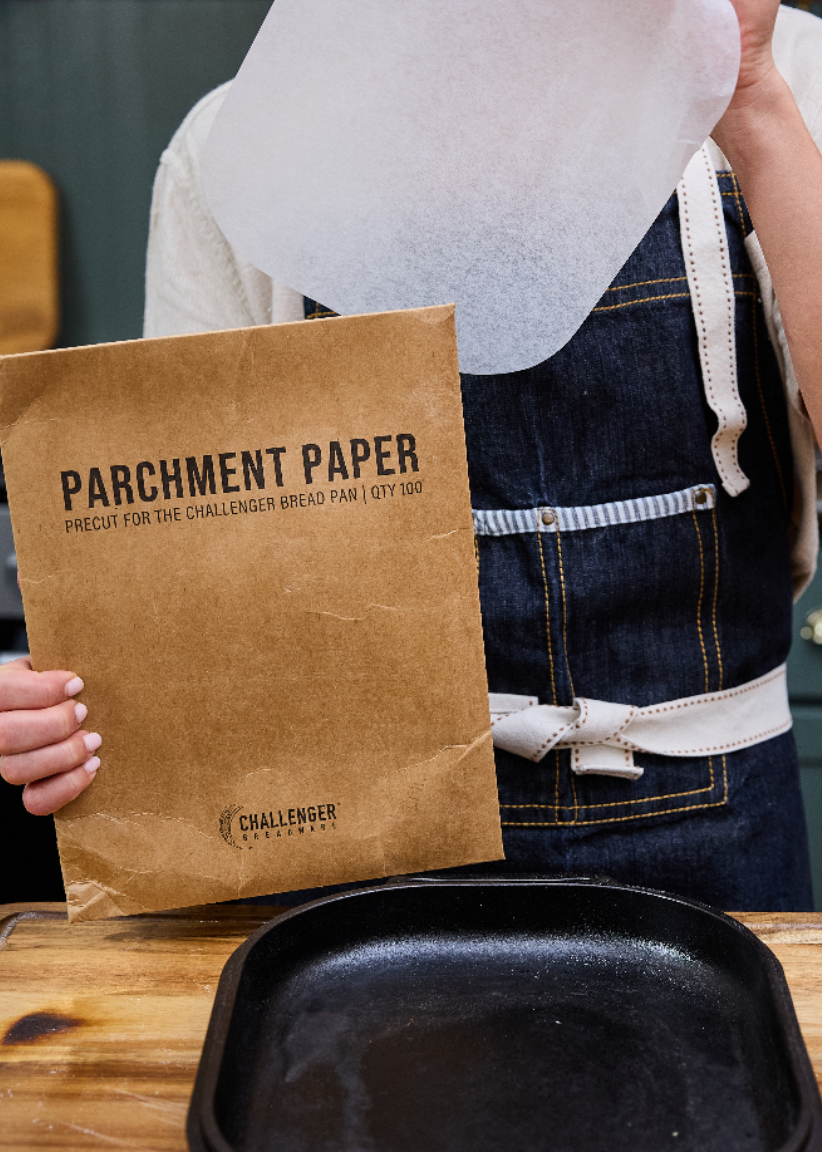
Occasionally, your bread may stick to the base if your dough is very wet or baked at the incorrect temperature. One way to prevent this is to bake with our Pre-Cut Parchment Paper.
But if you do have stuck-on dough or food, use the Chainmail Scrubber from our Cast Iron Care Kit If the problem persists, simmer a little water in the pan base for 3-5 minutes, then use the Scrubber again. Be sure to dry thoroughly and add a layer of seasoning oil after removing all of the baked-on food. If this simmering process does not remove the burned-on dough, follow our re-seasoning tips in the Rust section.
Be the first to know! We’ll send out emails with new products and promotions – as well as recipes and baking tips.