Preparation:
Step 1 : Hydrate / Autolyse
Measure all your ingredients into separate bowls. Add starter and water to the bowl of your mixer. Mix on a medium speed until incorporated. Add flour. Mix on low speed until you don’t see any more dried bits of flour. Sprinkle the salt on top of your dough. Cover with a towel for 30 minutes. No Mixer? See instructions at the bottom of this recipe.
Step 2: mix
Mix on low speed for 5 minutes. Mix on medium-high speed for 3 minutes. Let the dough rest for 5 minutes and pull a gluten window. Remove the dough and place in an 8”x8” Pyrex dish. Cover with a plastic cover.
Step 3: Bulk Fermentation
After 30 minutes, coil fold your dough: First, wet your hands and shake off the excess. Pull the dough up with two fingers, stretch and fold under. Rotate 180° and coil fold again. Rotate 90° and coil fold. Rotate 180° and coil fold. Cover with a plastic cover. Let it ferment for the rest of the time as suggested in the Temperature side notes.
Step 4: Pre-Shape
Loosen the edge of the dough with a wet spatula or plastic dough scraper. Turn your dish over and let the dough slowly come out. If it doesn’t come out easily, just loosen it a bit more. Pre-shape your dough into a nice round ball.
Step 5: Bench Rest
Cover your ball of dough with a damp cloth and wait 15 minutes.
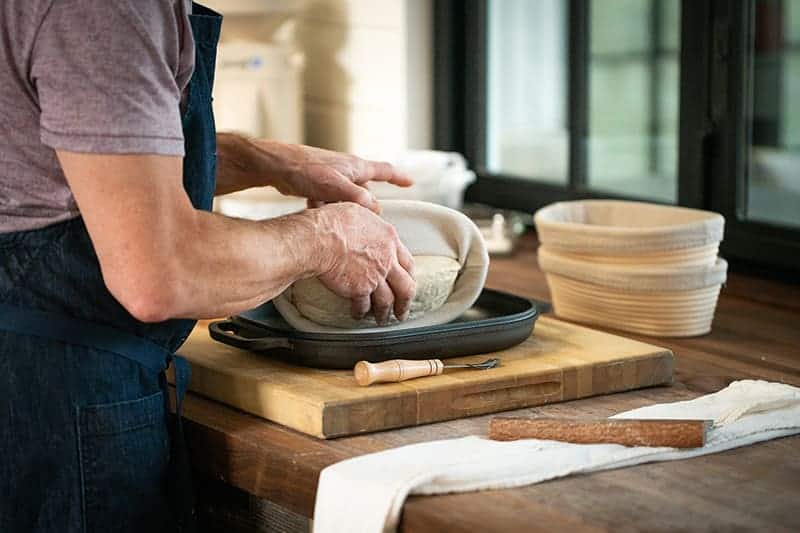
Step 6: Shape & Room Temperature Proof
Shape your dough into your desired shape and place it gently in a linen-lined banneton. Cover with a plastic cover and let it rest for 15 minutes at room temperature.
Step 7: Proof
Place your covered banneton in your refrigerator for 12-15 hours. The best temperature for your refrigerator is 39°F/4°C.
Step 8: score & bake
Preheat your oven and Challenger Bread Pan at 500°F/260°C for one hour. Take your banneton out of the fridge. Put an ice cube in a small bowl. Take your pan out of the oven and remove its cover. Carefully turn your dough into the base of the pan. Score your loaf. Slide the ice cube into a corner of the pan. Place the cover back on and return your pan to the oven. Turn your oven down to 435°F/224°C.
After 15 minutes, take your Challenger Pan out of the oven. Remove the cover and turn it over. Place the base on top of the inverted cover and return both to the oven.
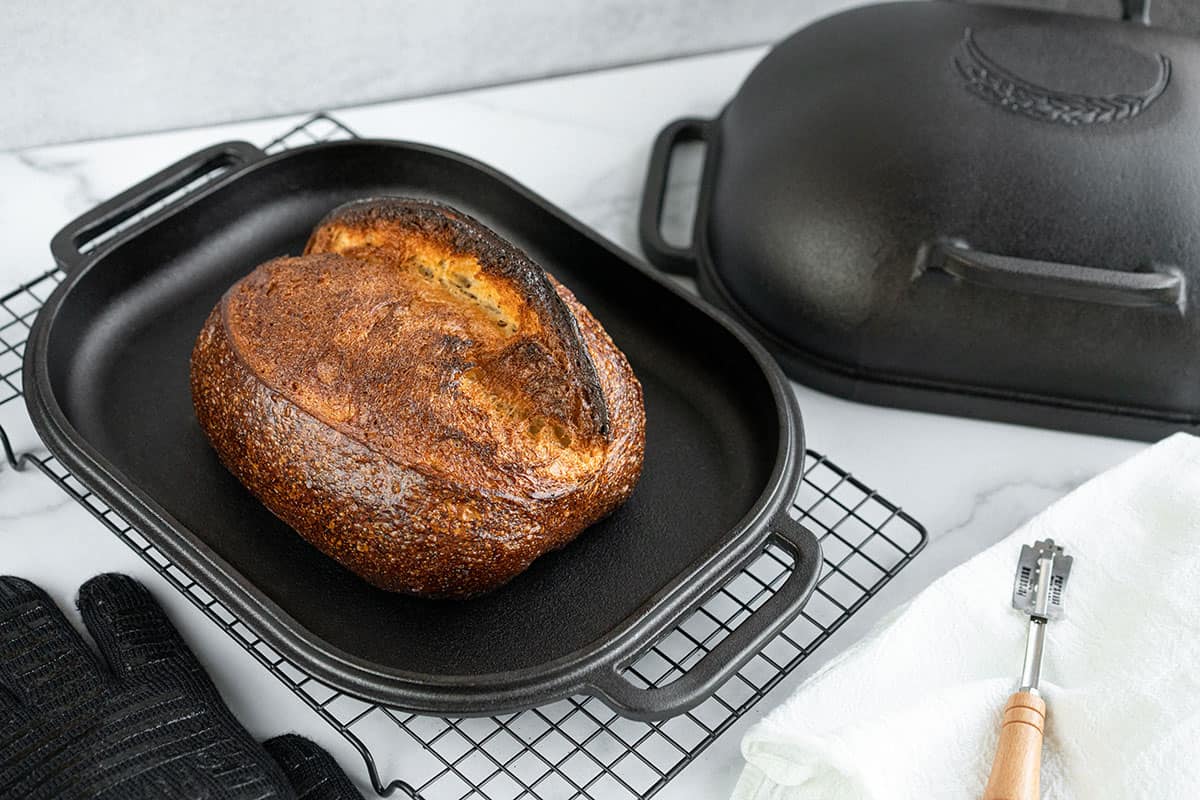
After another 30 minutes, remove your loaf from the oven and place on a wire rack. Wait 30 minutes and cut yourself a slice. Slather it with butter. Sprinkle with crunchy salt and enjoy!
---
No Stand Mixer? Please replace steps 1 and 2 above with the instructions below:
Step 1: Hydrate / Autolyse (By Hand)
Measure all ingredients into separate bowls.
Add the starter and water to a large mixing bowl. Using your hand or a dough whisk, mix until the starter is mostly dissolved and the water looks cloudy.
Add the flour and mix by hand until no dry flour remains. Use a squeezing and folding motion, scraping the sides of the bowl as needed. The dough will look shaggy and rough.
Sprinkle the salt evenly over the top of the dough. Cover with a towel and let rest for 30 minutes.
Step 2: Mix (By Hand)
After the autolyse, mix the dough by hand using a pinch, fold, and stretch method for about 5 minutes. Pinch the dough between your fingers, fold it over itself, and rotate the bowl as you go until the dough begins to feel smoother and more cohesive. The dough should feel smoother and slightly elastic at this point. Proceed with Steps 3–8 of the original recipe.


