Preparation:
Step 1: Mix
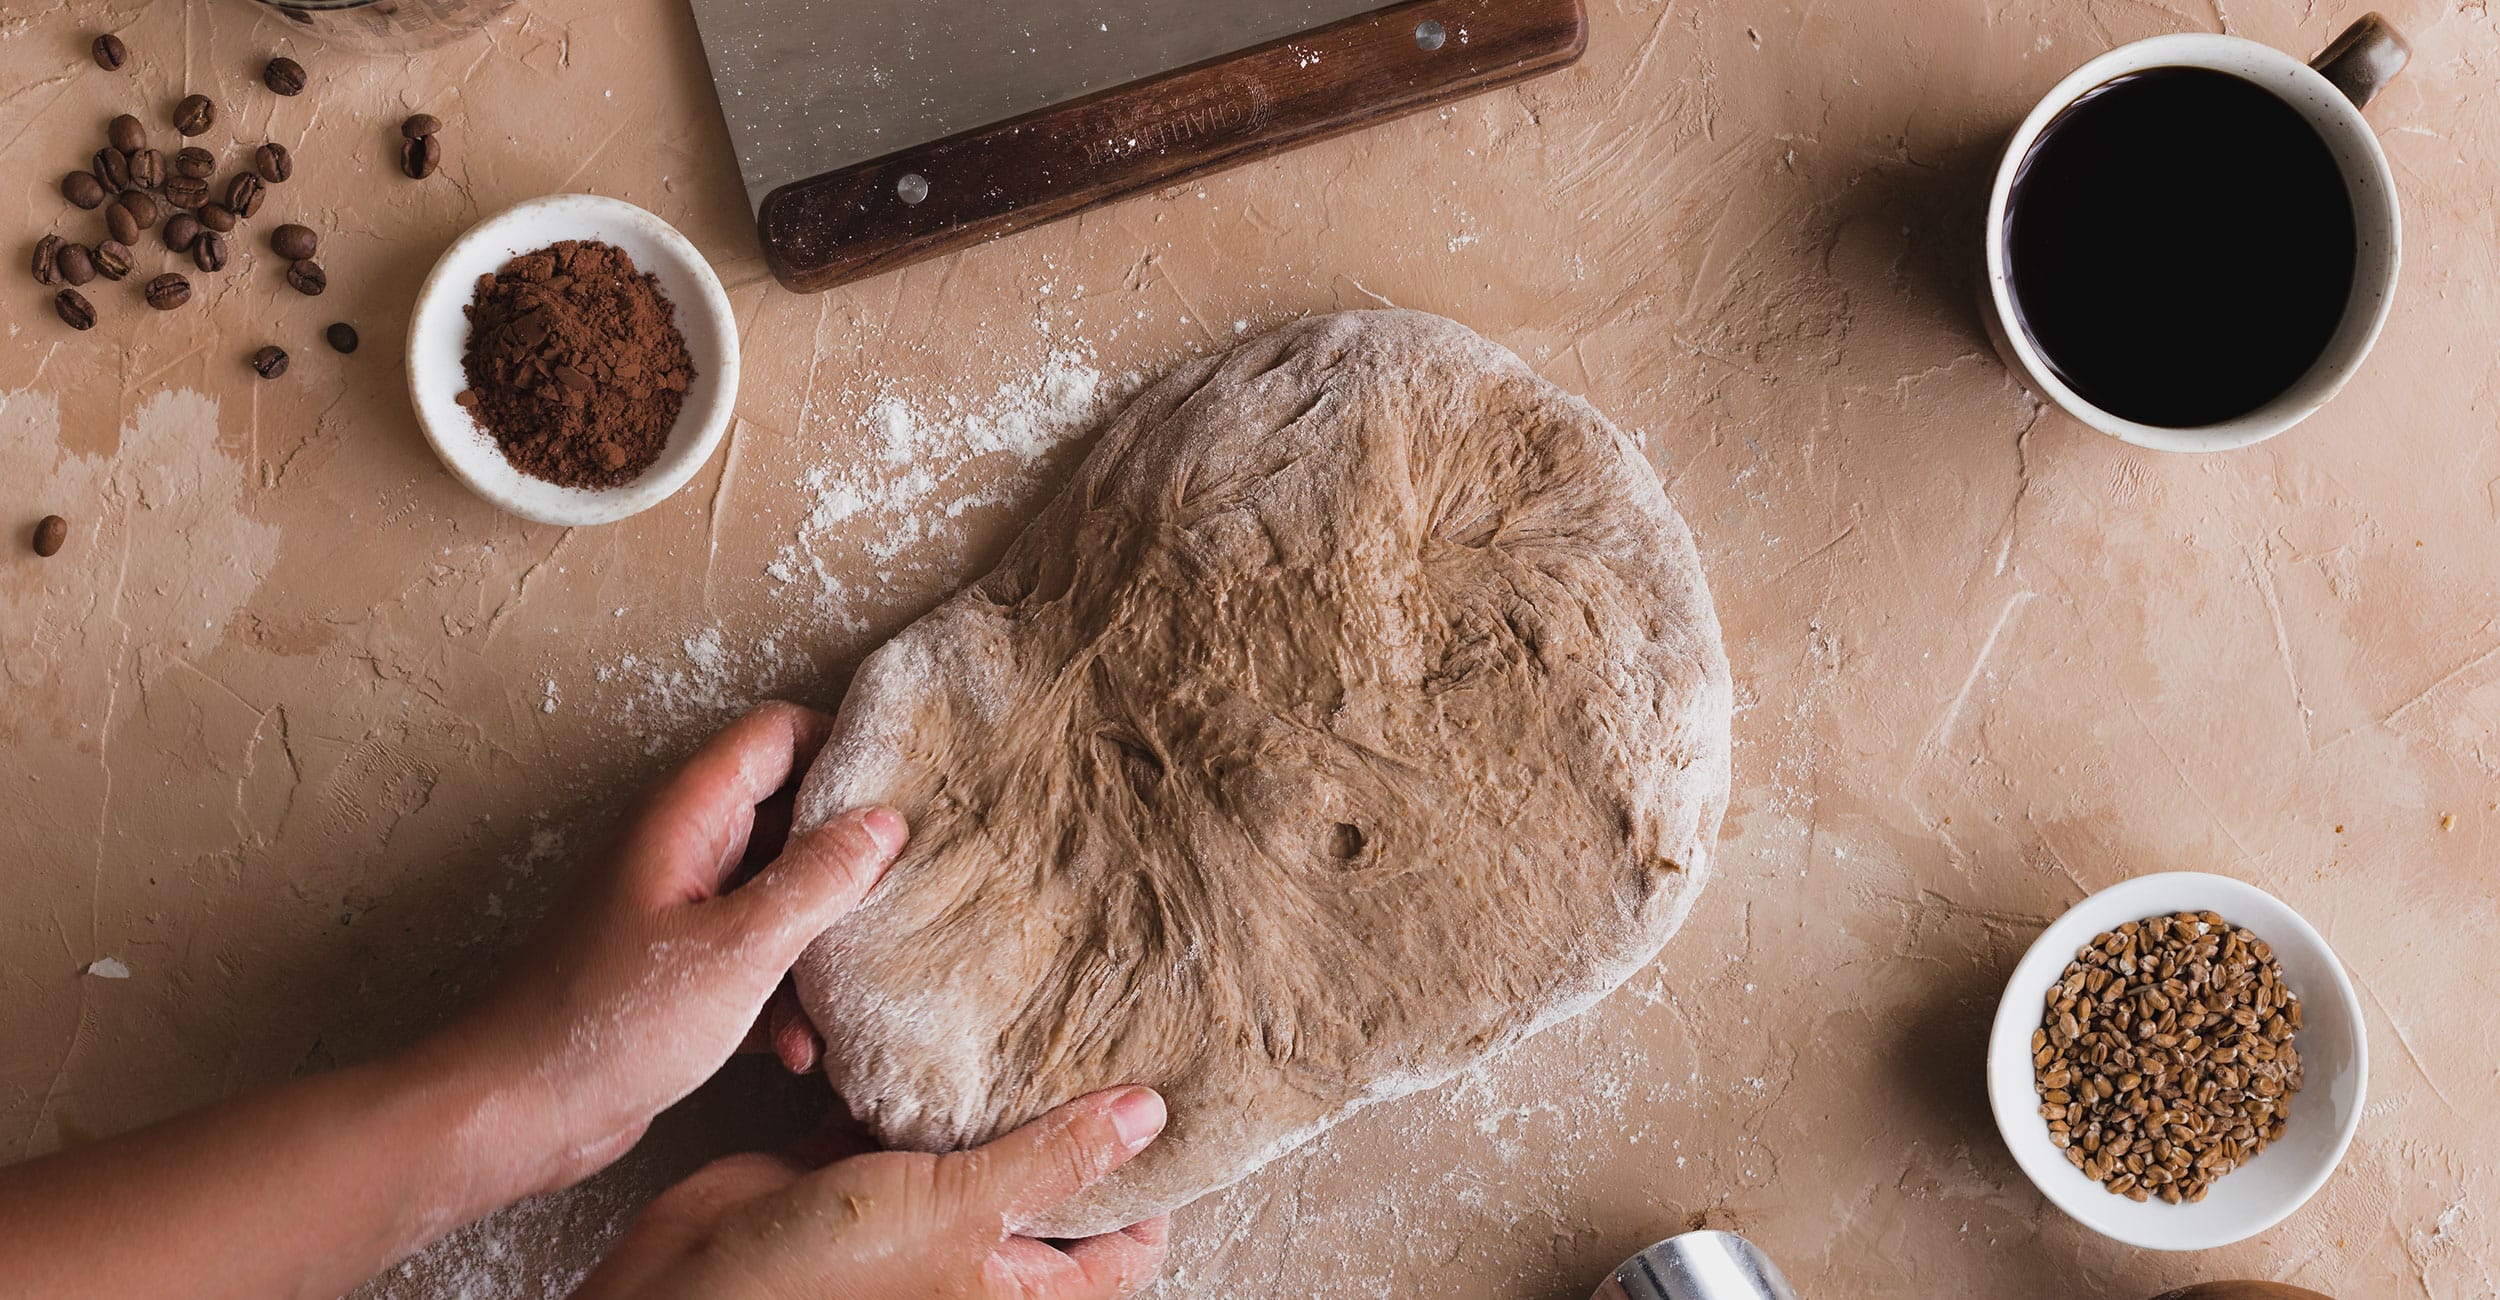
In a large mixing bowl, combine 270g brewed, room temperature coffee and 135g starter. Stir with a spatula until the starter has mostly dissolved. Add the 215g Bread flour, 175g whole wheat flour, 6g cocoa powder, 92g maple syrup, and 7g salt to the coffee mixture. Mix using a spatula or your hands until all of the flour is hydrated, and a shaggy dough has formed. Knead the 28g of butter into your dough 1 tablespoon at a time. Place a dough cover on your bowl and set your dough aside in a warm place for 30 minutes.
Step 2: strengthen dough
Turn your dough out onto a lightly floured surface. Using the slap and fold method will allow you to build strength in this sticky dough. With wet hands, grab one side of your dough, slap it on your work surface and fold it over itself. Turn your dough 90 degrees and repeat 3 or 4 more times, until your dough looks and feels smooth. Put your dough into a clean lightly-oiled bowl and cover.
Step 3: Bulk fermentation and cold retard
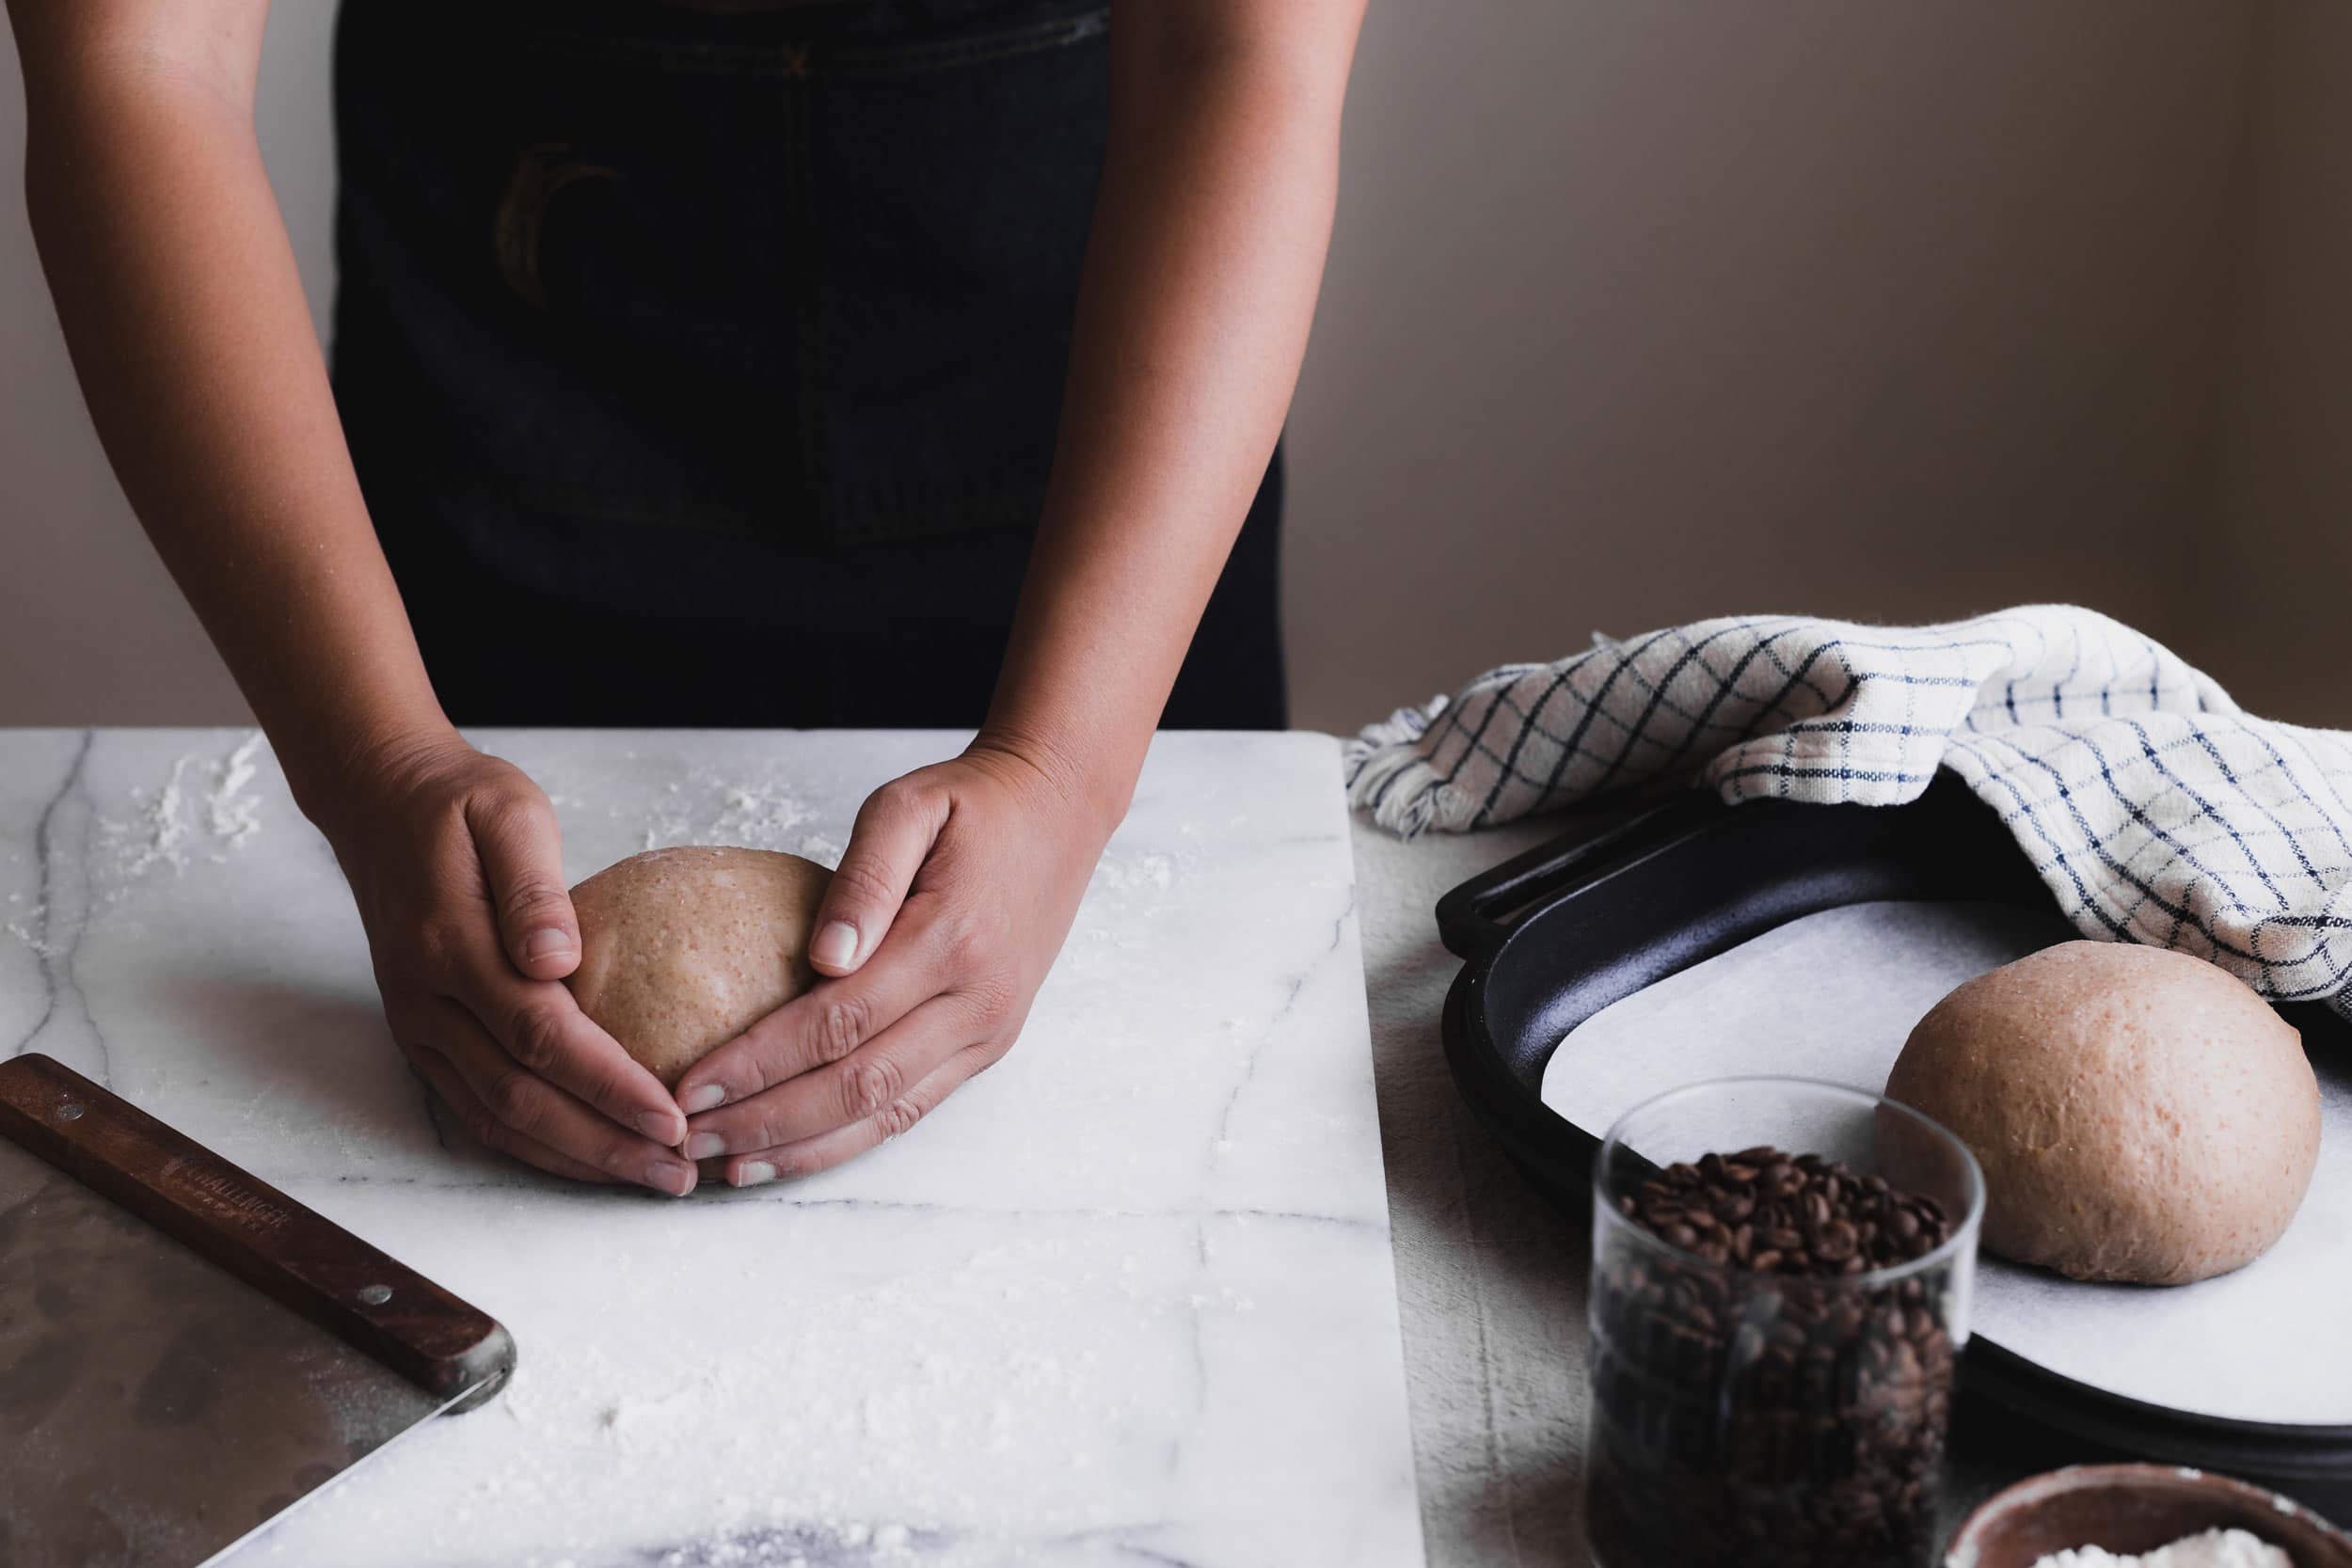
Let your dough bulk ferment at room temperature for 4 to 6 hours, or until it feels like it is full of air and has increased in volume by at least 50%. In your bowl, gently punch the air out of your dough, round it into a tight ball, and cover your bowl. Place your dough into your refrigerator to proof overnight.
Step 4: Shaping and final proof
The next day, turn your dough out onto a clean, lightly floured surface. Divide the dough into two relatively equal portions. Working with one portion at a time (cover the other portion with plastic wrap), shape your dough into a boule. Prepare a 9x13” baking sheet or tray with pre-cut parchment paper. Place the shaped boule seam-side down onto the baking sheet with the parchment paper. Repeat with the second portion of dough. Lightly brush the dough with olive oil and cover with plastic wrap. Allow your dough to rise, undisturbed for 3 to 4 hours, or until they appear puffy and have doubled in size.
Step 5: Score and Bake
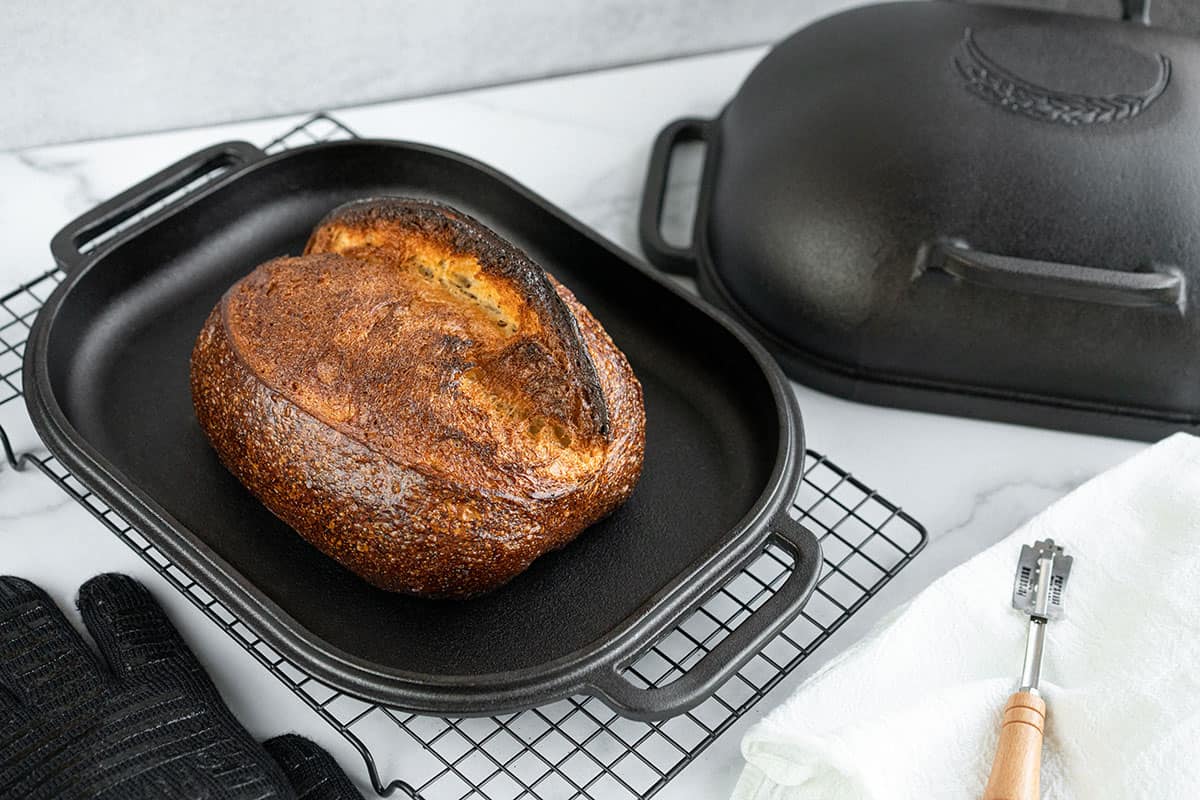
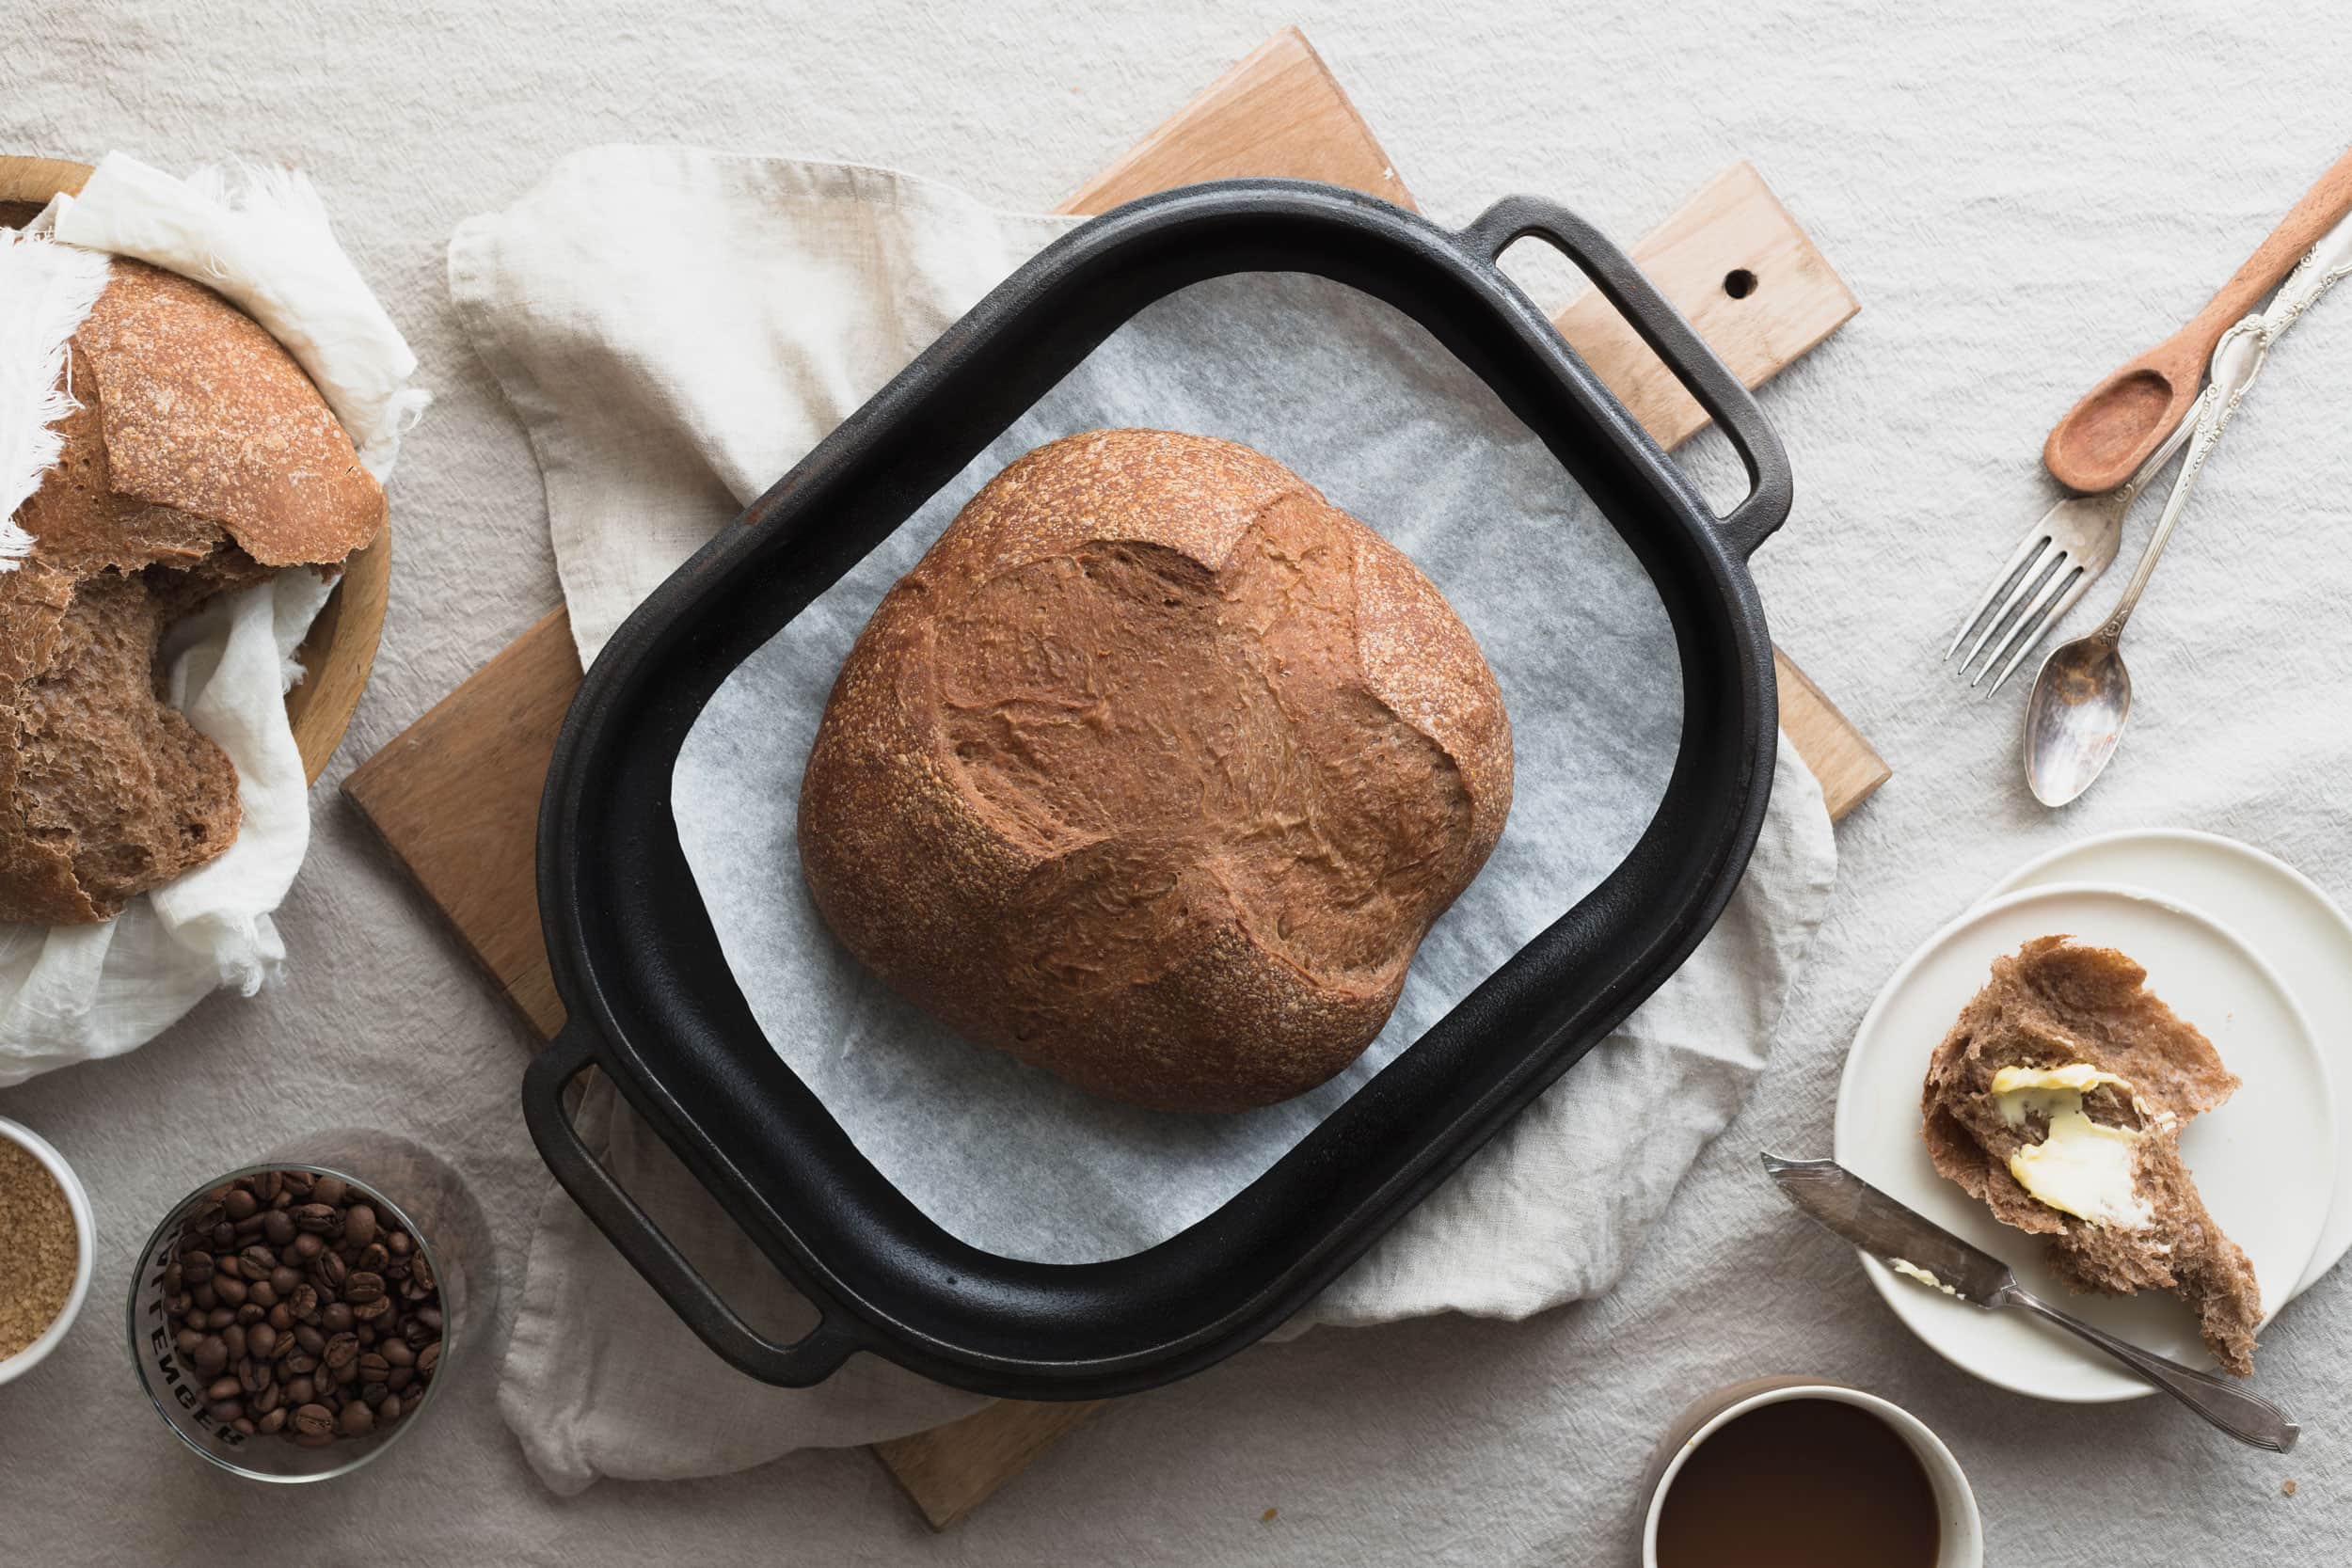
Once your dough is close to being ready, preheat your oven to 375F with the base of the Challenger Bread Pan inside. Using your lame, score an “X” on top of your dough, and load the parchment paper with the shaped boules into the preheated base of your Challenger Pan. Bake the dough for 30 to 35 minutes.
Transfer your baked loaf to a wire rack and allow to cool for 15 minutes before slicing. Enjoy warm with lots of butter. Store leftovers in a paper bag, or air tight container if you live in a drier climate.
