You’ve mixed your dough, and begun bulk fermentation. Now it’s time to start building additional strength in your dough, and to start thinking about crumb development. There are several methods of doing this, but in particular, coil folds are a great way to build a strong gluten network, and obtain an even, well-formed crumb structure.
A coil fold is a type of strengthening action used to help develop gluten in the dough during the bulk fermentation stage. It’s similar to a stretch and fold in that it should be performed on the dough without removing it from its proofing container. It’s a simple method of folding dough that relies on surface tension and gravity.
Why use a coil fold?
Coil folding is an excellent method to choose if you are working with dough that has a higher hydration, or needs a little extra help with developing gluten strength. Due to the symmetrical method of performing the folds, using coil folds also helps to ensure an even fermentation rate, and uniform crumb structure.
Because it utilizes surface tension as its main method of creating dough strength, it is easier to visually gauge the development of your dough when using a coil fold than it is when using an alternative method, such as a stretch and fold. It’s also a relatively gentle way to handle your dough while also helping it develop the strength it needs for the oven, and the risk for inadvertently degassing or over-handling is low when using a coil fold.
How to perform a coil fold.
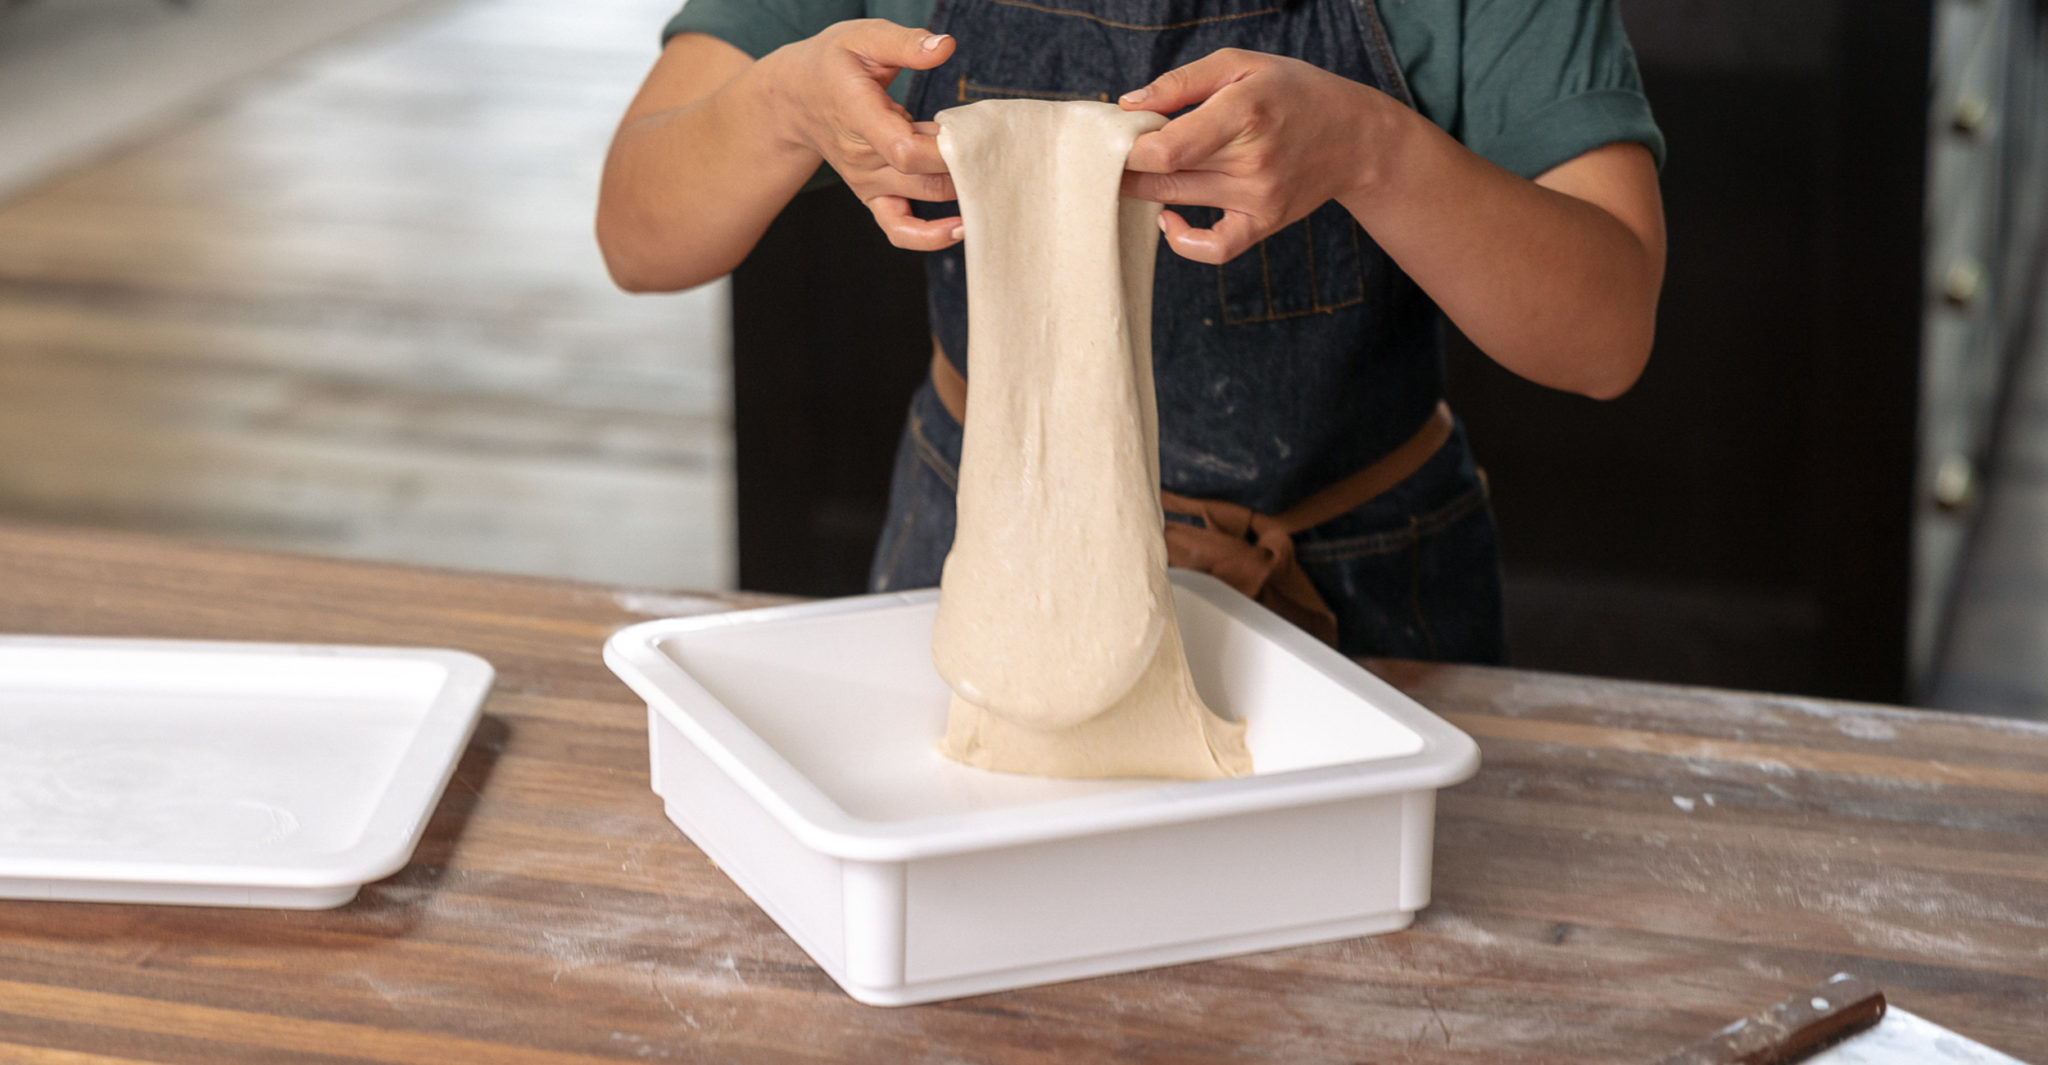
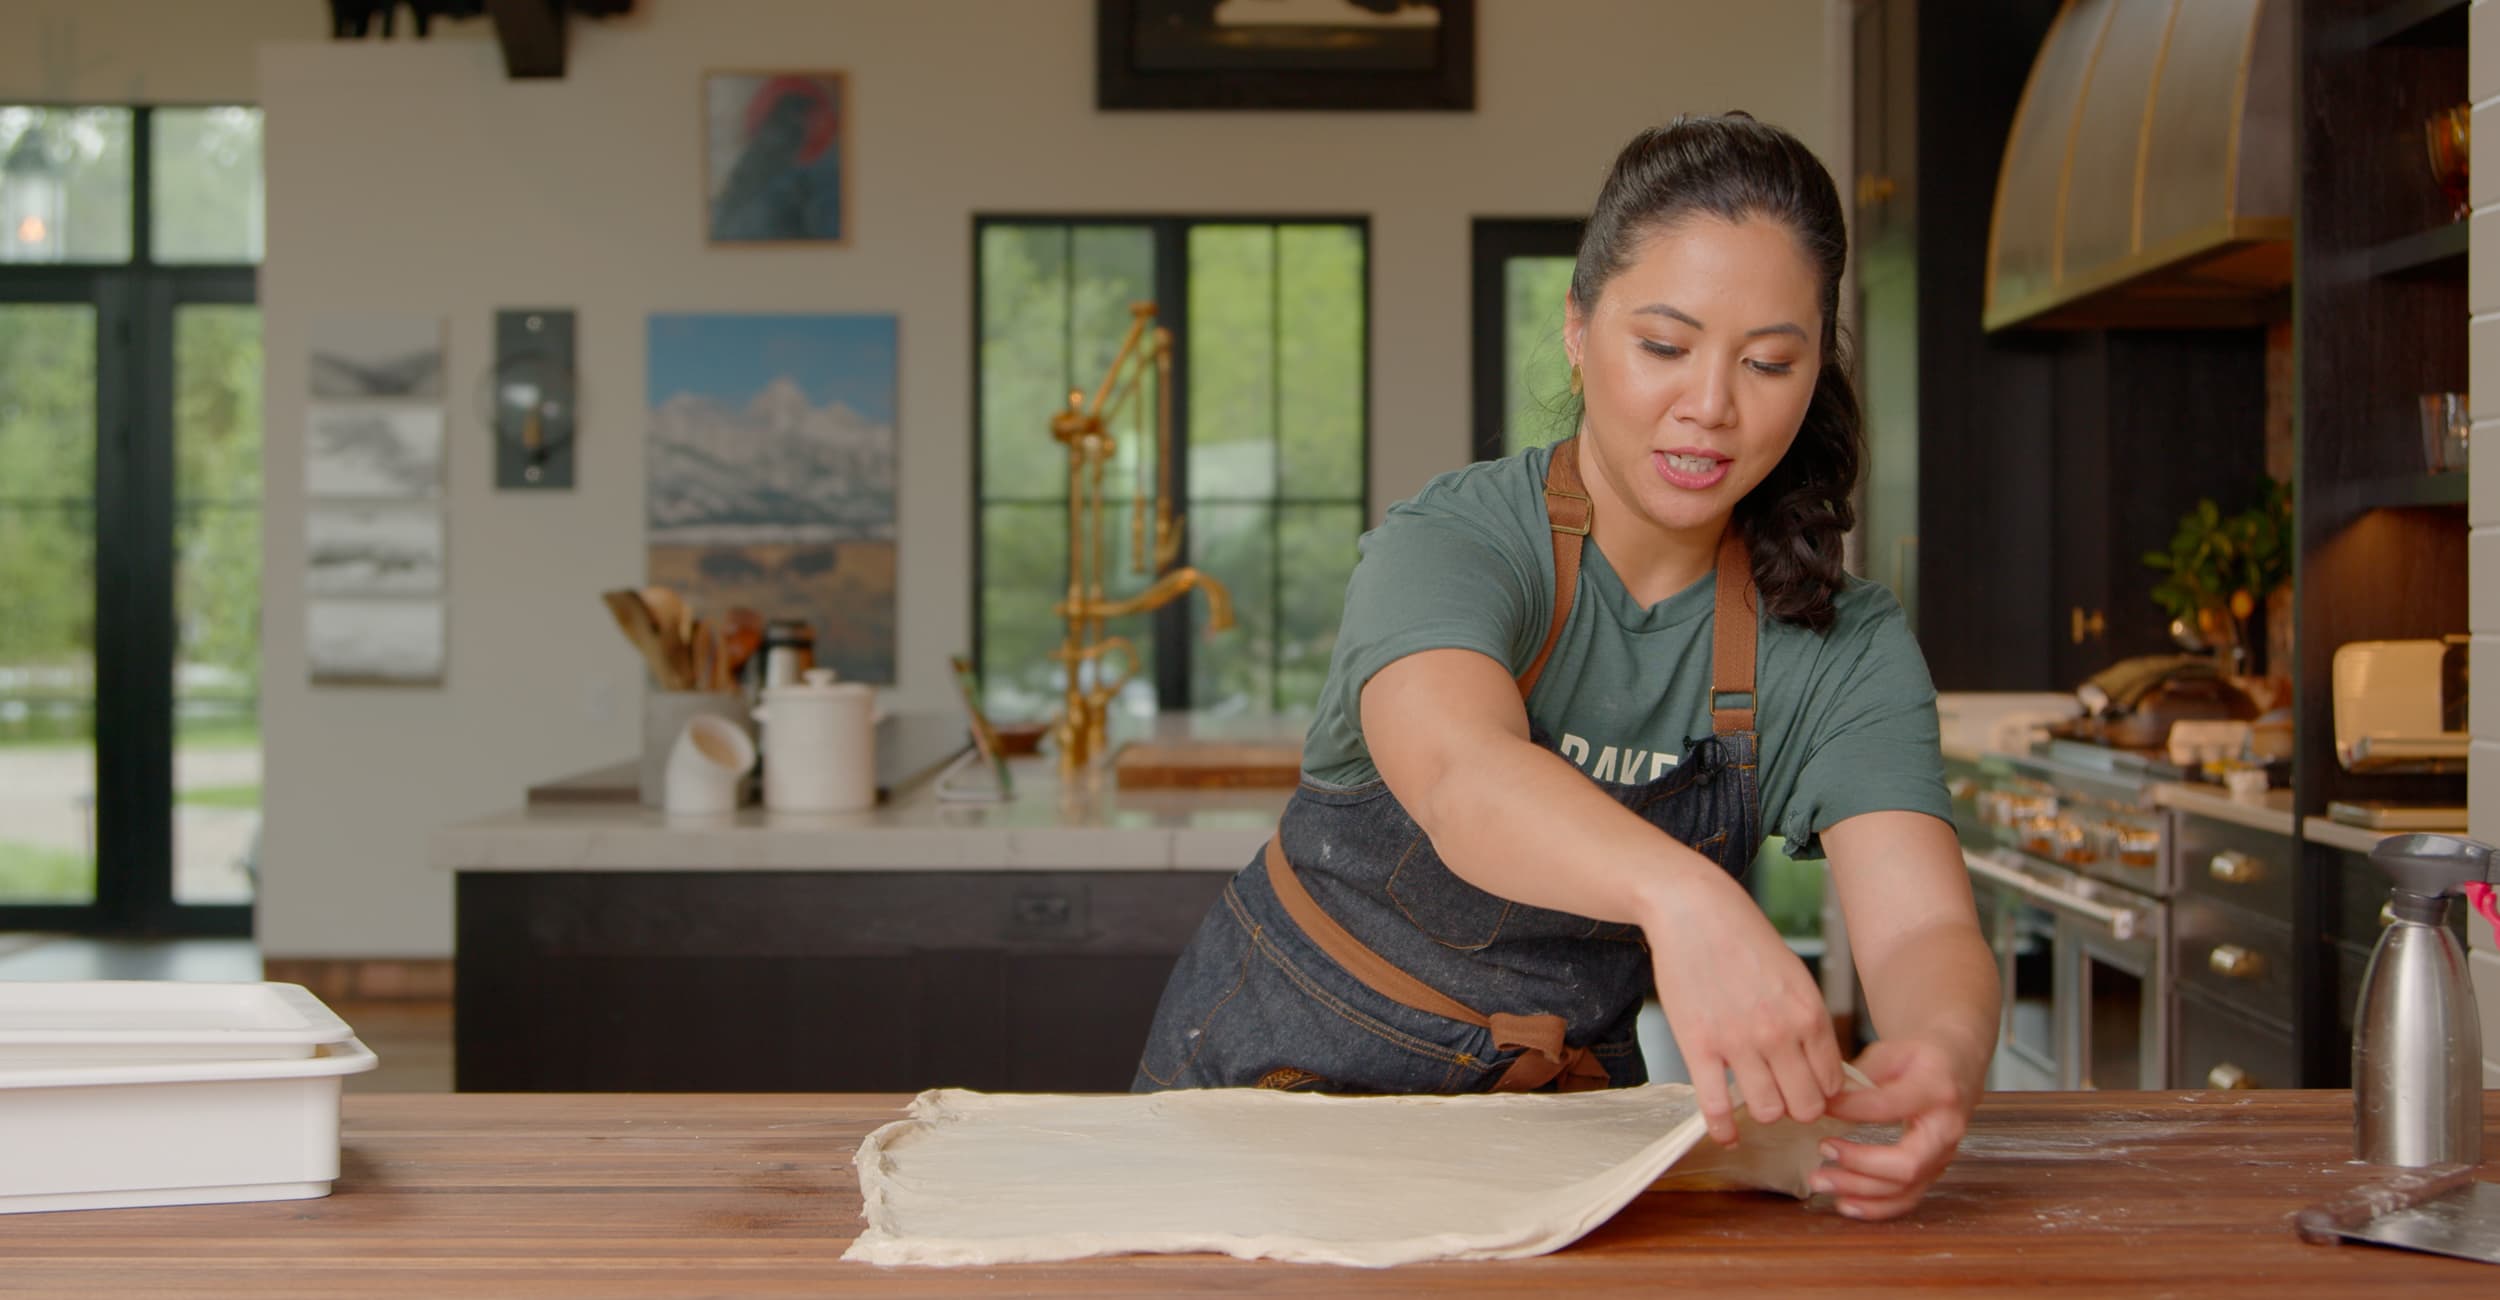
To make a coil fold in your dough, gently lift the bulk fermenting dough with both hands from the middle until one end releases from the proofing box.
Gently lift the dough straight up from the middle.
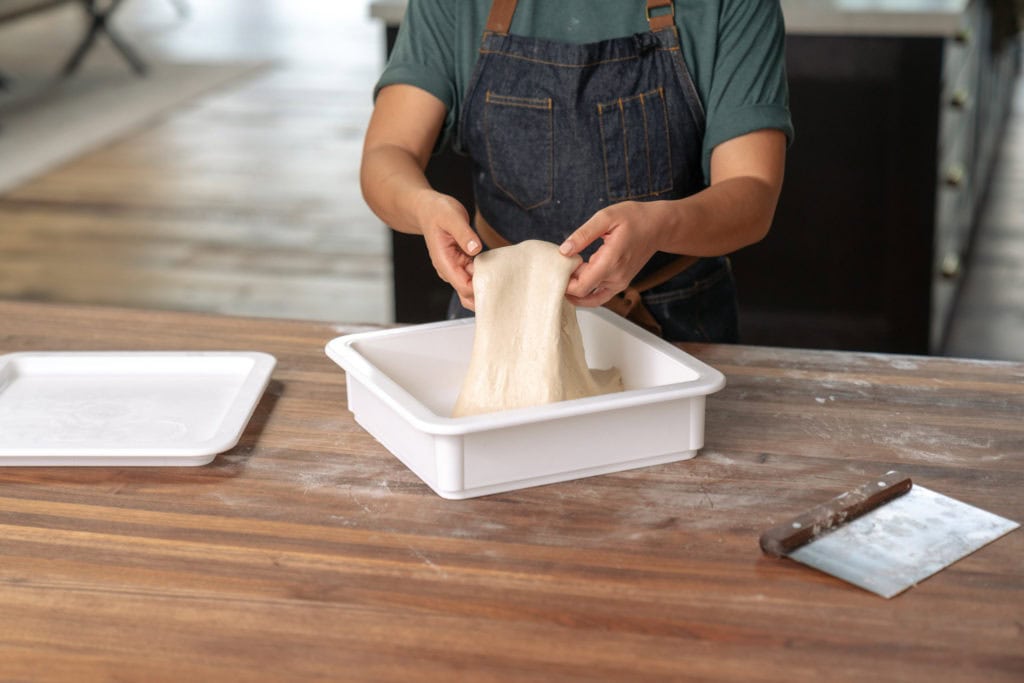
Gently lower the dough to allow the loosened end to tuck under the middle, and repeat with the other side. The dough should now look like it is coiled over itself.
Lift until one end releases and folds underneath itself.
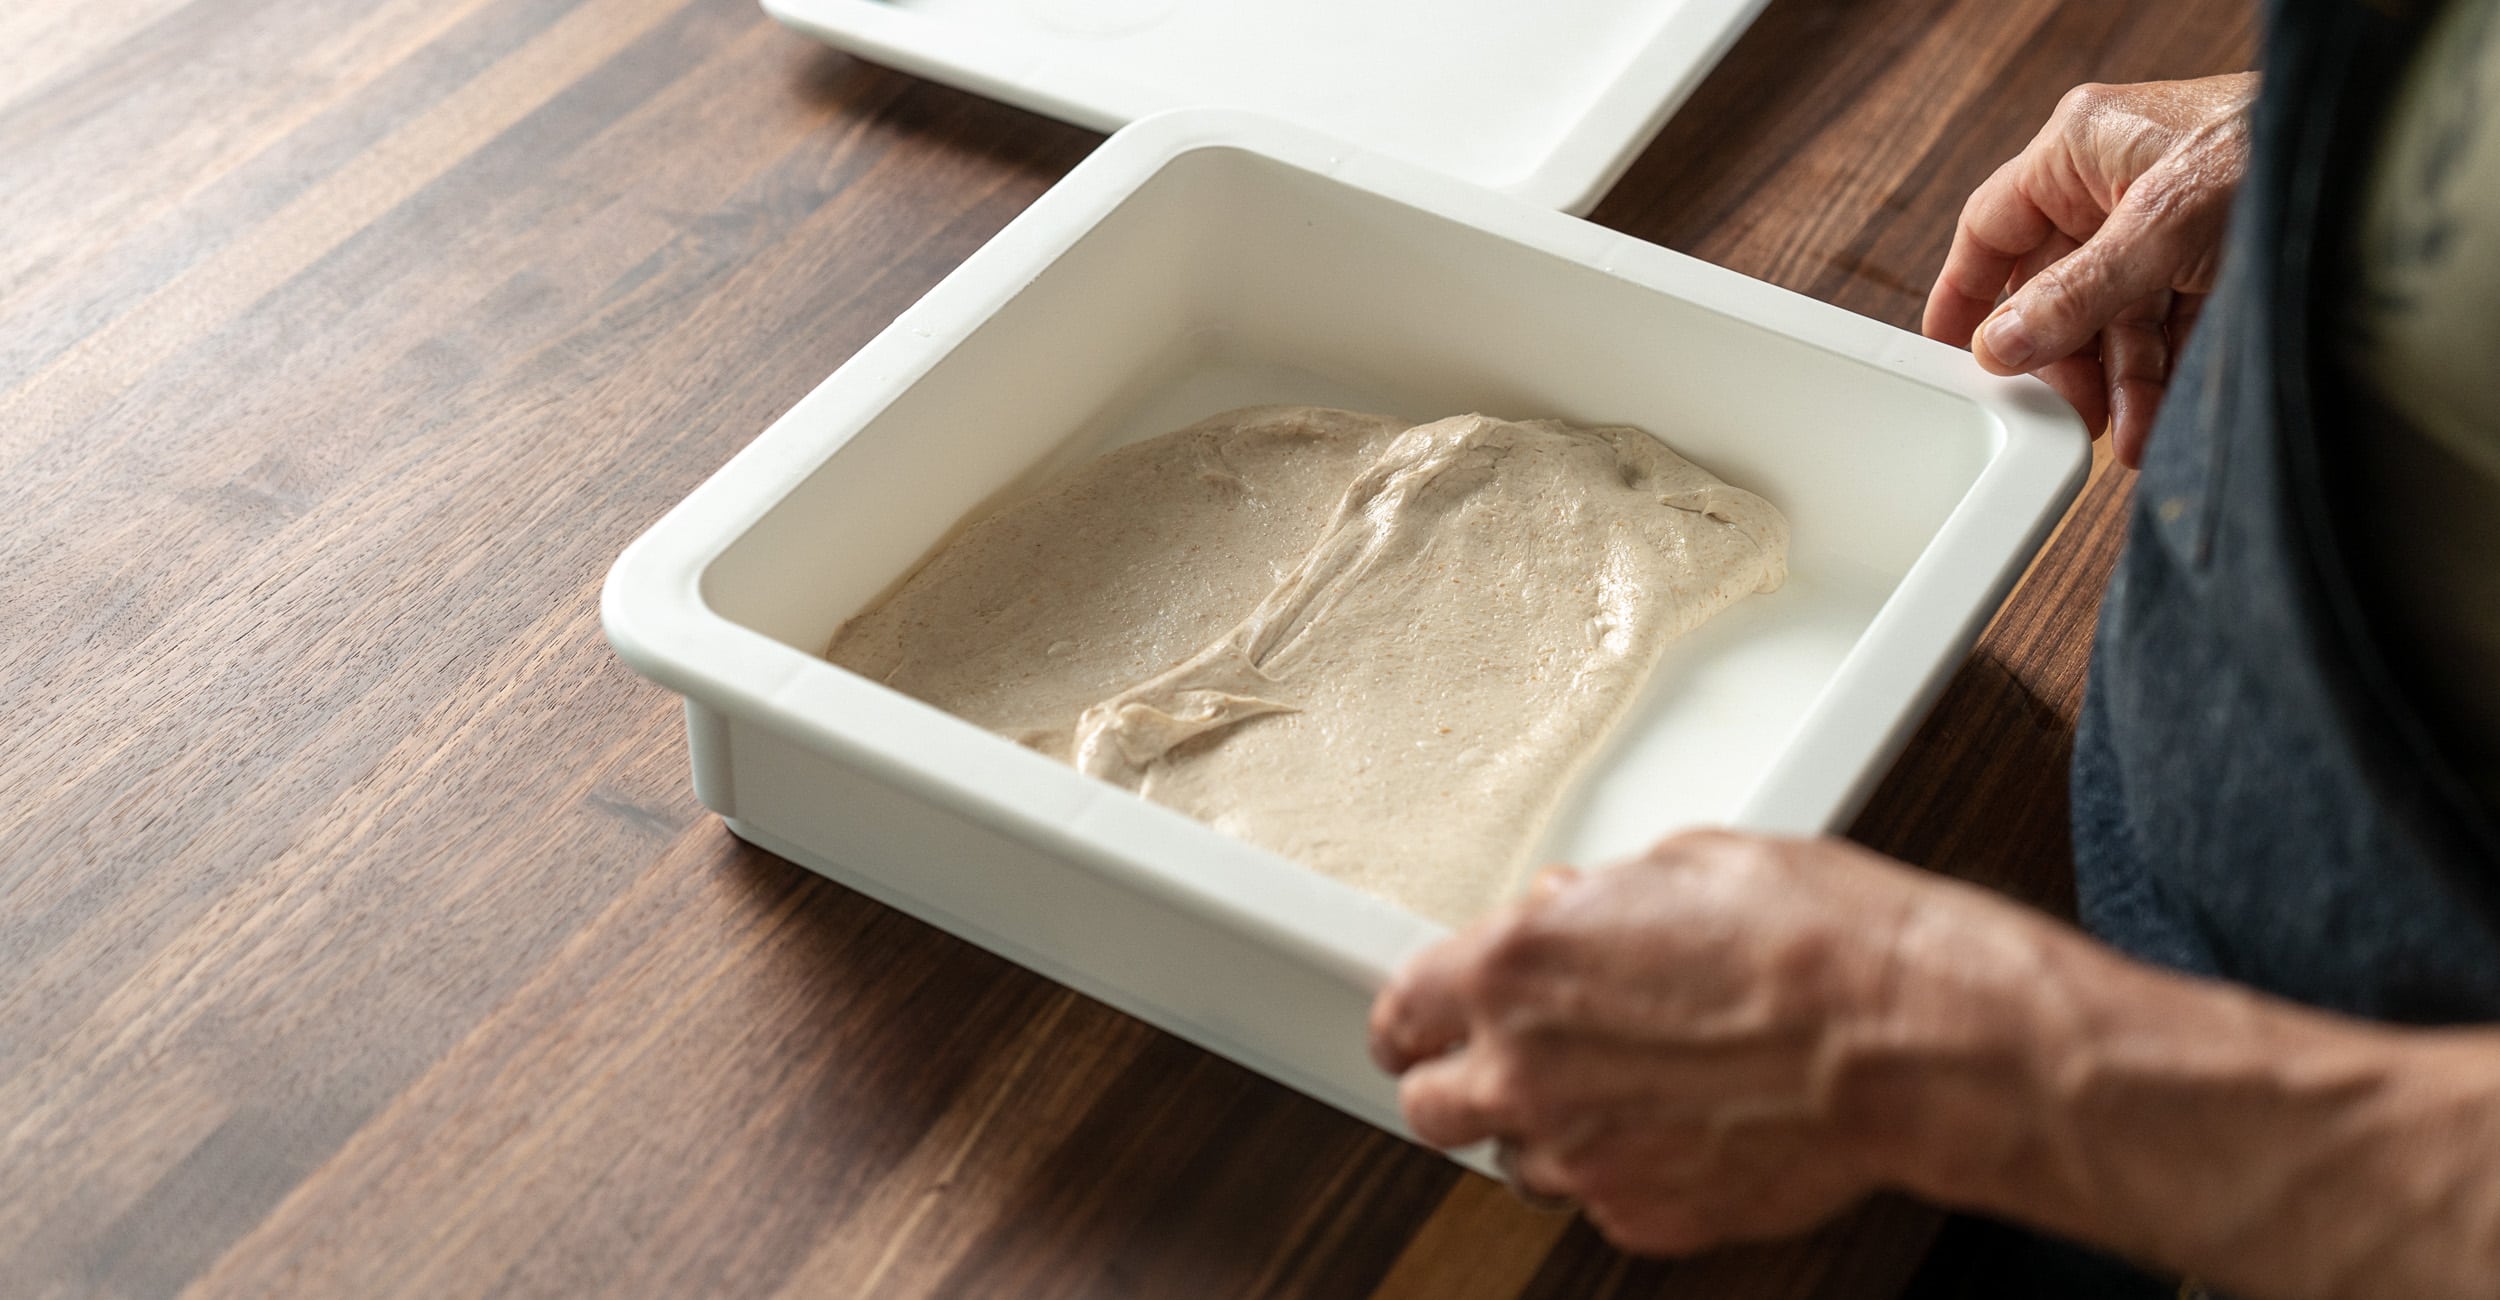
Rotate the proofing box 90 degrees, and repeat this process until the dough does not stretch very far anymore, and holds its shape. Allow it to rest, covered, for the time specified in your recipe.