


A batard is one of the most iconic sourdough shapes. It is characterized by its oval or oblong shape, sort of like a football. There are several ways to shape a batard successfully to produce a beautiful loaf of bread. Aside from controlling the final look of the bread, proper shaping technique is very important in creating an even crumb and good oven spring.
Batard Scoring
Please email us at
techniques@challengerbreadware.com with your
comments and questions.
Shaping is a crucial step in the bread making process. Not only does it help you control the final aesthetics of your bake, but it also gives the bread the tension and structure it needs for proper oven spring. This is especially important for batards, and achieving a beautiful ear.
The surface tension you create through shaping helps the bread maintain its shape as it expands in the oven. The quality of the final shape helps determine the outcome of the baked loaf, both in terms of structural integrity and crumb.
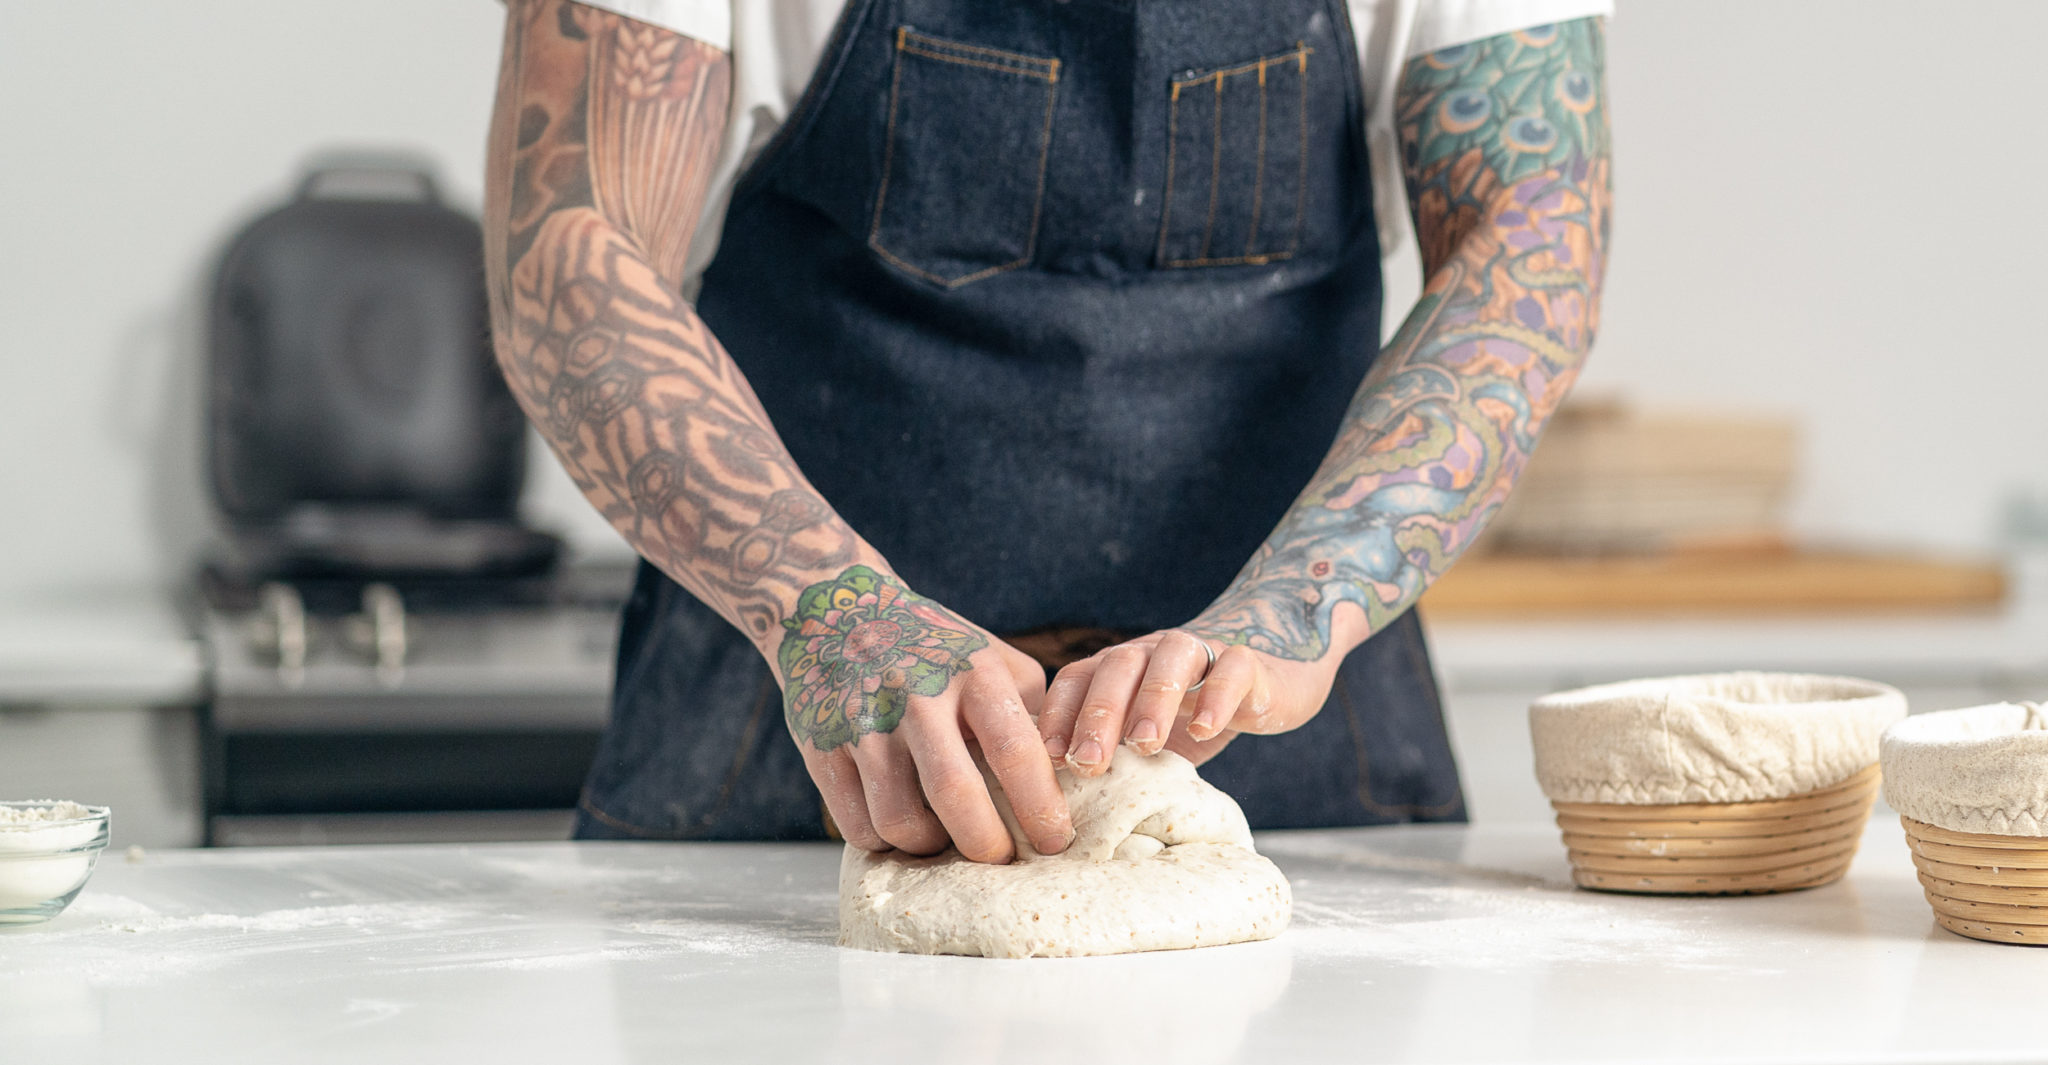
Take your pre-shaped dough, and lightly flour the top. Using your bench knife, flip the dough onto your work surface so the un-floured bottom is now on top.
Step 1: Like you would a letter, fold the bottom portion of the dough up into the middle. Then fold the top half down into the middle, pressing gently to seal. Your dough should now be roughly oval shaped. Rotate the dough so it is laying vertically in front of you.
Step 2: Repeat the folding process with the remaining two sides. All edges should now be tucked into the middle so that your dough is now in an oblong shape.
That’s it! Gently pick up your batard and load it into a lightly floured banneton, with the seam side facing up.
This method takes a little bit more practice than method 1, but yields a loaf with a bit more tension in its shape.
Step 1: Start by lightly flouring the top of the portion of dough, and then invert it onto your work surface, un-floured side up. Fold the top and bottom sides of the dough portion into the center like you did in your pre-shape.
Step 2: Turn the dough so it is lying vertically in front of you. It should look like a tapered V-shape, with the top wider than the bottom. Pinch the bottom of the dough together to create a narrower tail, and then roll the dough straight forward until you get to the end.
Step 3: Fold the right and left sides of the dough in towards the middle, and then using the heel of your hands to encourage the dough, flip and tuck the bottom seam under. Your batard should be oblong, with plenty of tension to hold its shape.
Gently lift your newly shaped batard and load it in a lightly floured banneton with the seam side up.
Now that your batard is shaped, it’s time for it to rise in its banneton for its final proof.
What do you do when you want enhanced flavor and texture in your bakes, but don’t have a sourdough starter ready to go? Make a poolish!
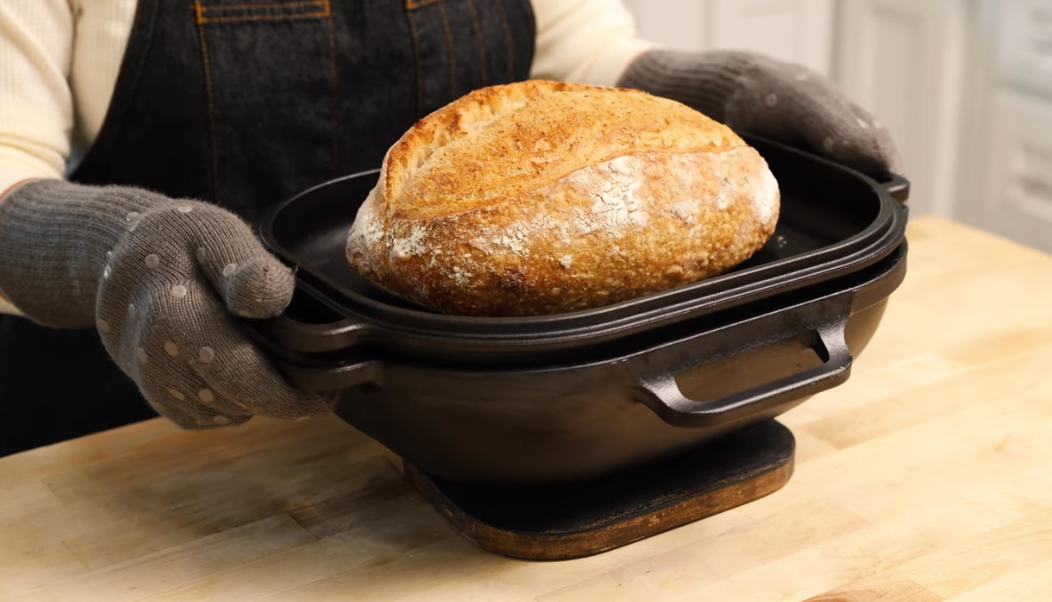
Perfect Your Crust with the Challenger Inversion Method.
Perfect Your Crust with the Challenger Inversion Method.
Be the first to know! We’ll send out emails with new products and promotions – as well as recipes and baking tips.