Identifying Proofing Levels in Dough
It’s important to be able to know whether your bread is proofed based on visual signs, and touch. Sourdough proofing times can vary greatly depending on the environment, the type of flour used, and even the specific yeast culture in the starter. Here are a few simple and reliable ways to check for the correct proof in your dough.
Table of Contents
- What does “proof” mean?
- How do you know when your dough is proofed properly?
- The poke test
- Other indicators of proofing levels
Related Posts
Pre-Shape & Bench Rest
Sourdough Starter Basics
Scoring Tools and Technique
Please email us at
techniques@challengerbreadware.com with your
comments and questions.
What does “proof” mean?
How do you know when your dough is proofed properly?
While many recipes give a basic timing schedule for proofing your dough, environmental factors (especially temperature!) can strongly impact the rate of fermentation, and therefore how long it takes to proof your dough.
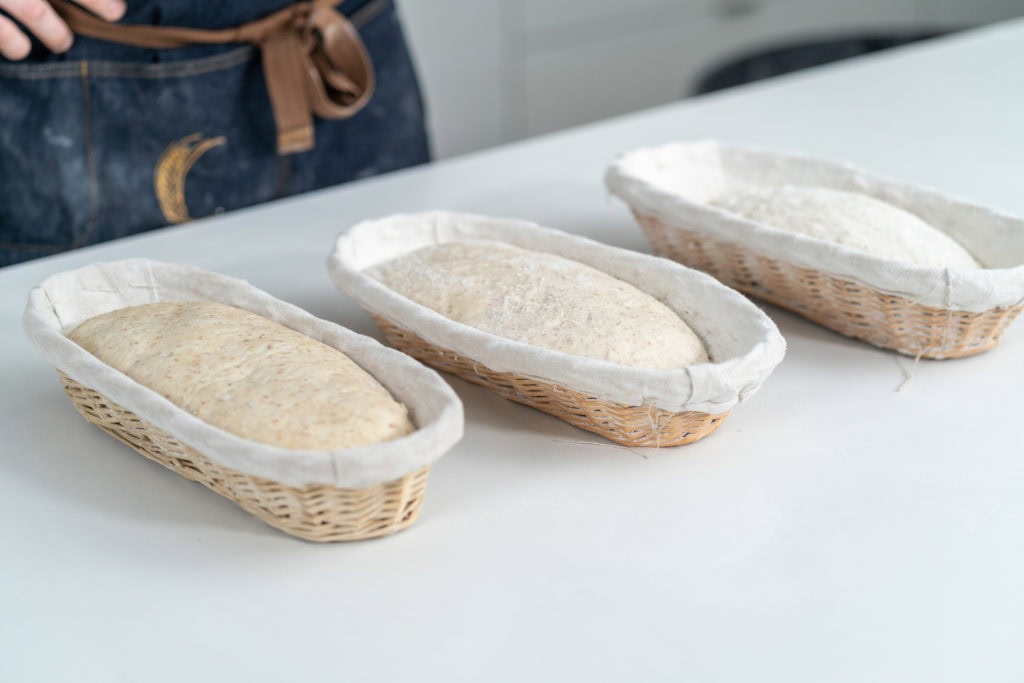
Visually, proofed dough will grow in volume, and have some visible air bubbles. It should be a bit jiggly from the trapped gasses in the dough. It’s quite difficult to tell exactly how much your dough has risen, so here are some other methods of checking the proof on your dough.
The poke test
One of the simplest ways to check the proof in your dough is to perform the poke test. Once you think your bread dough has proofed enough in its banneton, gently poke the surface with your forefinger. It’s best to lightly dust the surface of the dough or your finger with flour first.
Under-proofed dough will spring back very quickly, and feel quite dense to the touch. This is because the yeast has not had enough time to produce enough CO2 gas to be trapped in the dough structure.
Properly proofed bread will slowly spring back when touched, refilling the indent from your finger in about 10 seconds. The dough should feel aerated and jiggly, but not so full of air that it is fragile.
Over-proofed dough will not spring back at all when poked. Too much air makes the dough structure very fragile, and it will hold a deep fingerprint. Over-proofed dough will also feel extremely aerated, and will likely start to deflate slightly when touched.
If your dough is under proofed, allow it to continue proofing, periodically checking with the poke test every 20-30 minutes until it is ready.
Other indicators of proofing levels
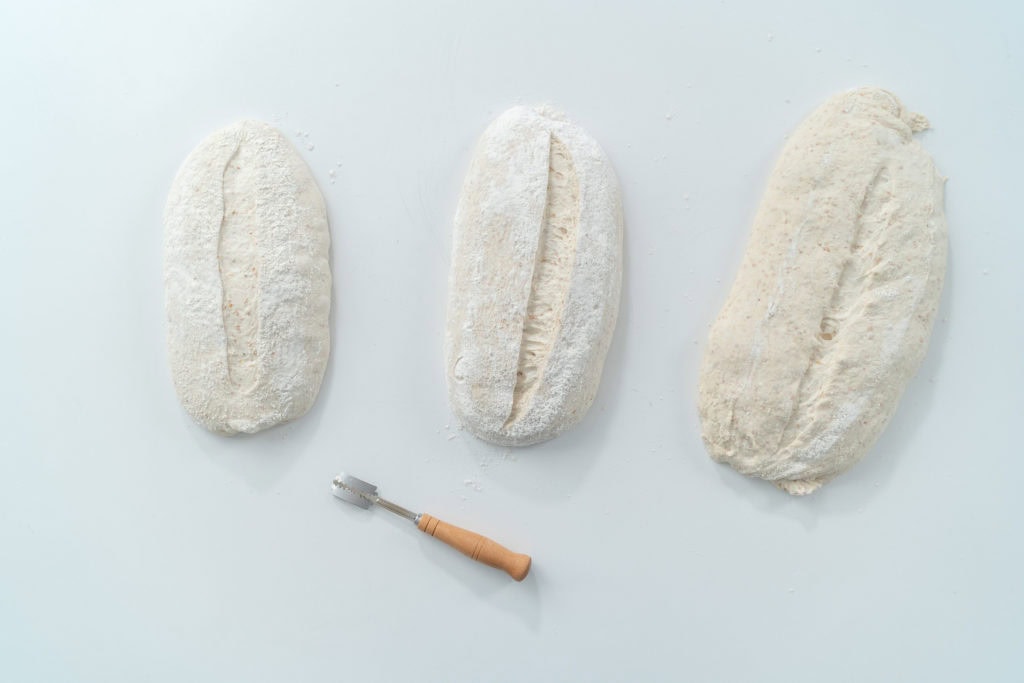
Dough that is either under- or over-proofed will react differently to being tipped out of the banneton and scored when compared to dough that has been properly proofed.
Under-proofed dough will release from the banneton easily, and generally retain its shape once tipped out. When scored, it will open up very quickly.
Properly proofed dough will release easily from the banneton, and will hold its shape on the work surface. It is easy to score, and will open up slowly to reveal the air bubbles developed inside.
Over-proofed dough has a tendency to stick to the banneton, and will deflate once tipped out onto the work surface. Because the dough has been proofed for too long, it no longer has a strong enough structure to hold its own weight. Over-proofed dough is difficult to score without snagging, and will continue to deflate.
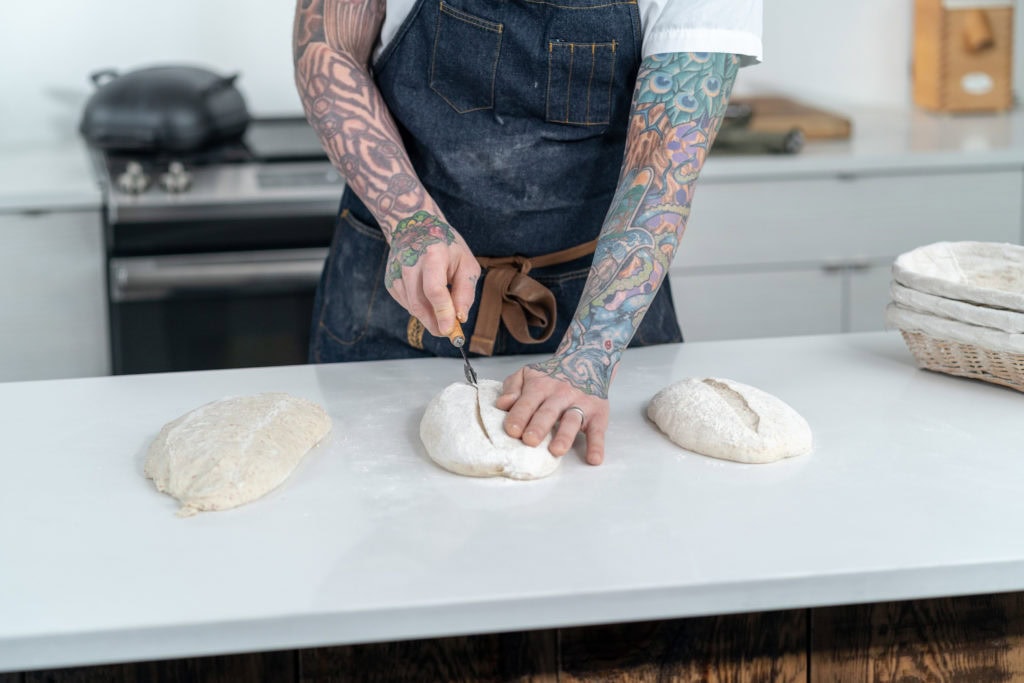
Check out our tips on scoring loaves, for the next step once your dough is proofed and ready to be baked!
What do you do when you want enhanced flavor and texture in your bakes, but don’t have a sourdough starter ready to go? Make a poolish!
- Feb 08, 2023
- 2 min read
Perfect Your Crust with the Challenger Inversion Method.
- Dec 02, 2025
- 2 min read + video
Perfect Your Crust with the Challenger Inversion Method.
- Nov 25, 2025
- 2 min read + video
We Share Good News
Be the first to know! We’ll send out emails with new products and promotions – as well as recipes and baking tips.

