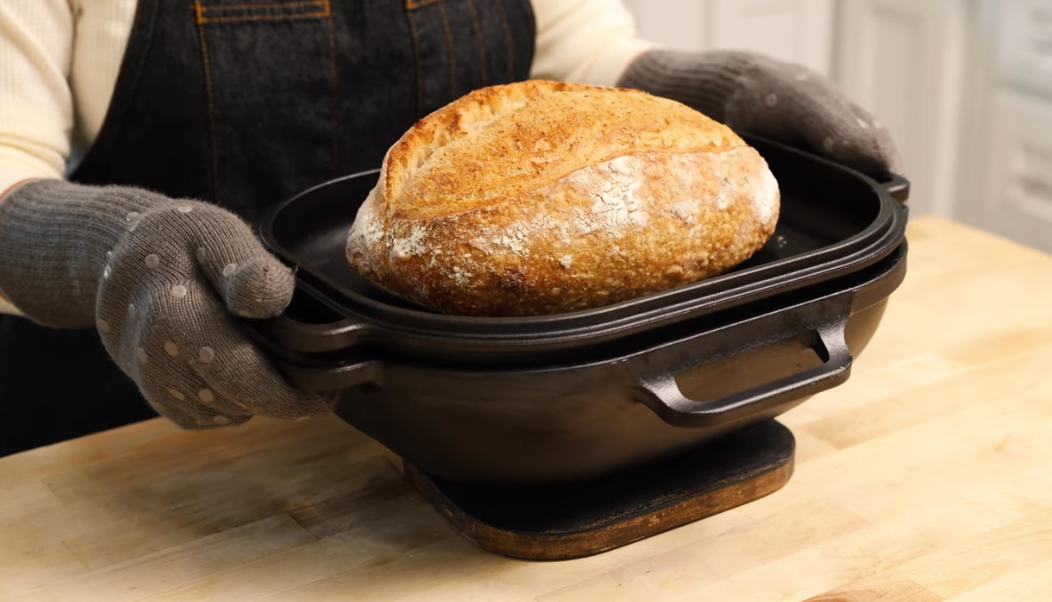
Built to help you bake your best bread, this quick guide will walk you through tips for unboxing, handling, and lifting your pan, so you can start baking your very first loaf. Because the Challenger Bread Pan is made from solid cast iron, which contributes to optimal baking conditions, we recommend lifting each piece separately to work around the weight of the pan.
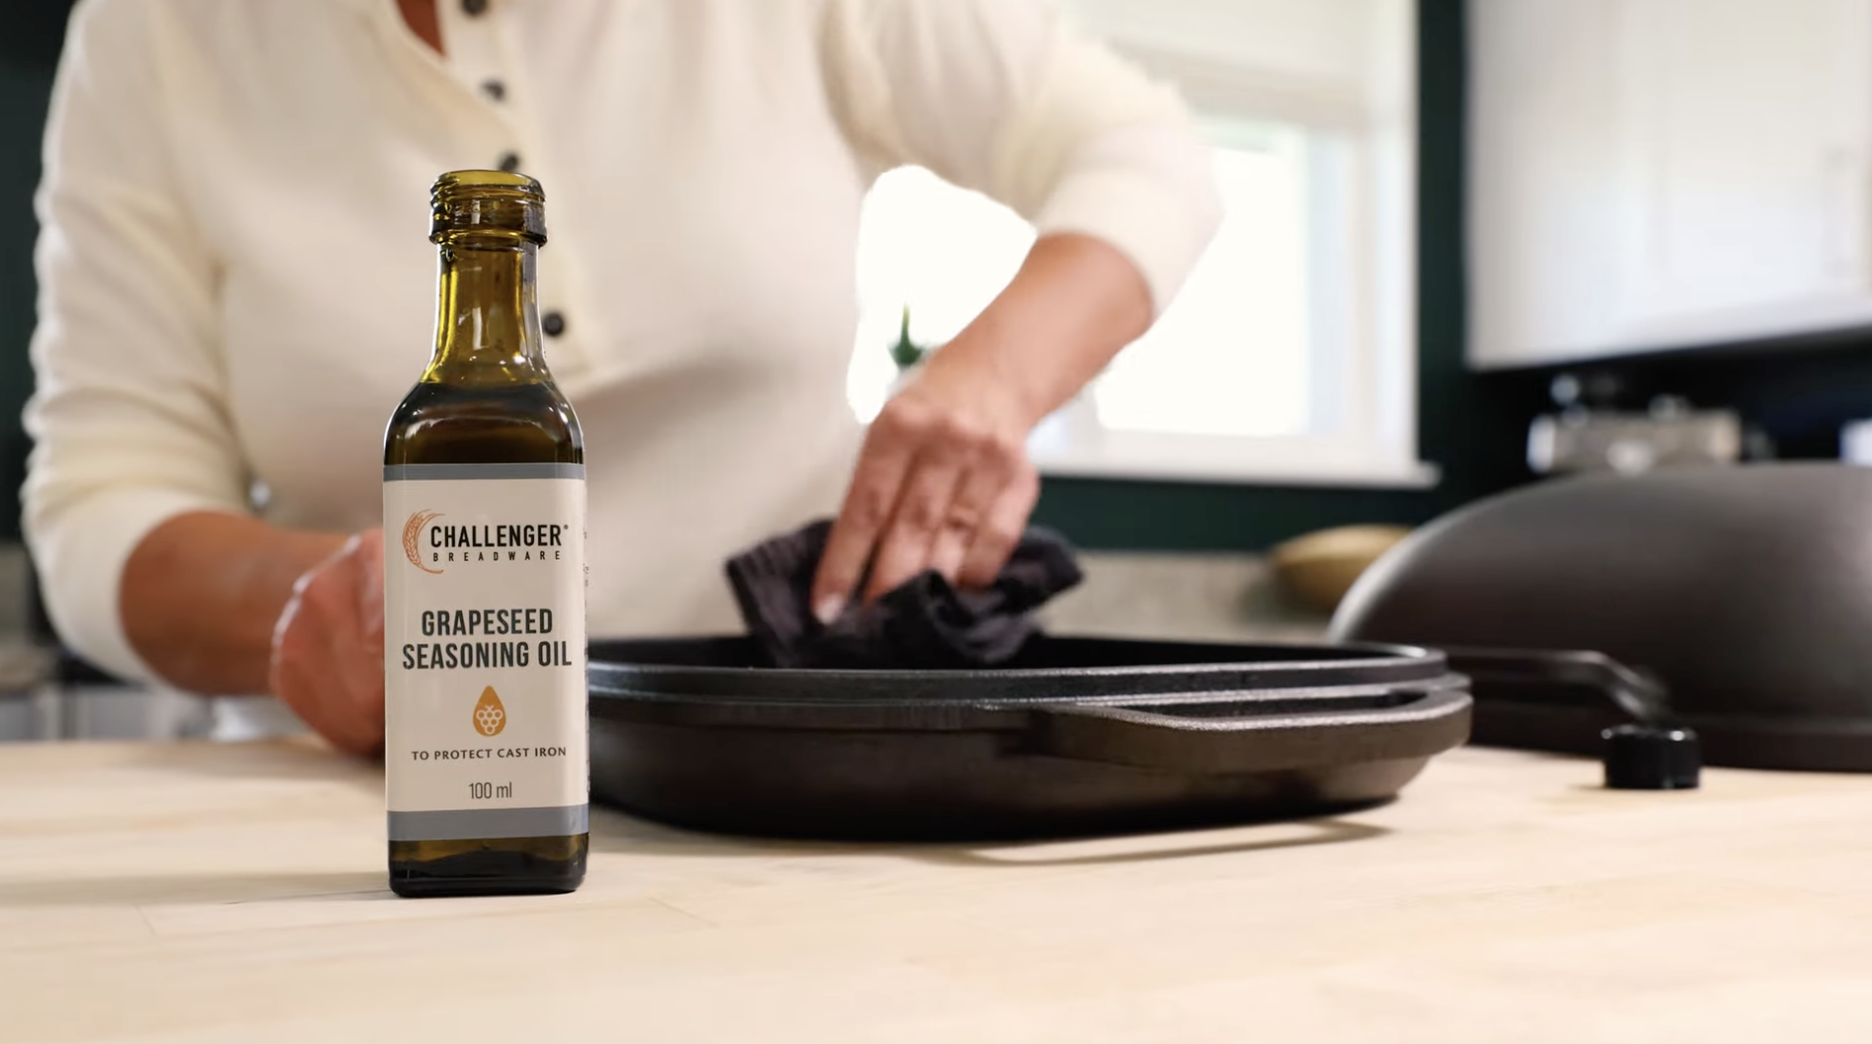
We know you want to keep your Challenger Bread Pan looking as beautiful as the day it arrived, but keeping your pan clean and properly seasoned has other benefits, too. Seasoning refers to the process of baking oil onto cast iron. Your Challenger Pan comes expertly pre-seasoned with grapeseed oil that’s been meticulously applied so that you can start using your pan right away. To keep your Challenger performing beautifully for years to come, it’s a good idea to re-season it from time to time.
Our Challenger Cast Iron Care Kit has everything you need to keep your pan looking and performing its best. The Bamboo Brush has stiff bristles to sweep away any crumbs, flour, or dried food. The Chainmail Scrubber removes stubborn spots, food debris, and superficial rust. The Grapeseed Seasoning Oil provides a fresh, all-natural seasoning layer that keeps rust at bay, while giving your Challenger Pan a beautiful patina.
Today, we’re walking you through why and how to clean and season your Challenger Bread Pan. We’ll be using the Challenger Cast Iron Care Kit.
Built to help you bake your best bread, this quick guide will walk you through tips for unboxing, handling, and lifting your pan, so you can start baking your very first loaf. Because the Challenger Bread Pan is made from solid cast iron, which contributes to optimal baking conditions, we recommend lifting each piece separately to work around the weight of the pan.
We know you want to keep your Challenger Bread Pan looking as beautiful as the day it arrived, but keeping your pan clean and properly seasoned has other benefits, too. Seasoning refers to the process of baking oil onto cast iron. Your Challenger Pan comes expertly pre-seasoned with grapeseed oil that’s been meticulously applied so that you can start using your pan right away. To keep your Challenger performing beautifully for years to come, it’s a good idea to re-season it from time to time.
Our Challenger Cast Iron Care Kit has everything you need to keep your pan looking and performing its best. The Bamboo Brush has stiff bristles to sweep away any crumbs, flour, or dried food. The Chainmail Scrubber removes stubborn spots, food debris, and superficial rust. The Grapeseed Seasoning Oil provides a fresh, all-natural seasoning layer that keeps rust at bay, while giving your Challenger Pan a beautiful patina.
Today, we’re walking you through why and how to clean and season your Challenger Bread Pan. We’ll be using the Challenger Cast Iron Care Kit.
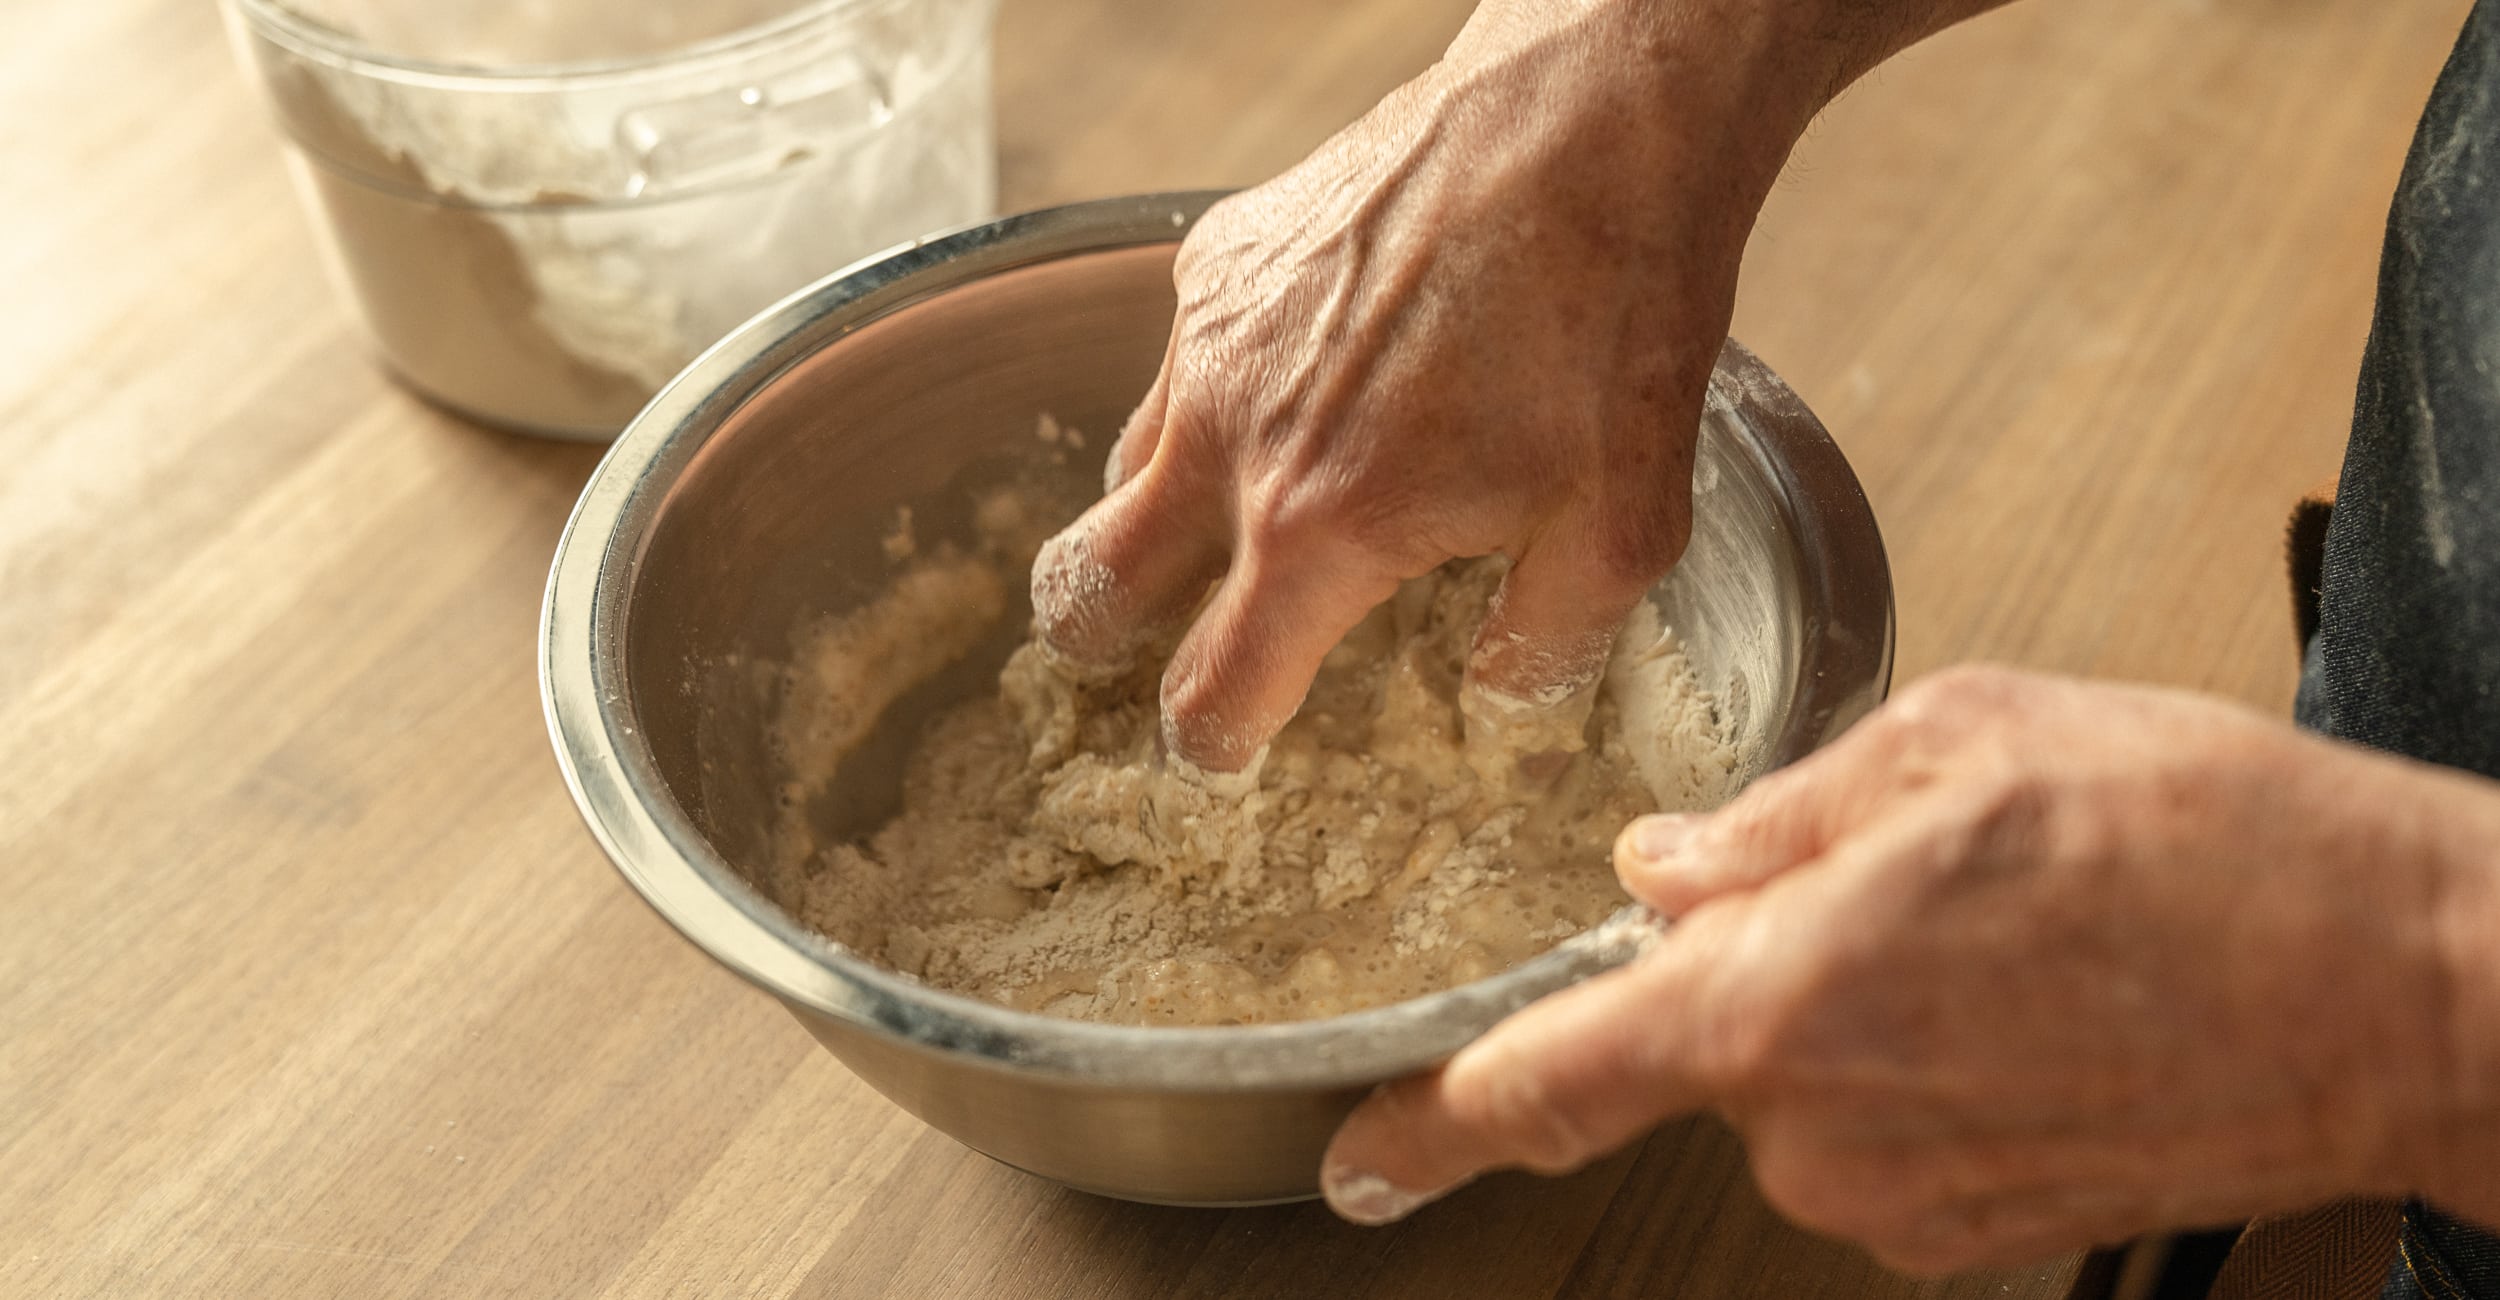
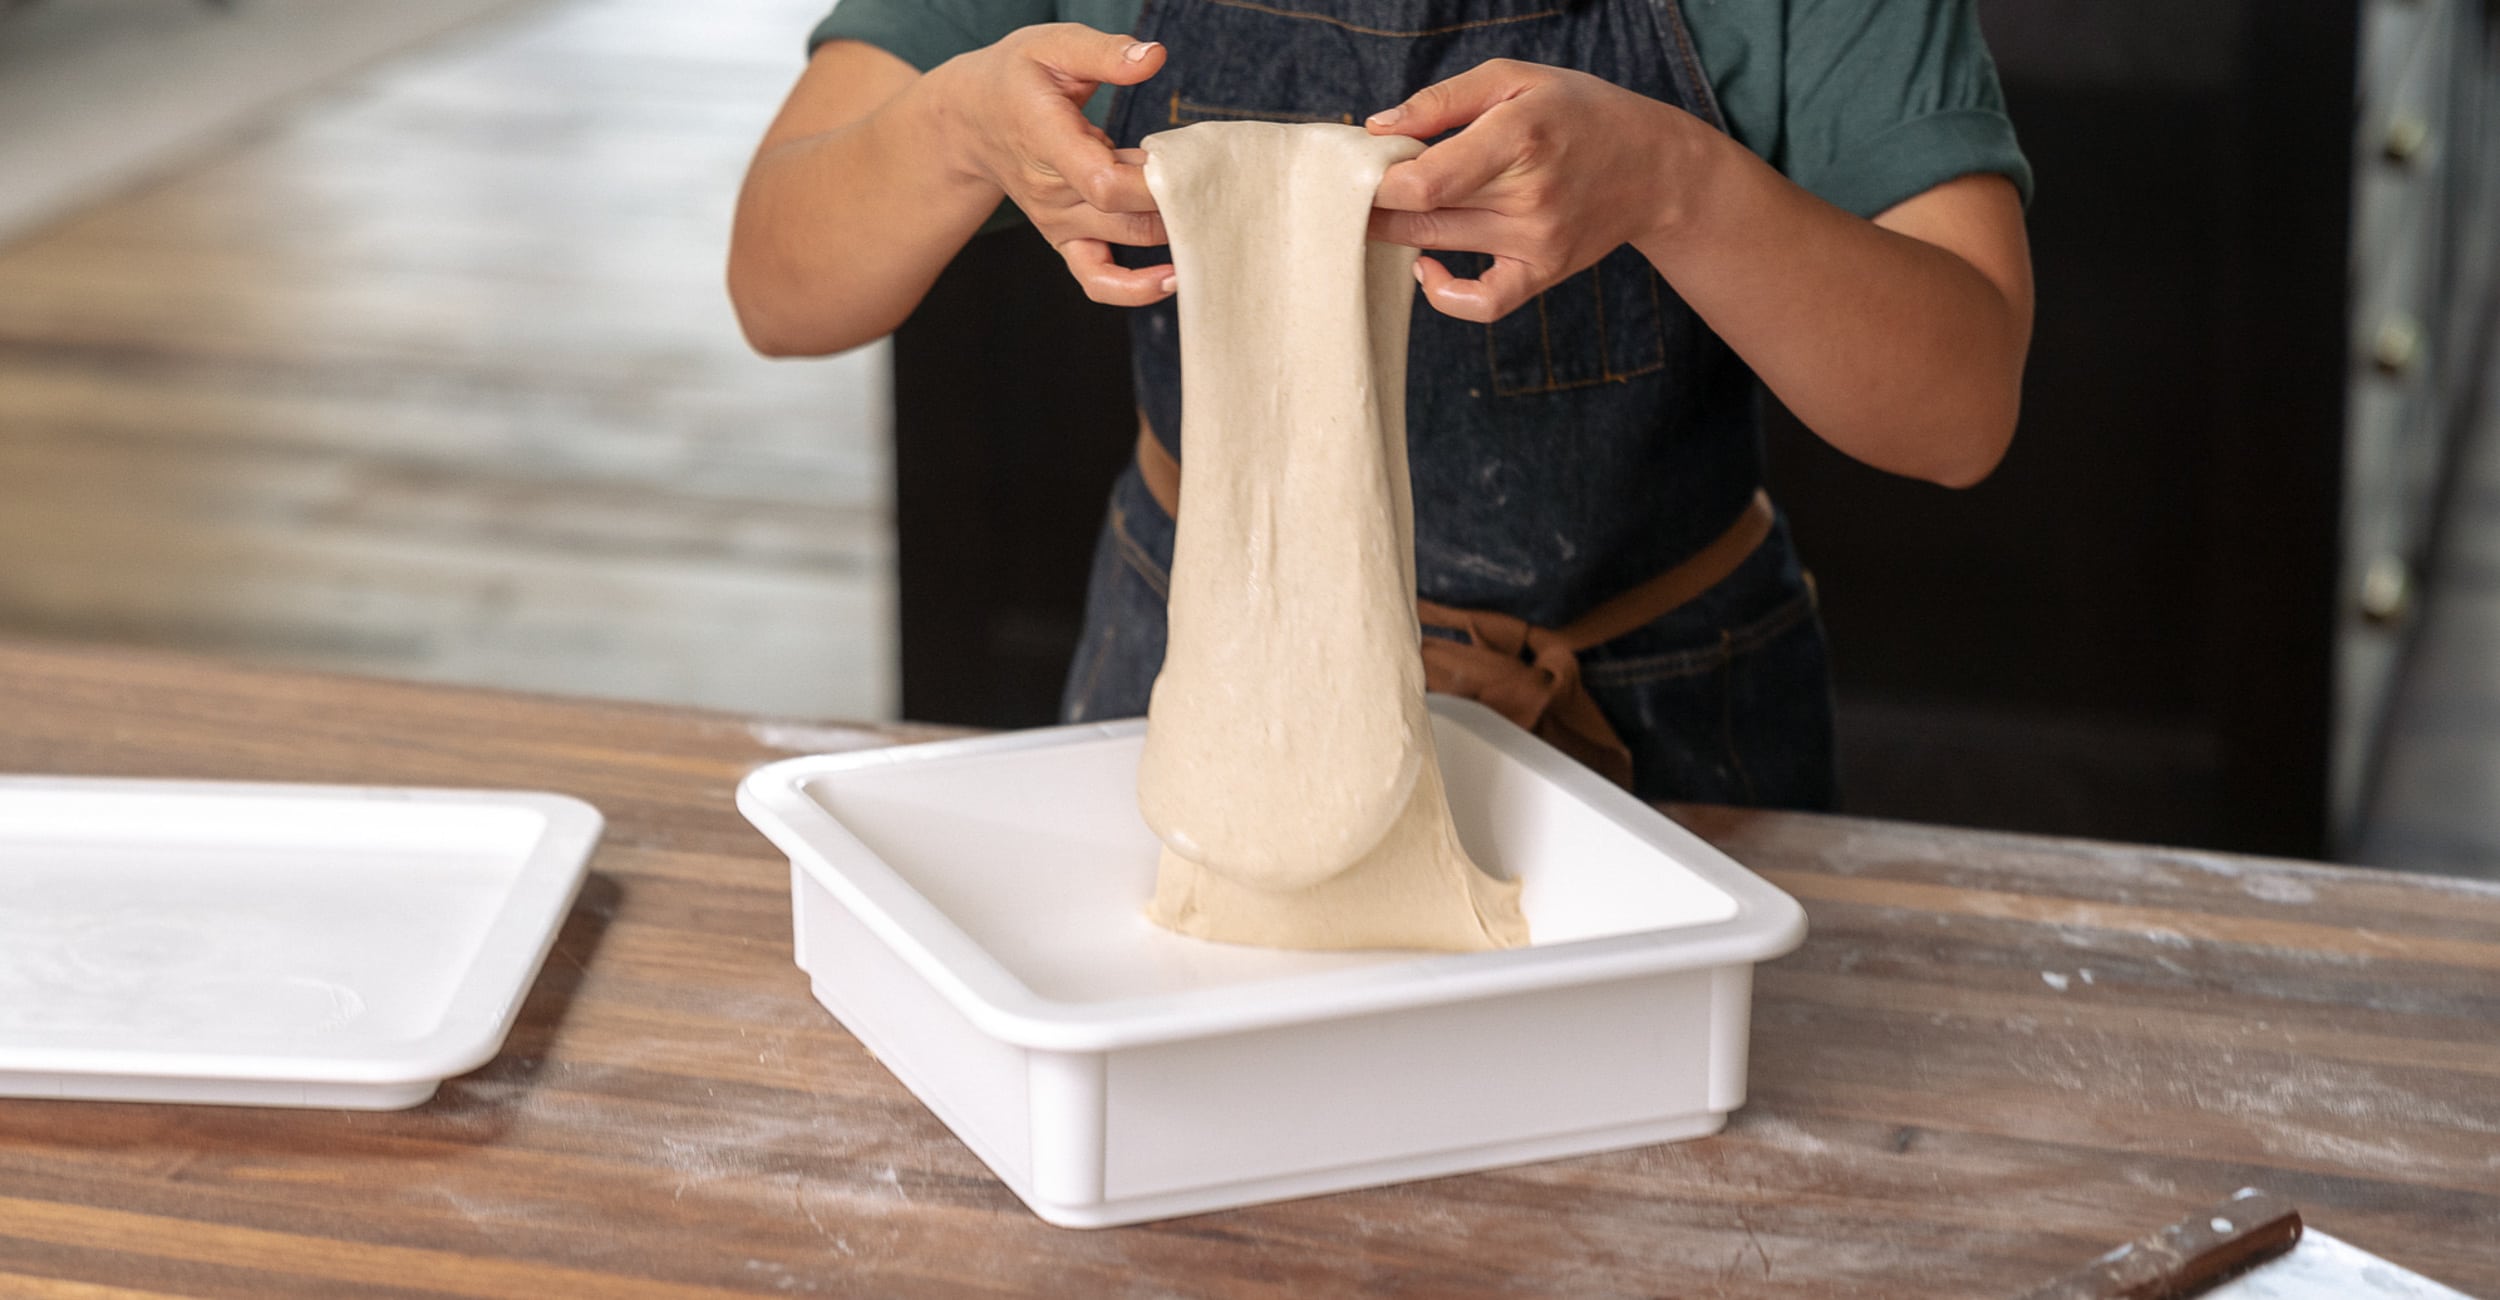
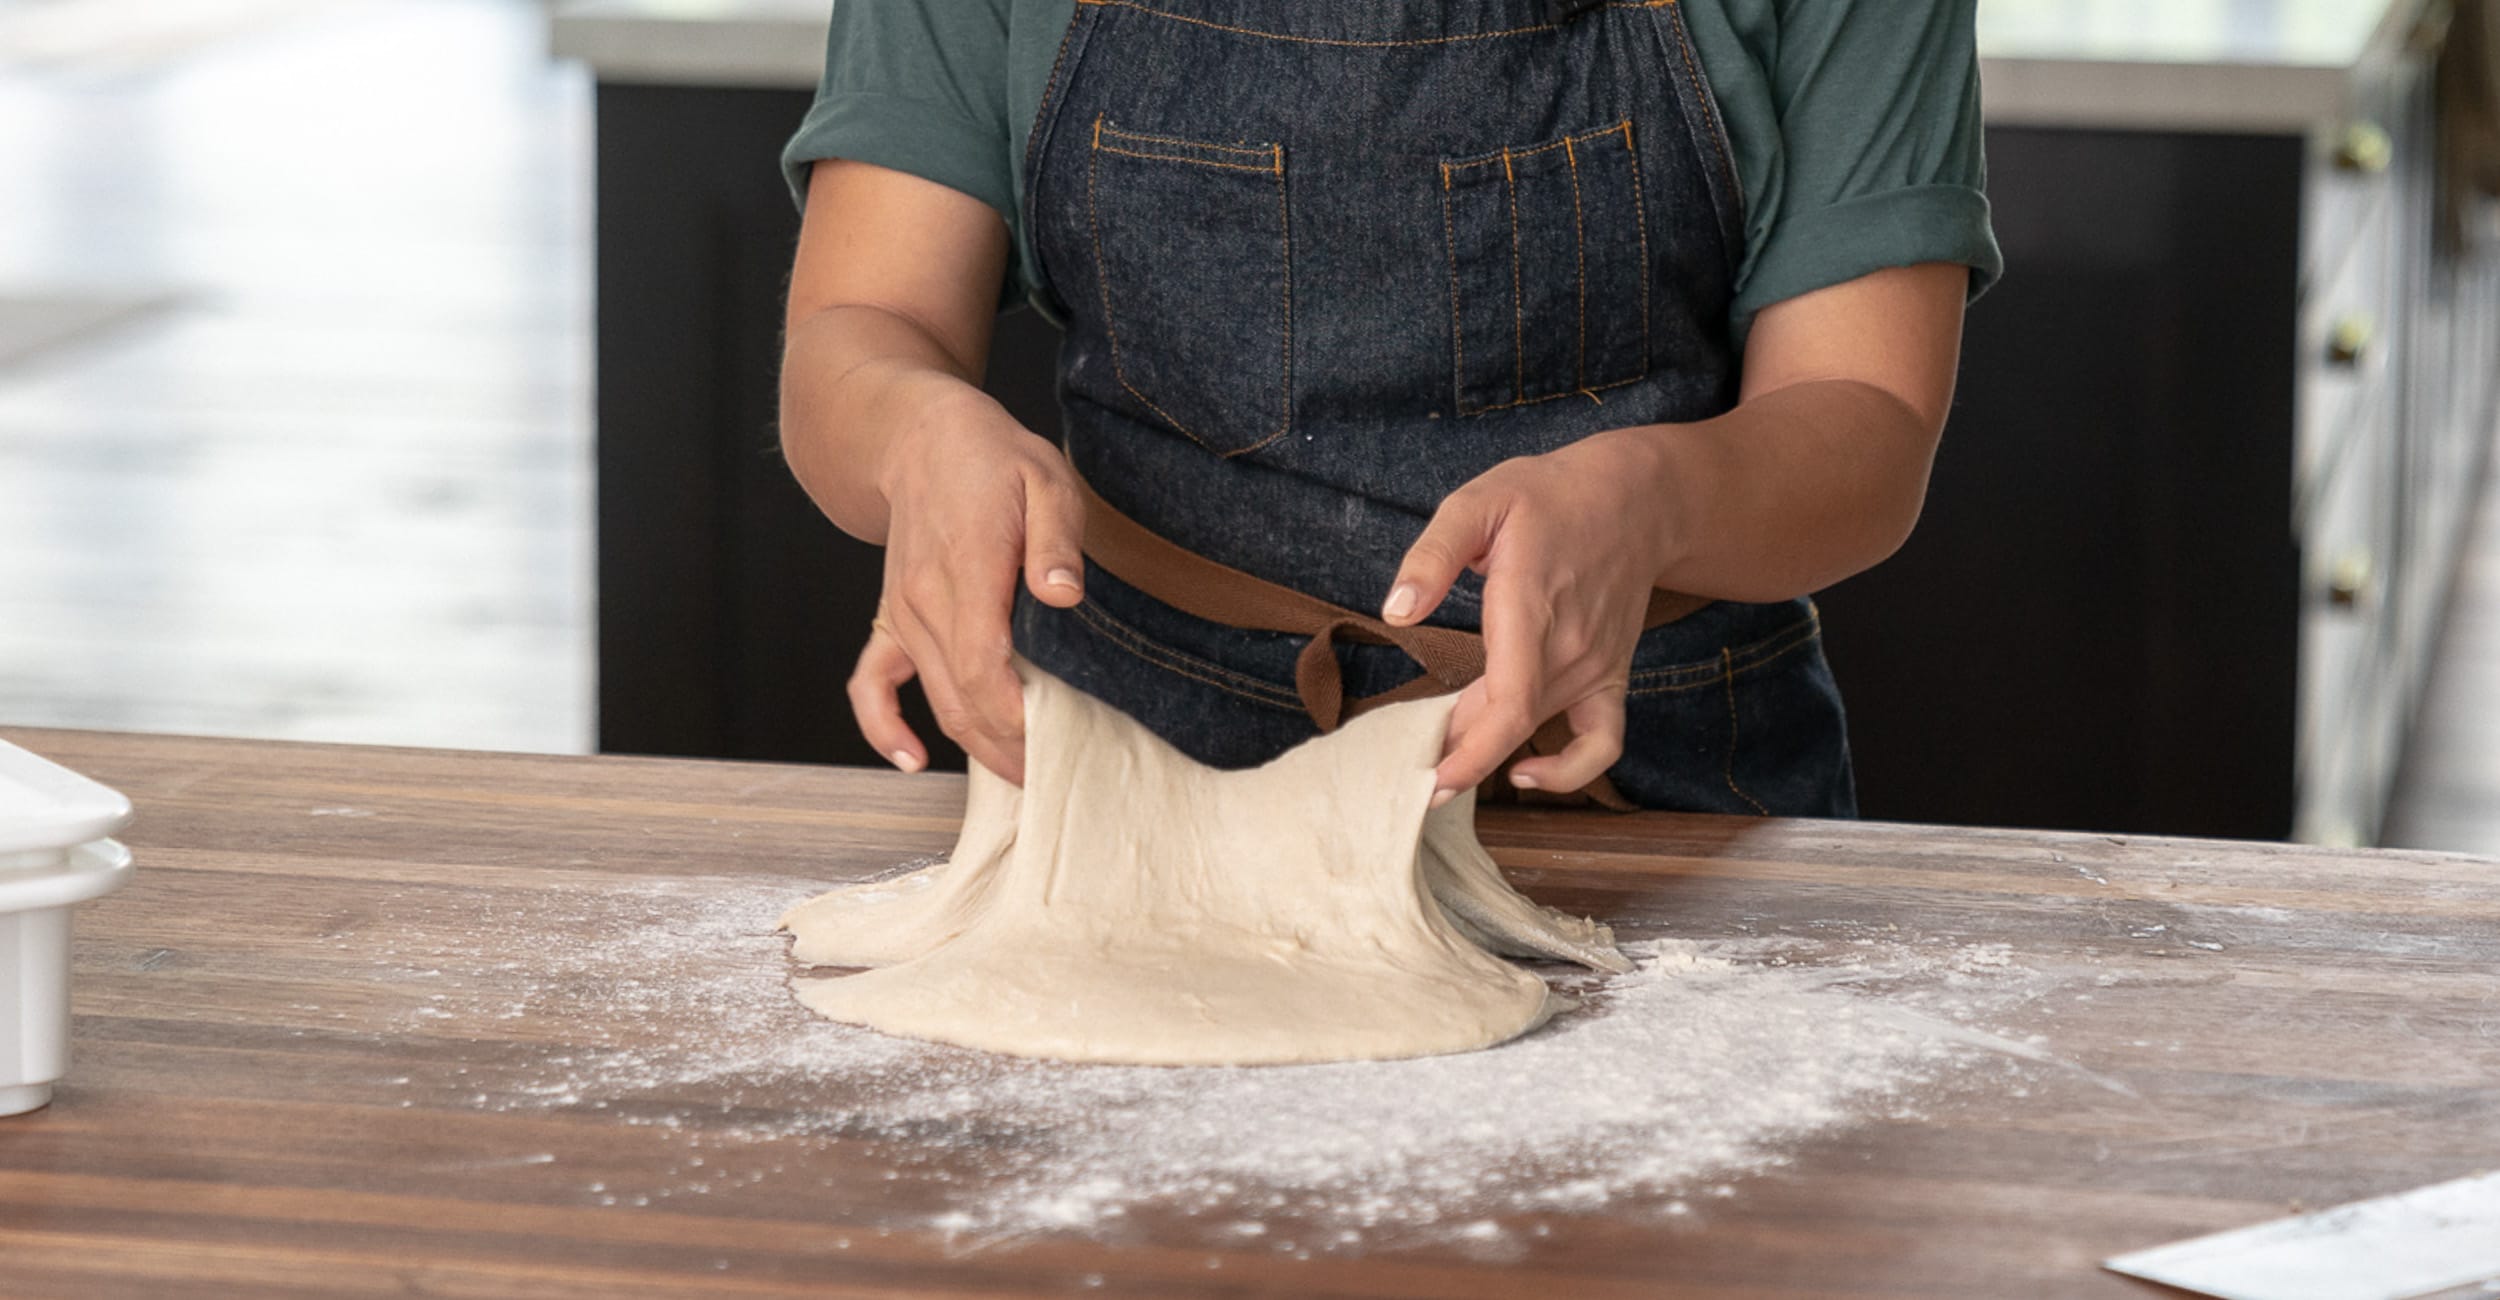
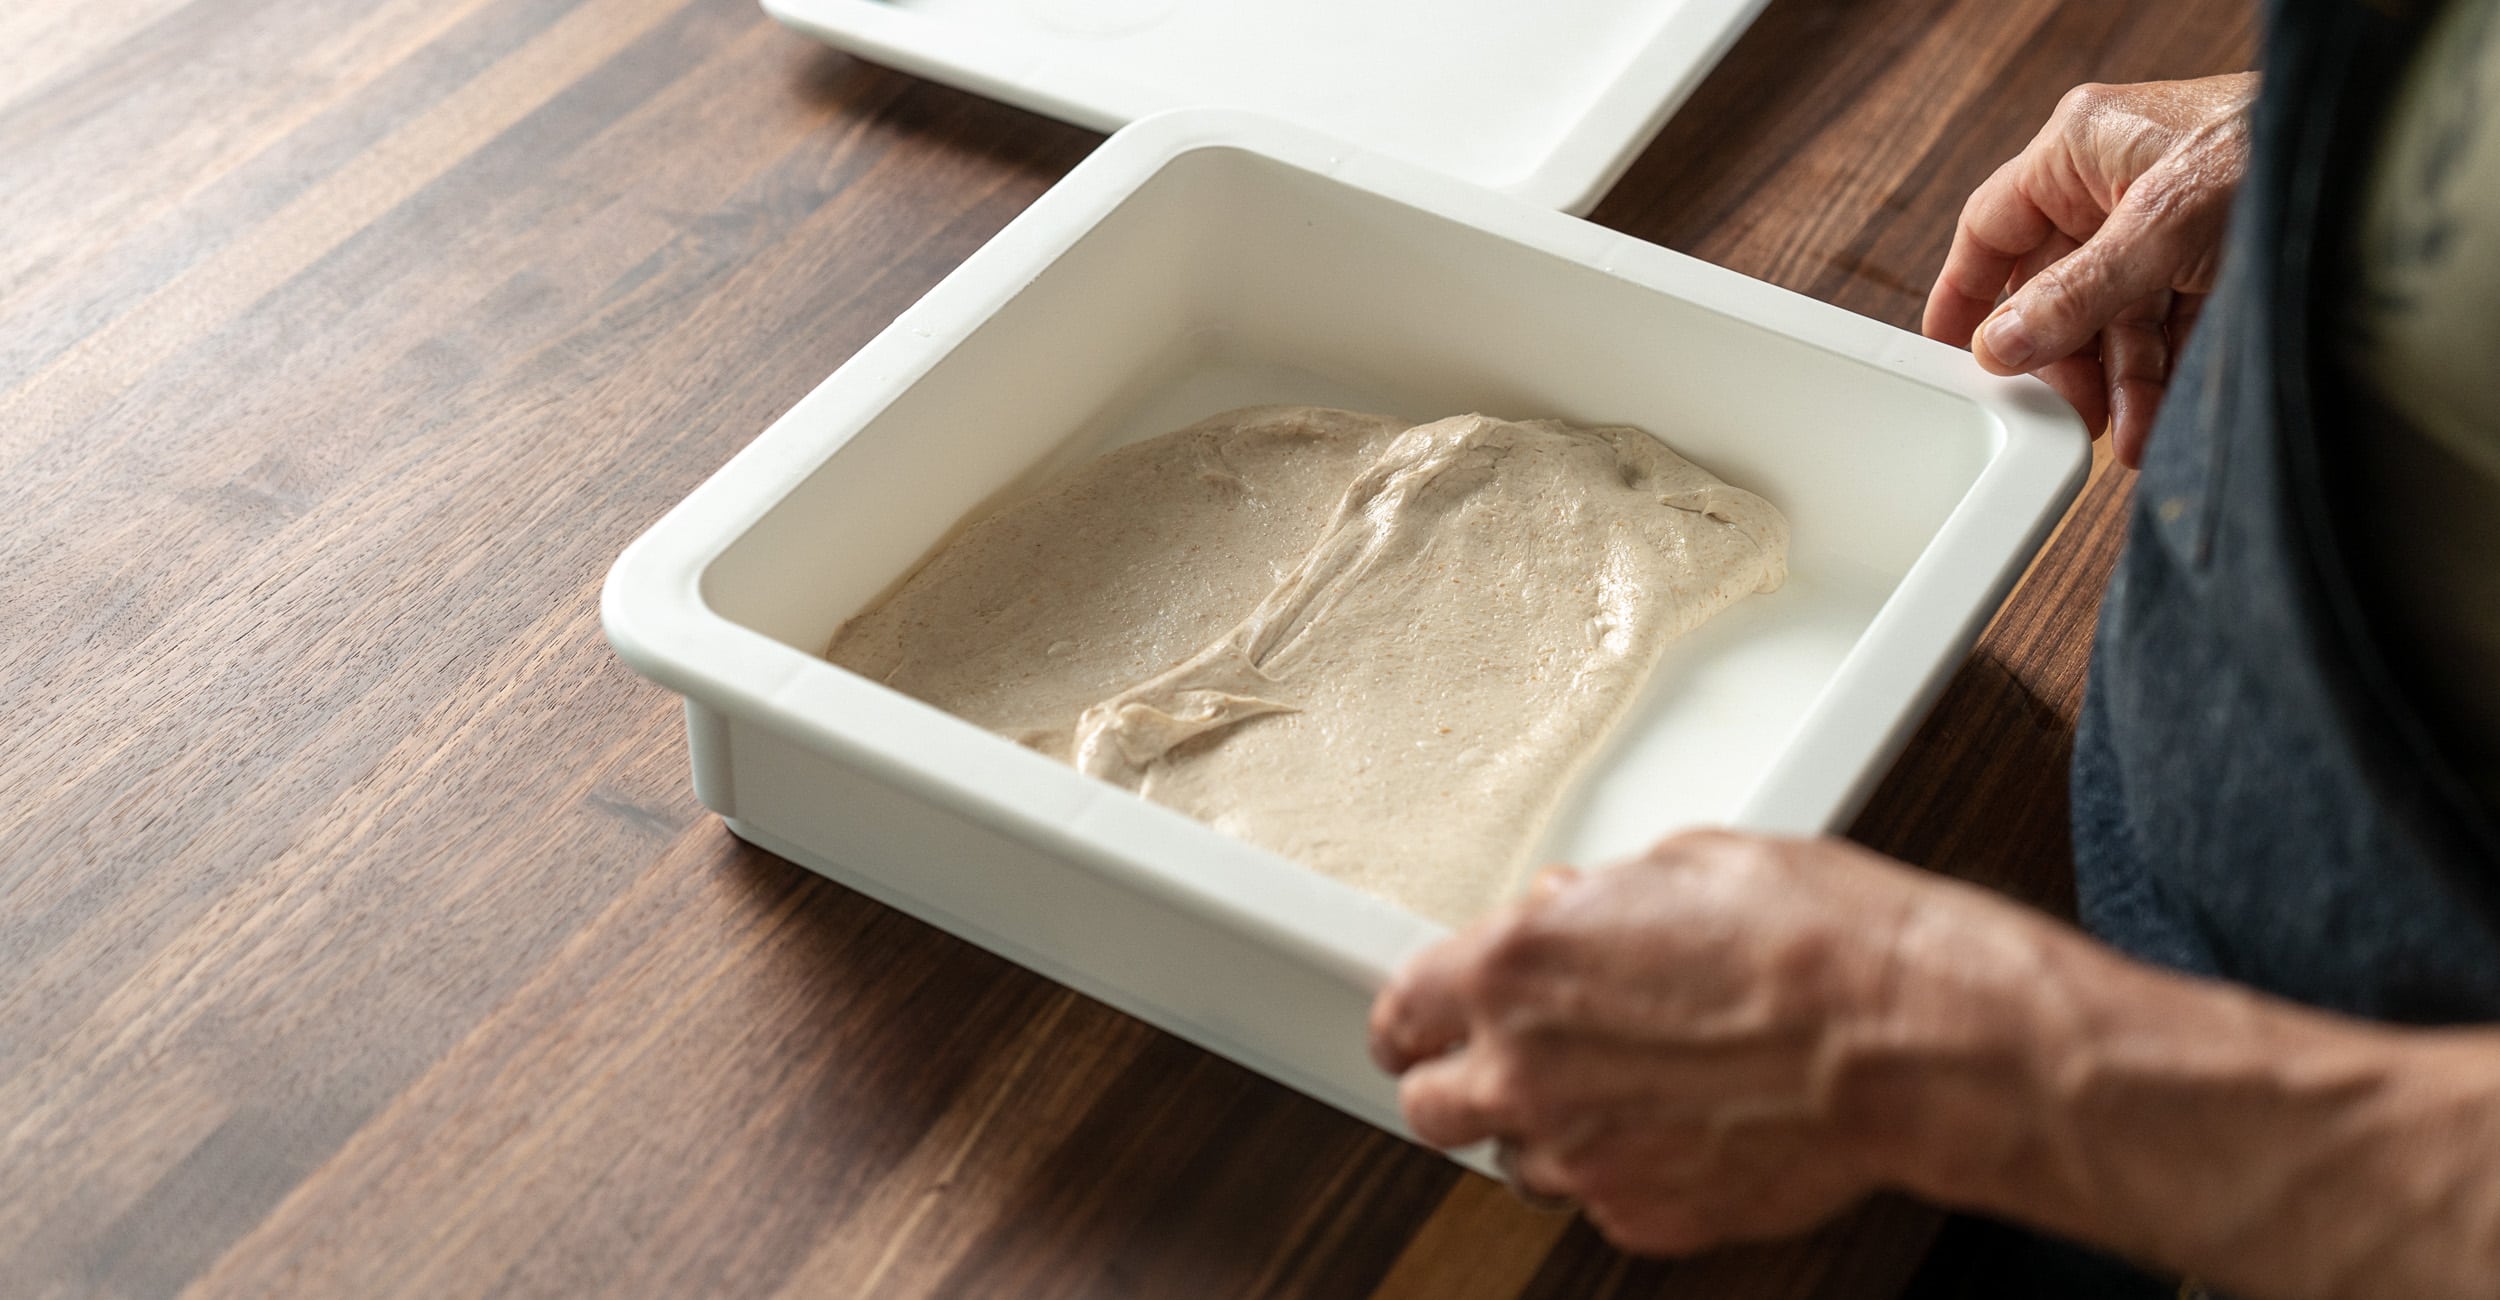
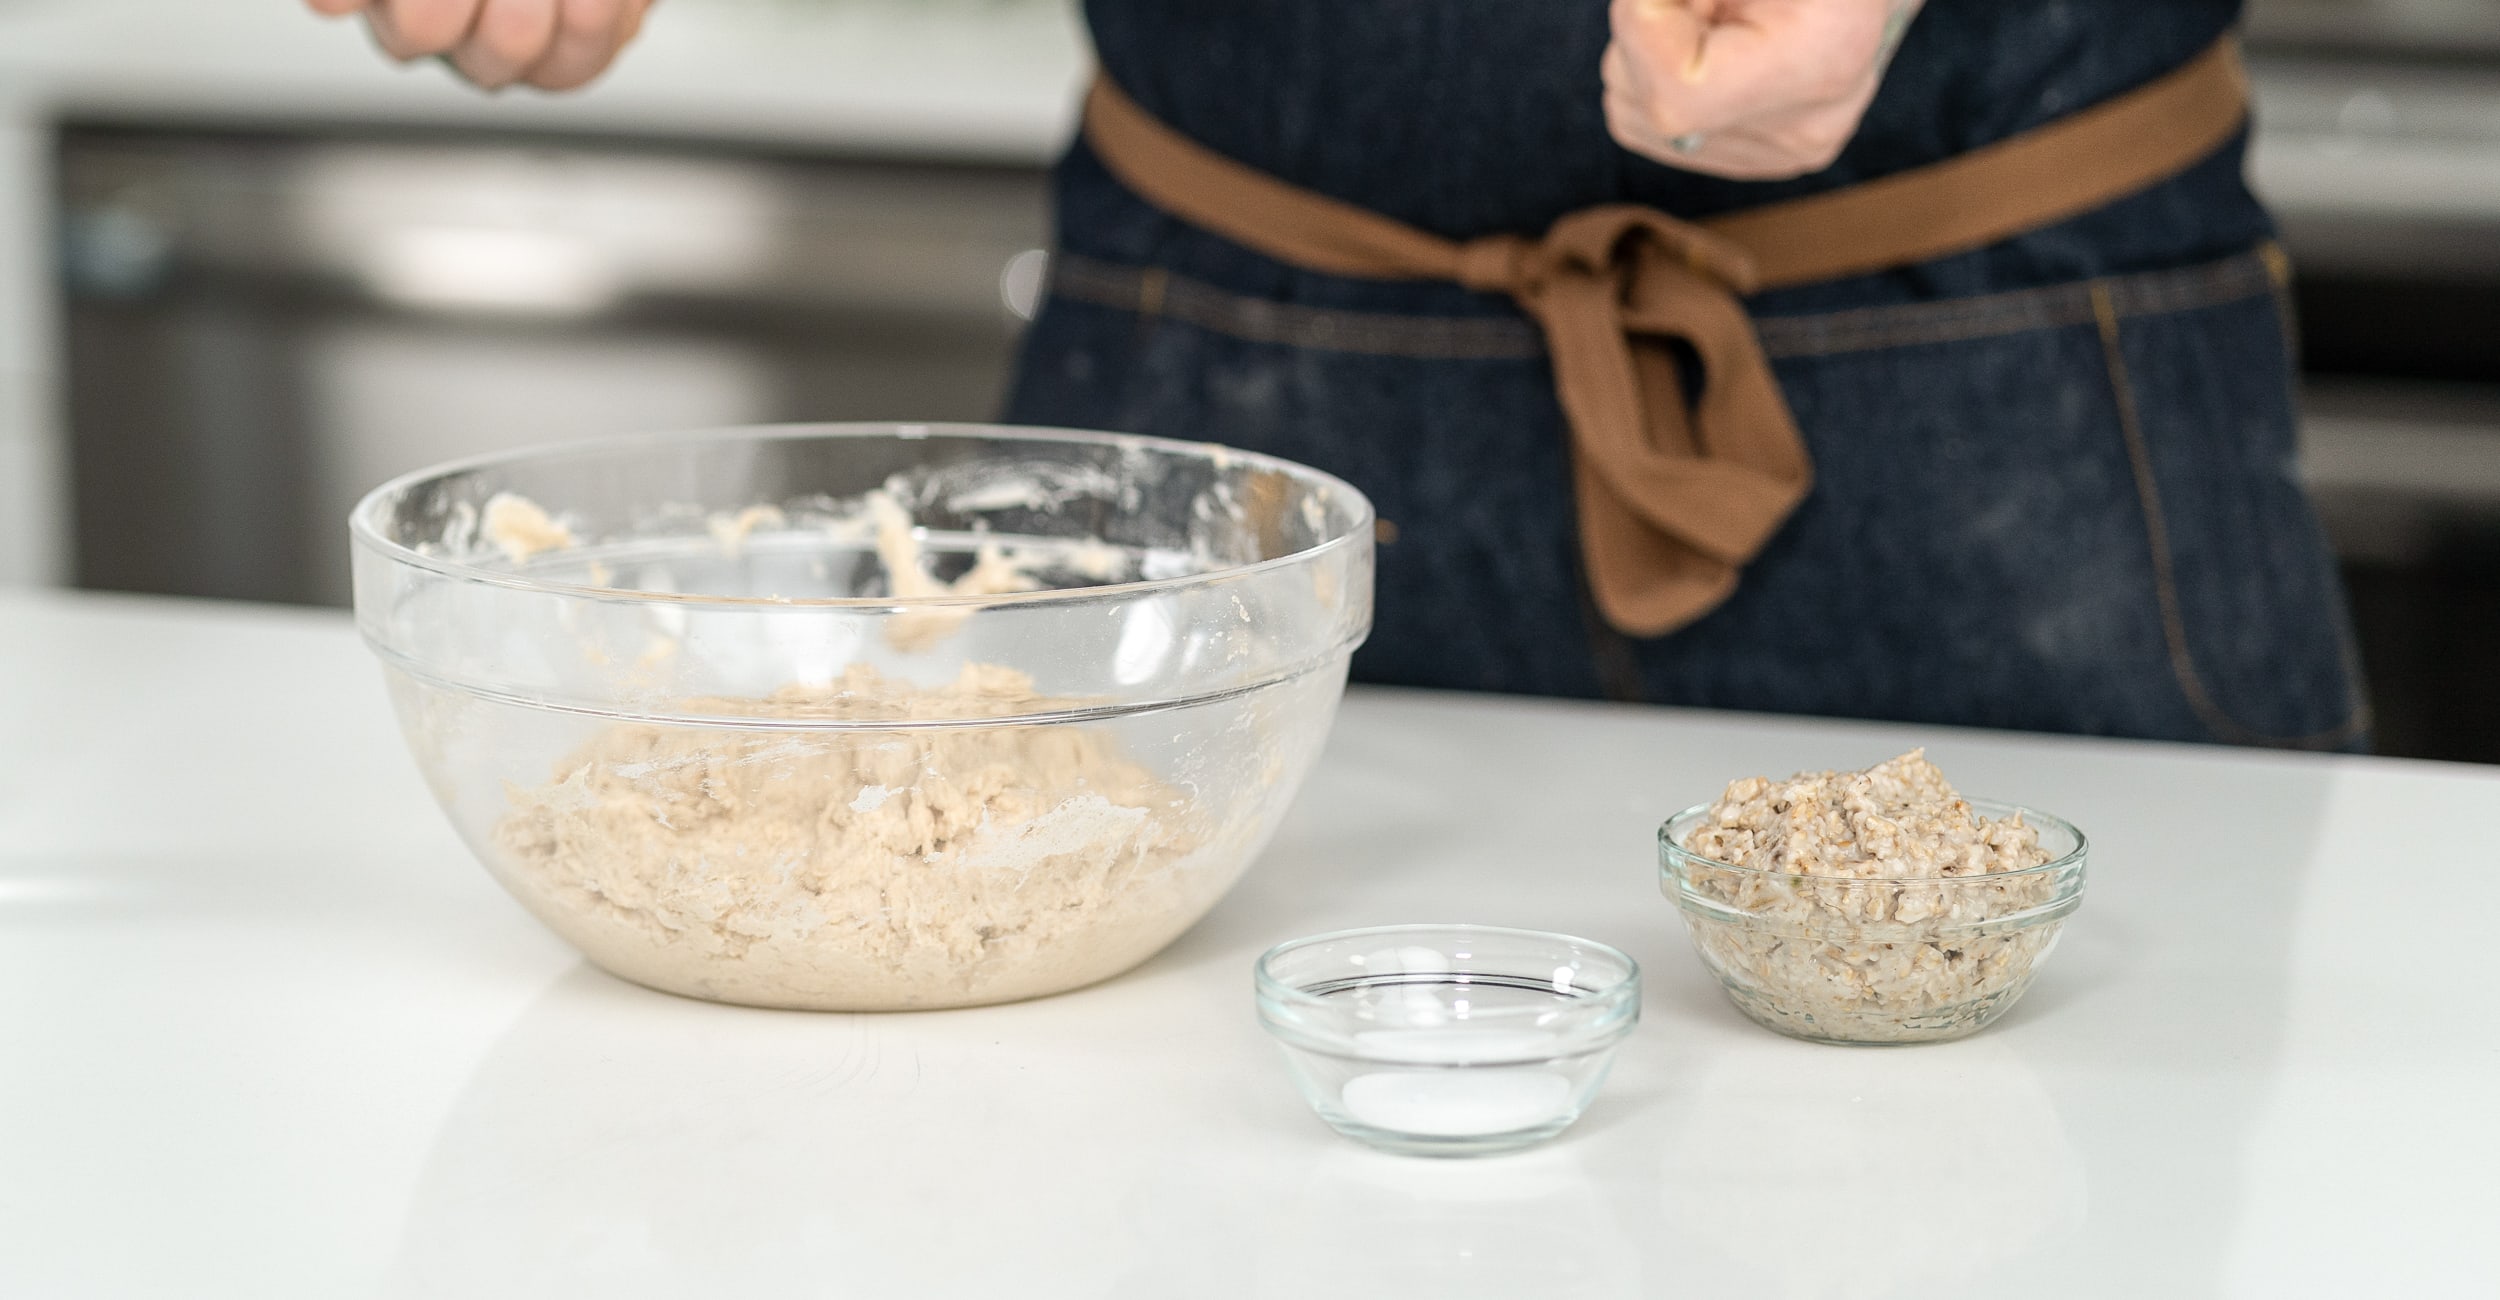
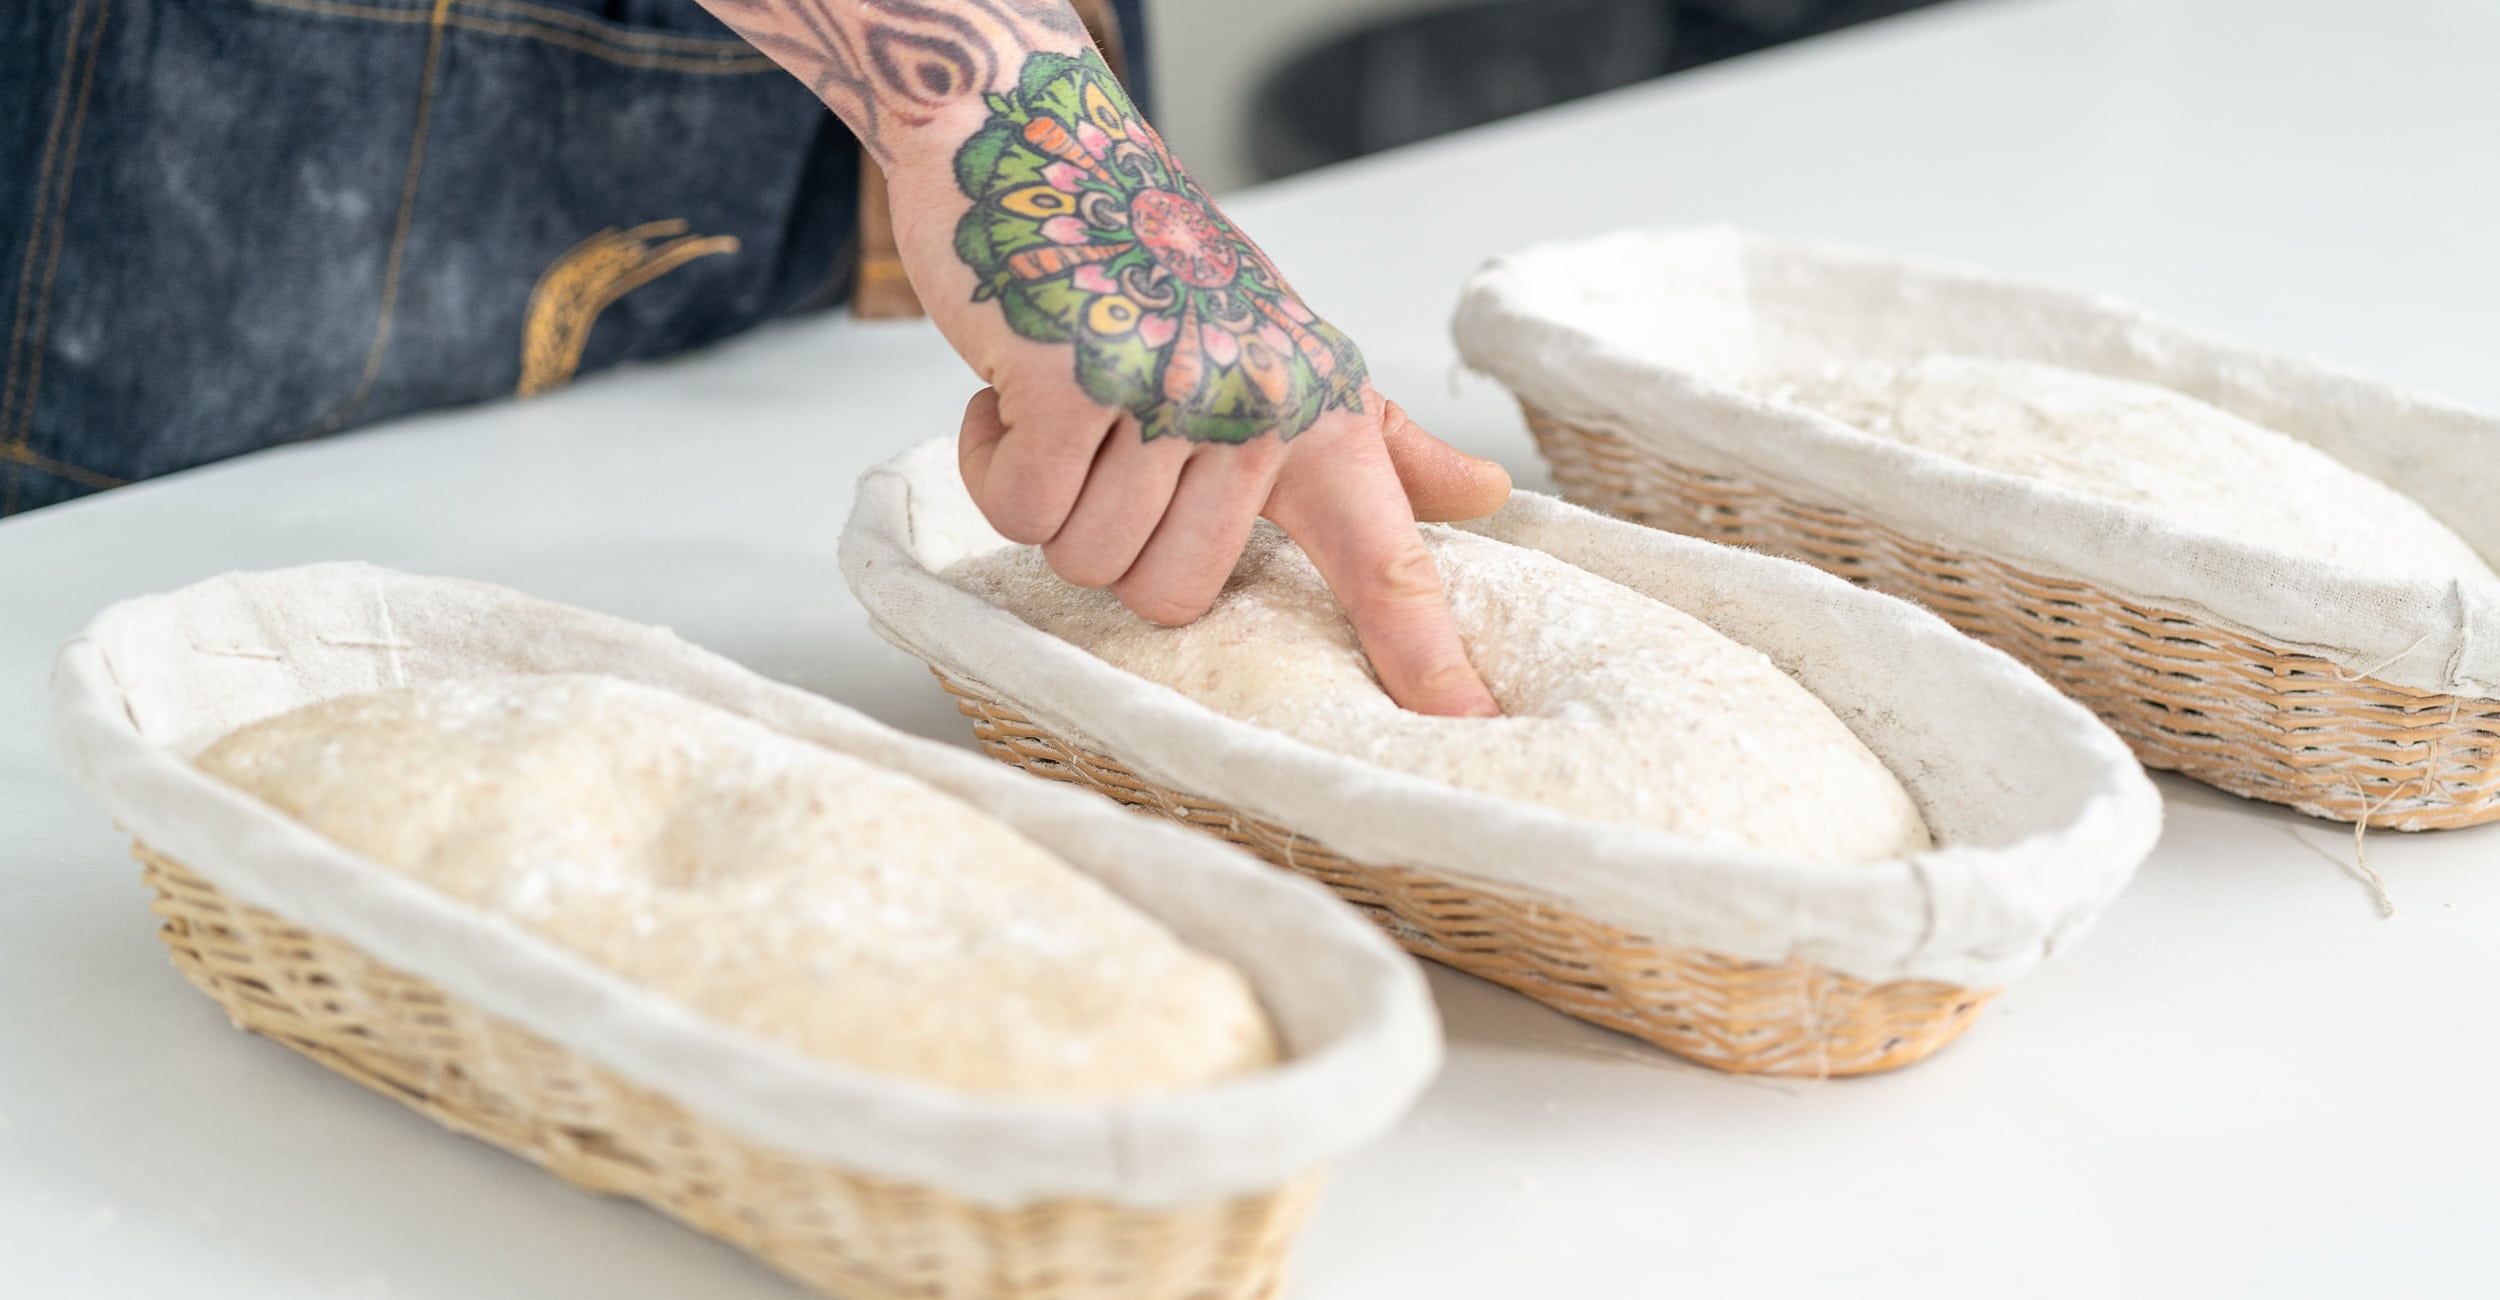
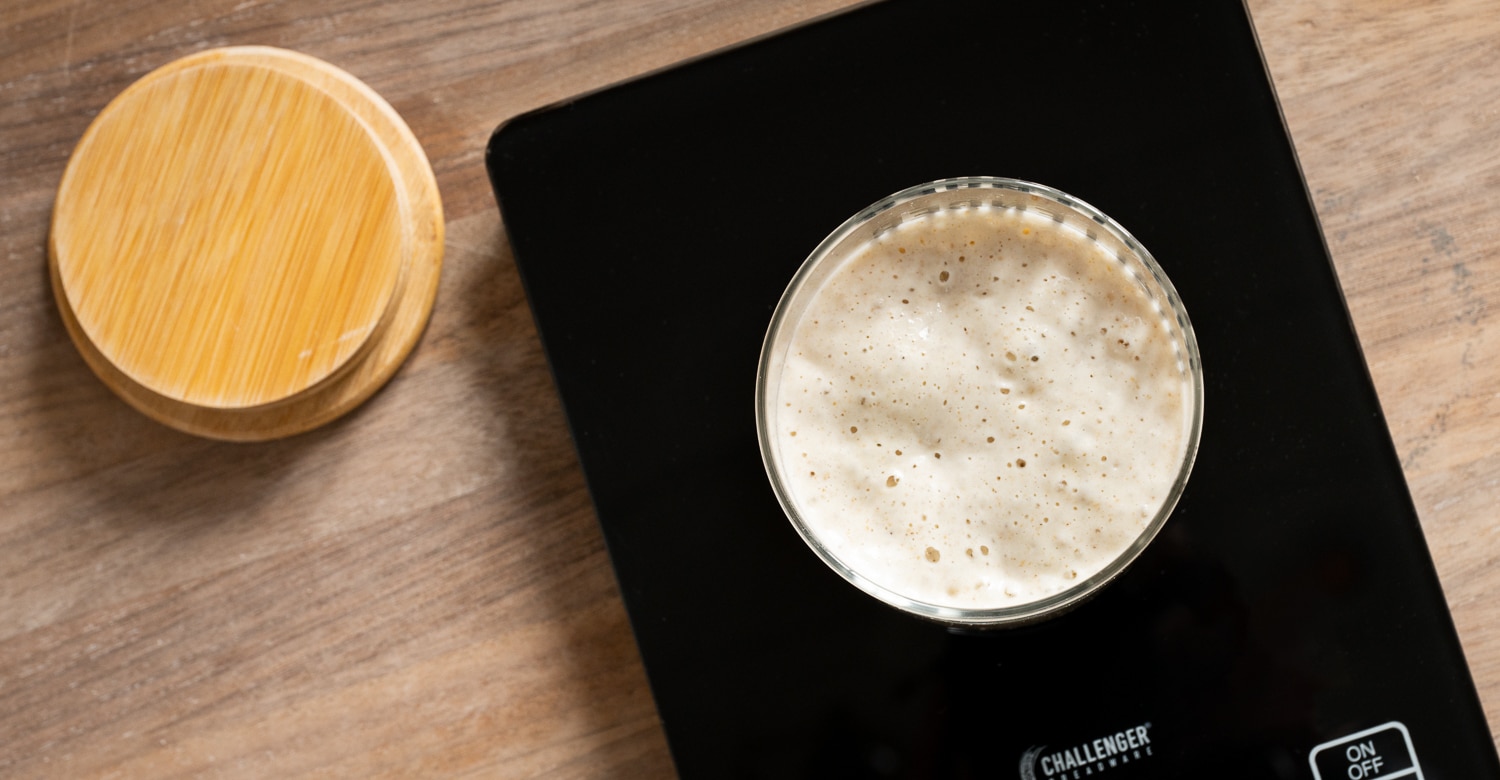
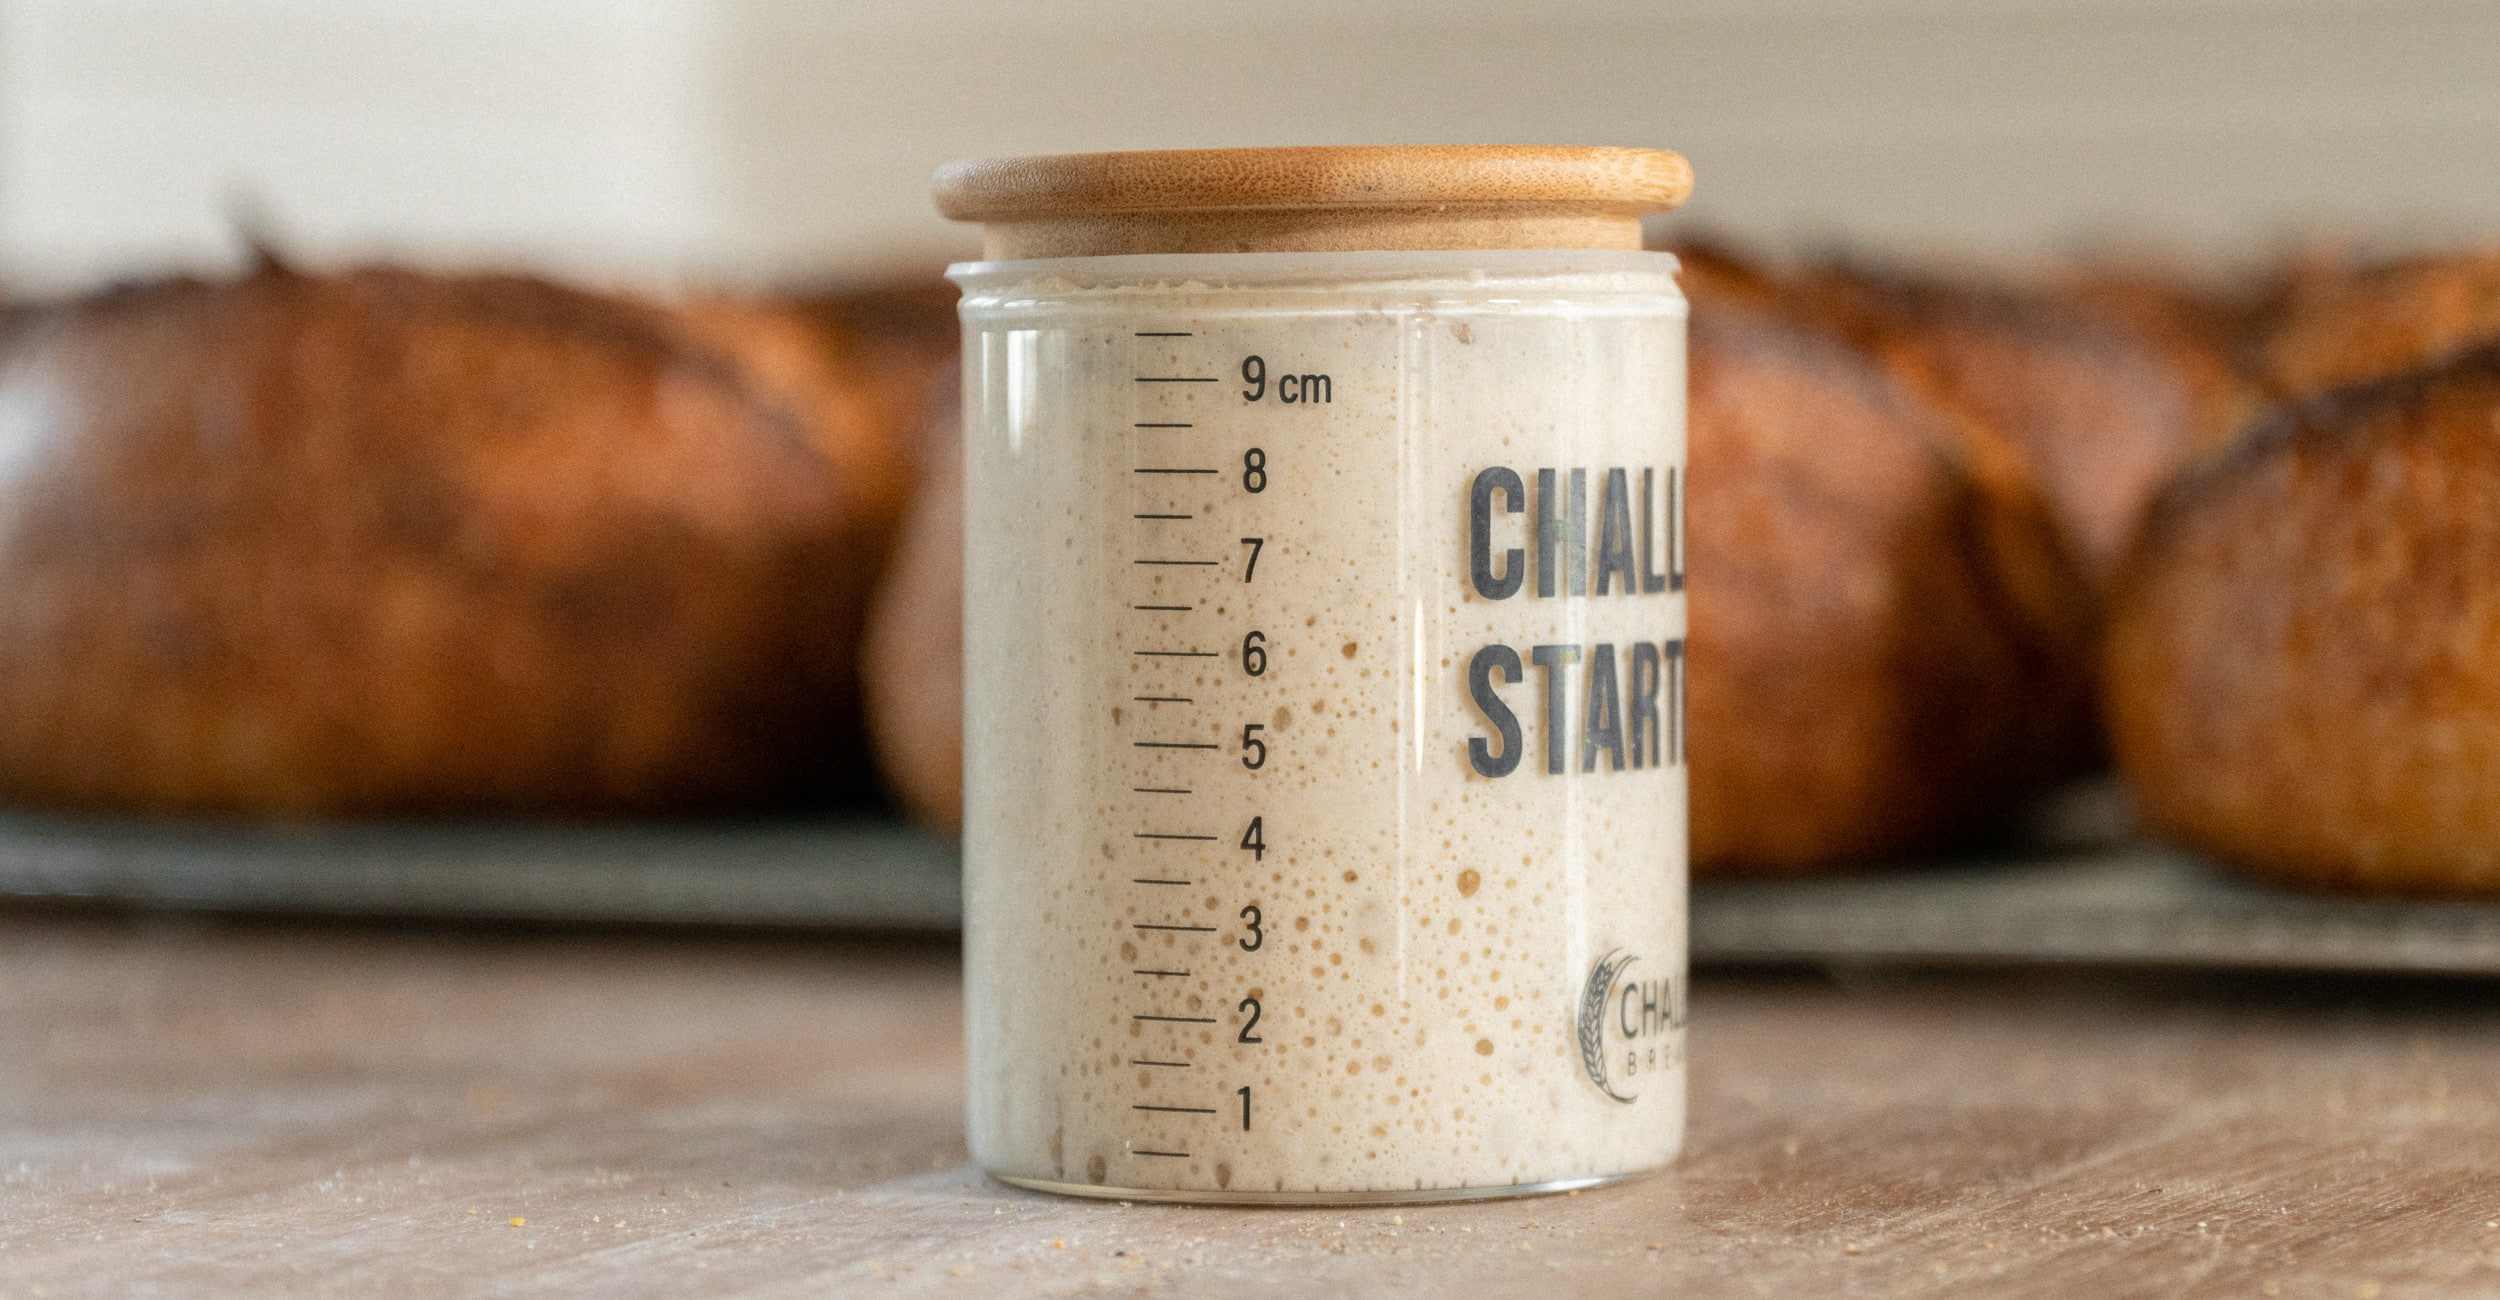
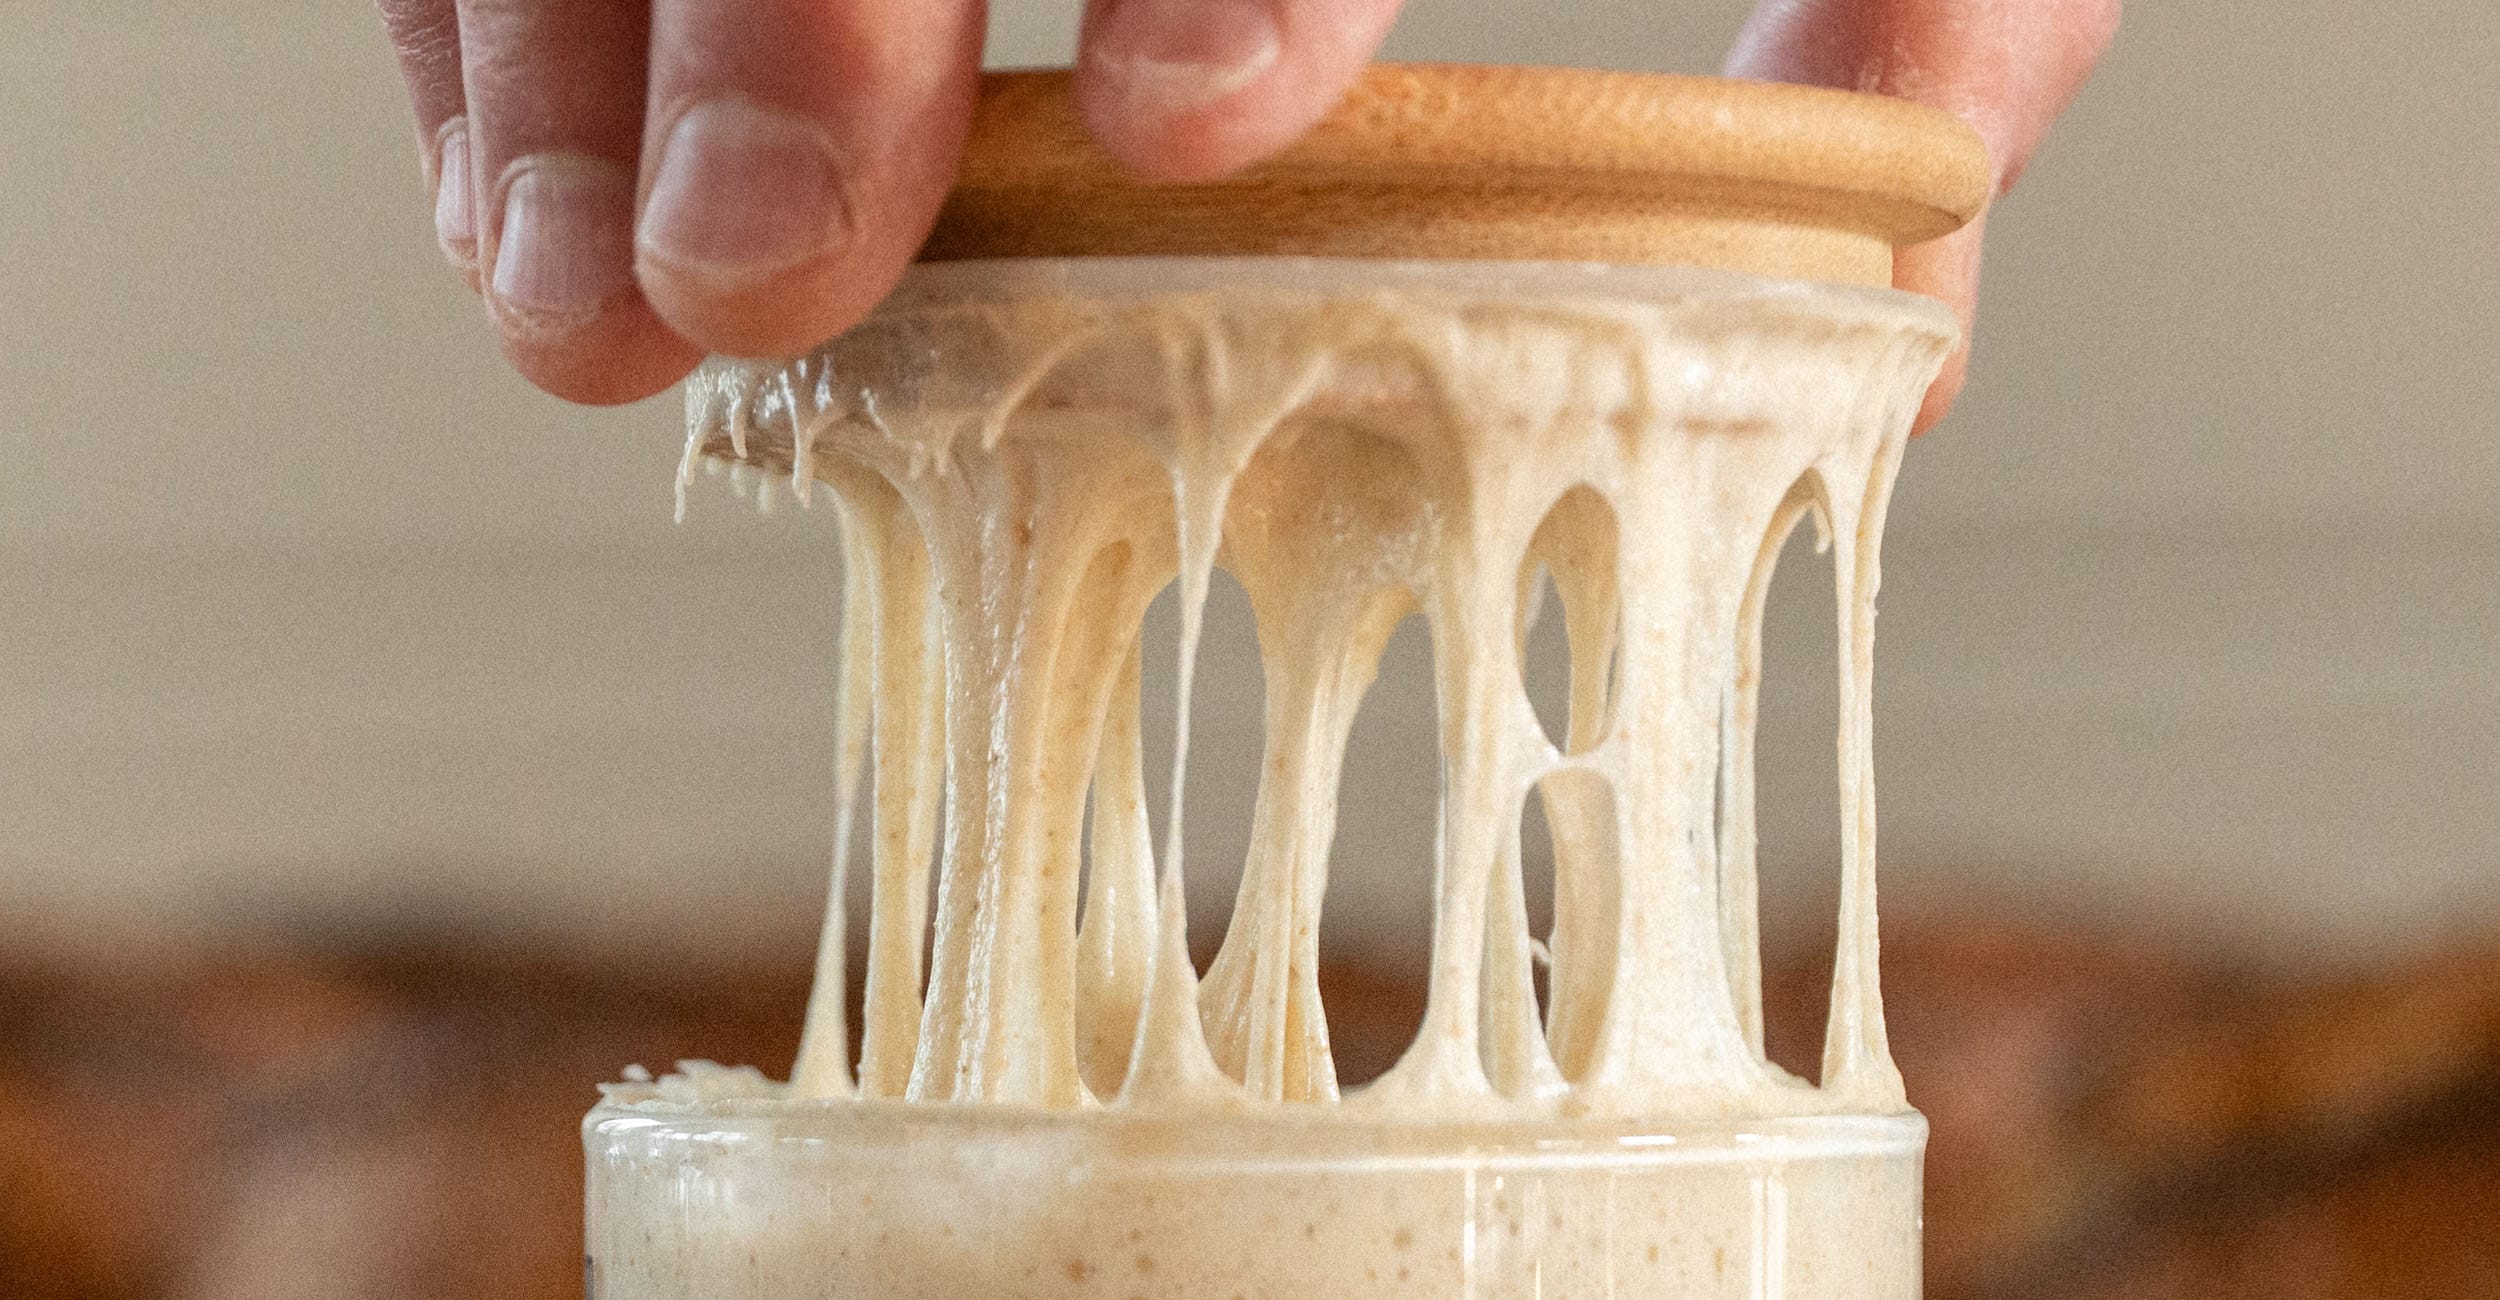
Sourdough proofing times can vary greatly depending on the environment. Here are a few simple and reliable ways to check for the correct proof in your dough.
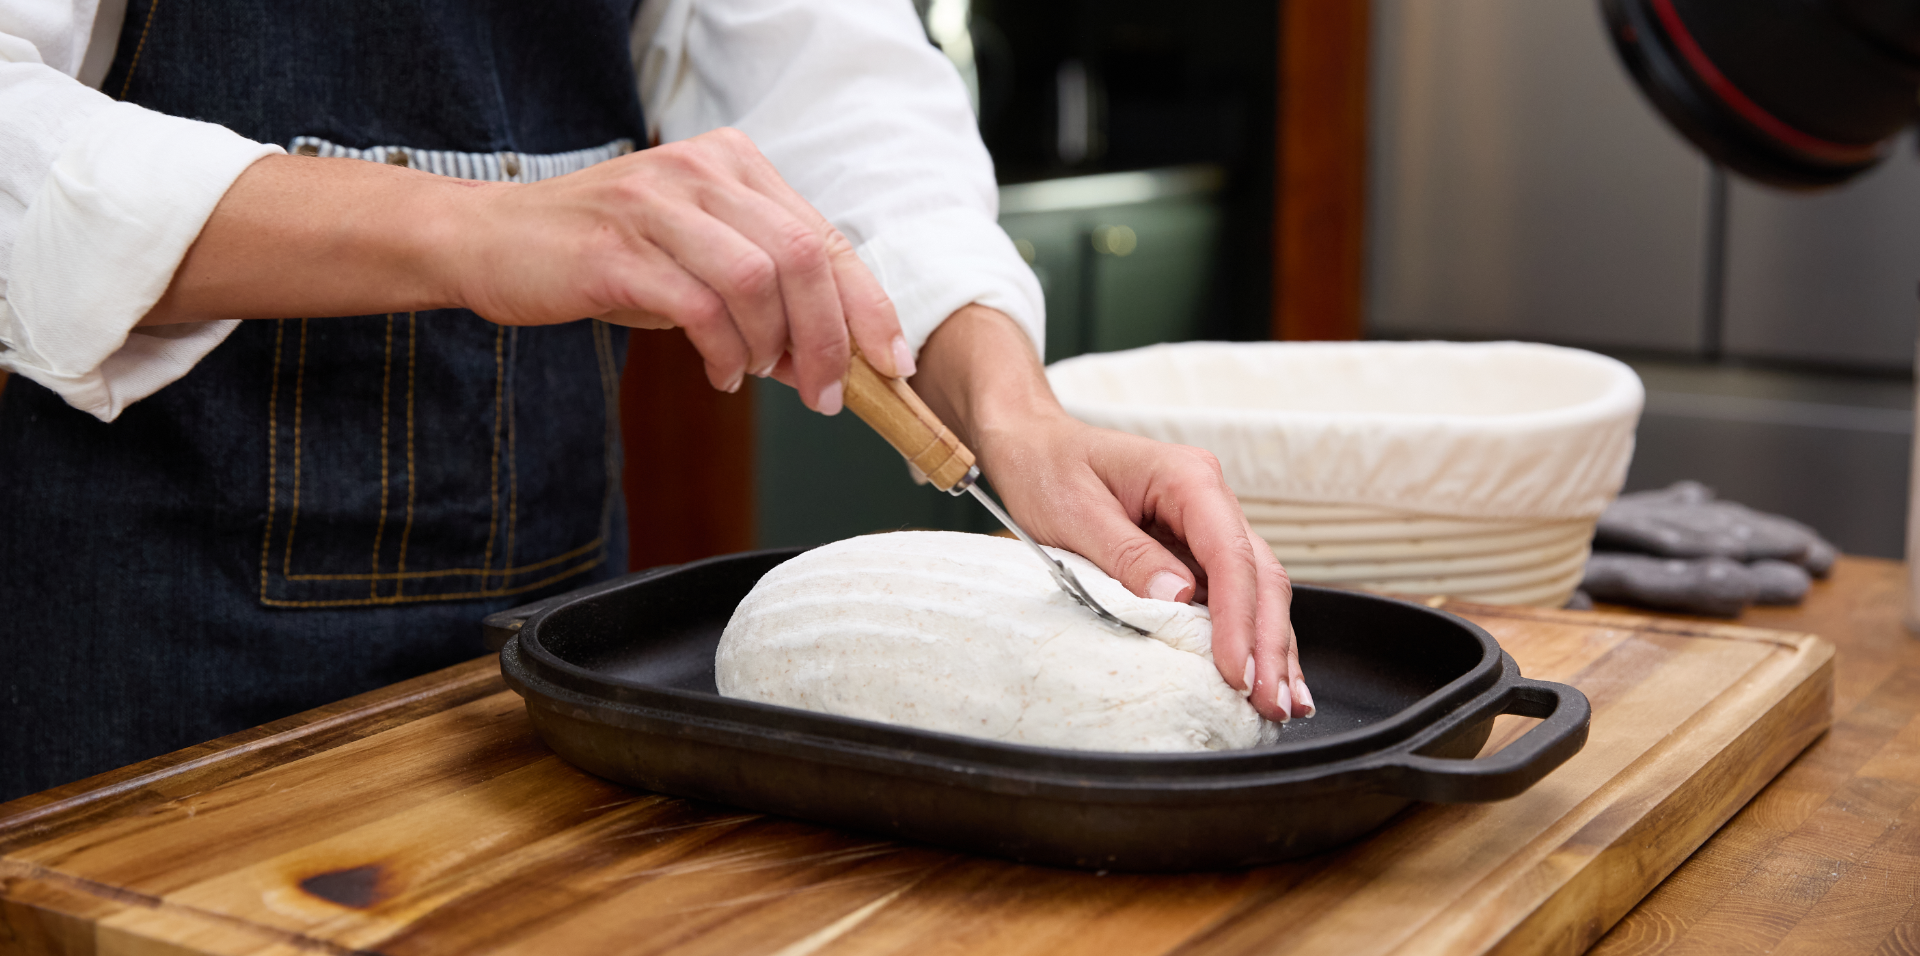
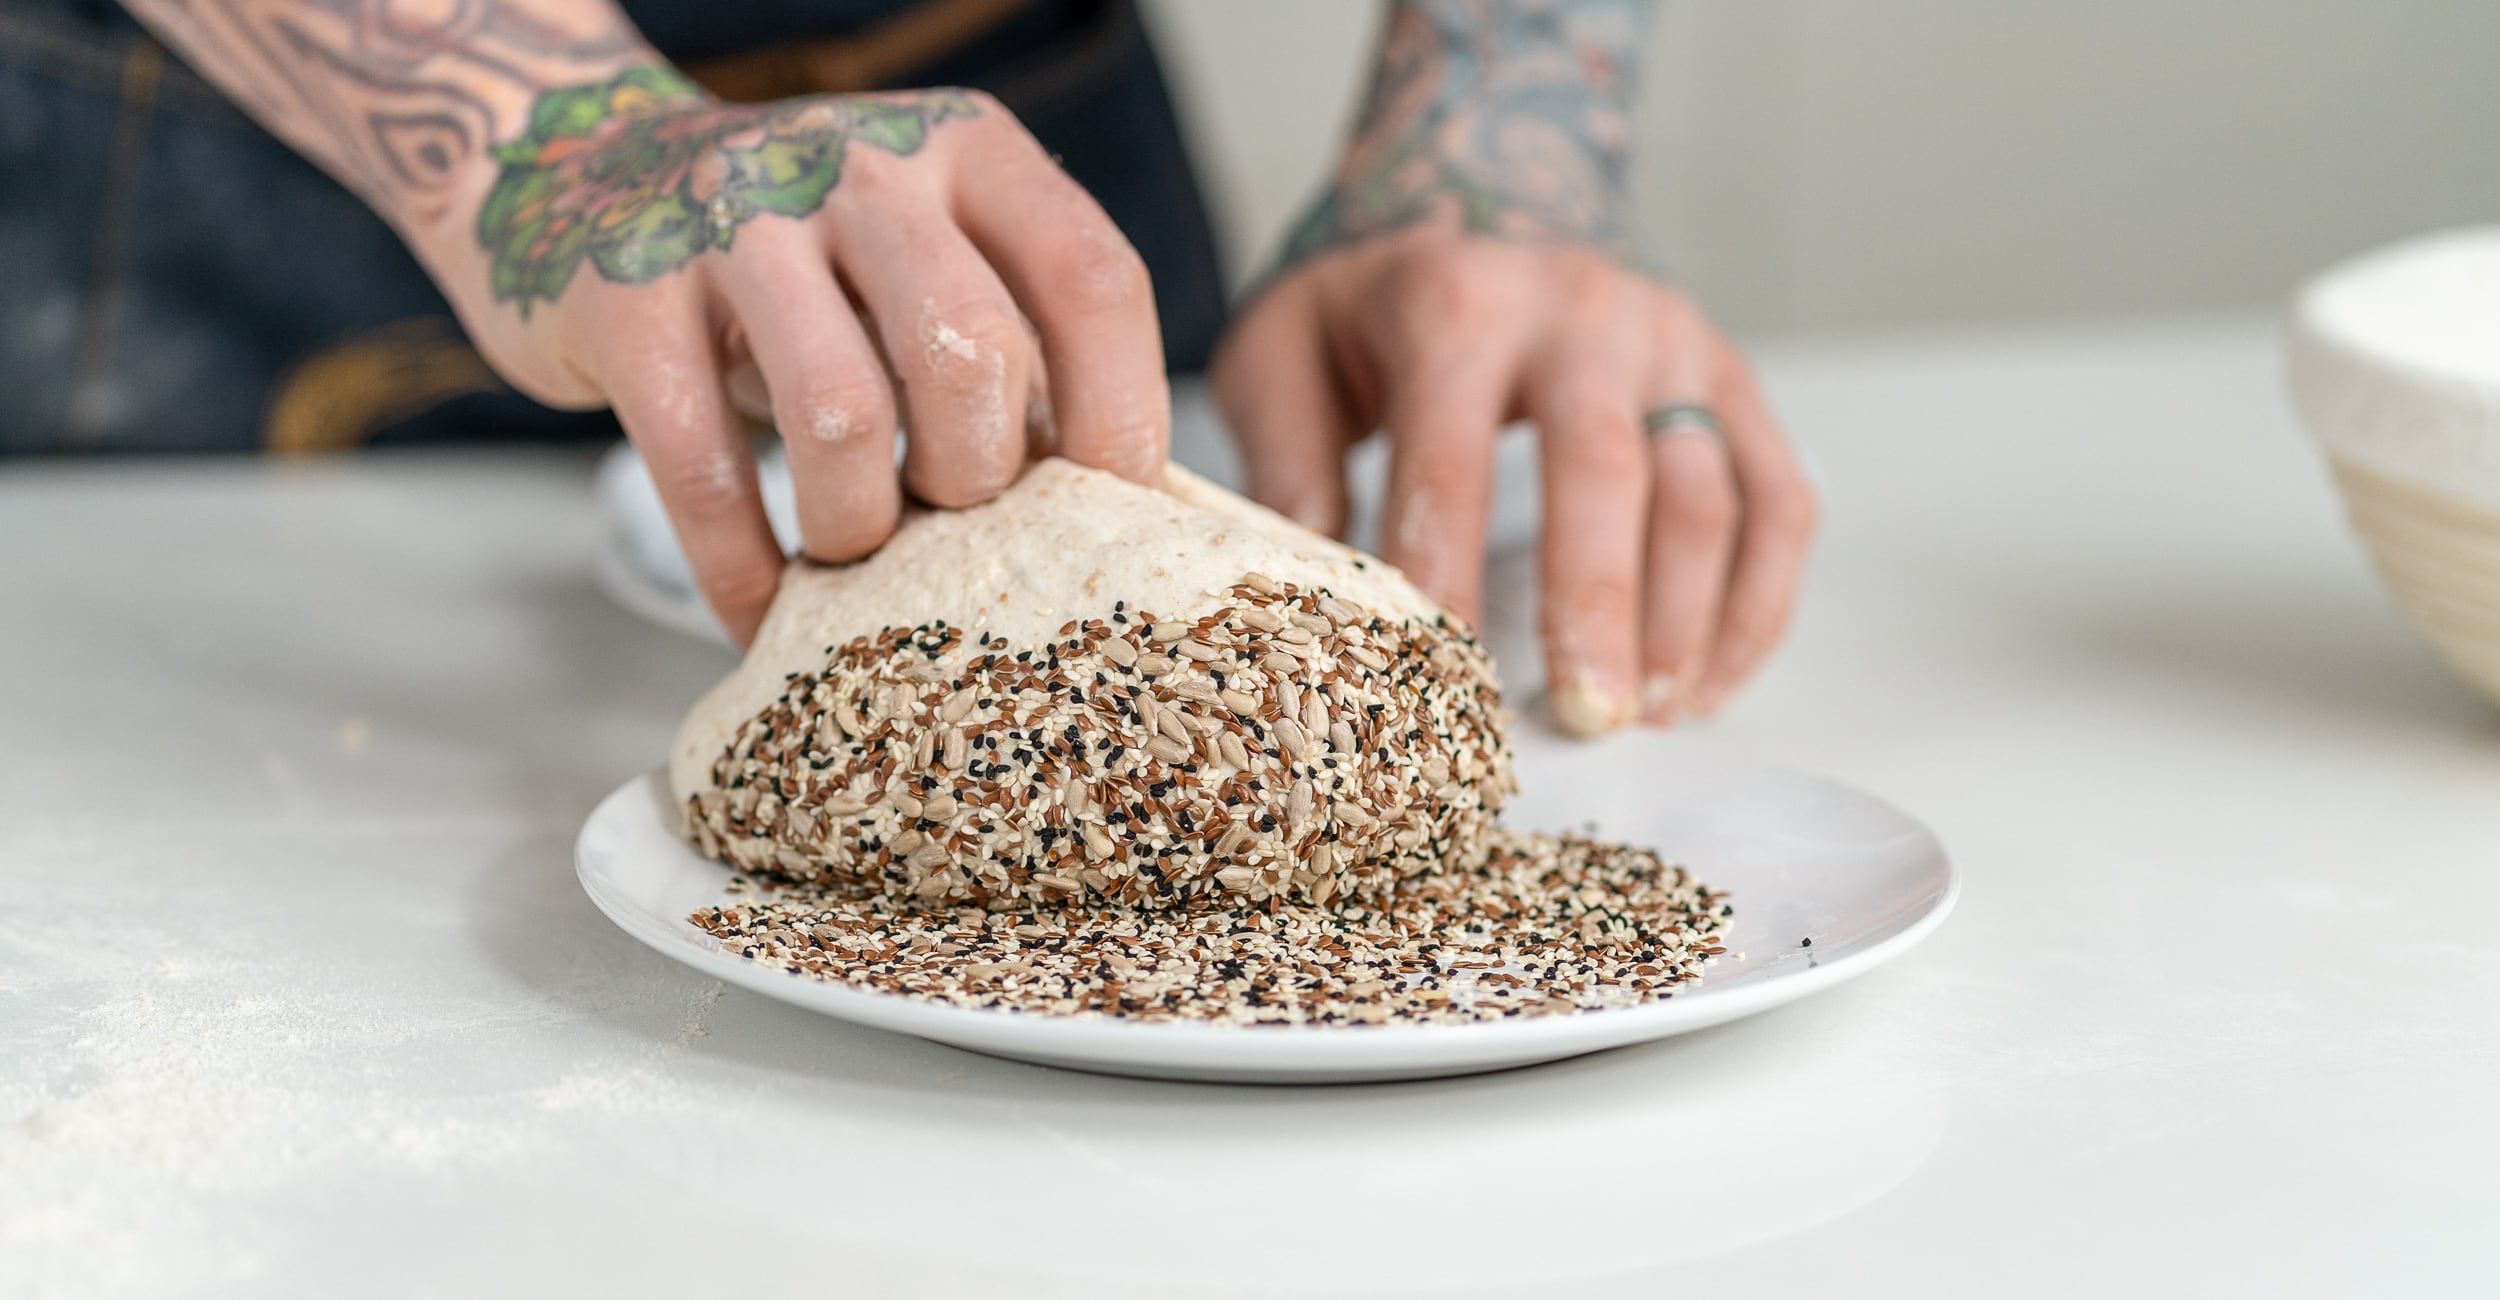
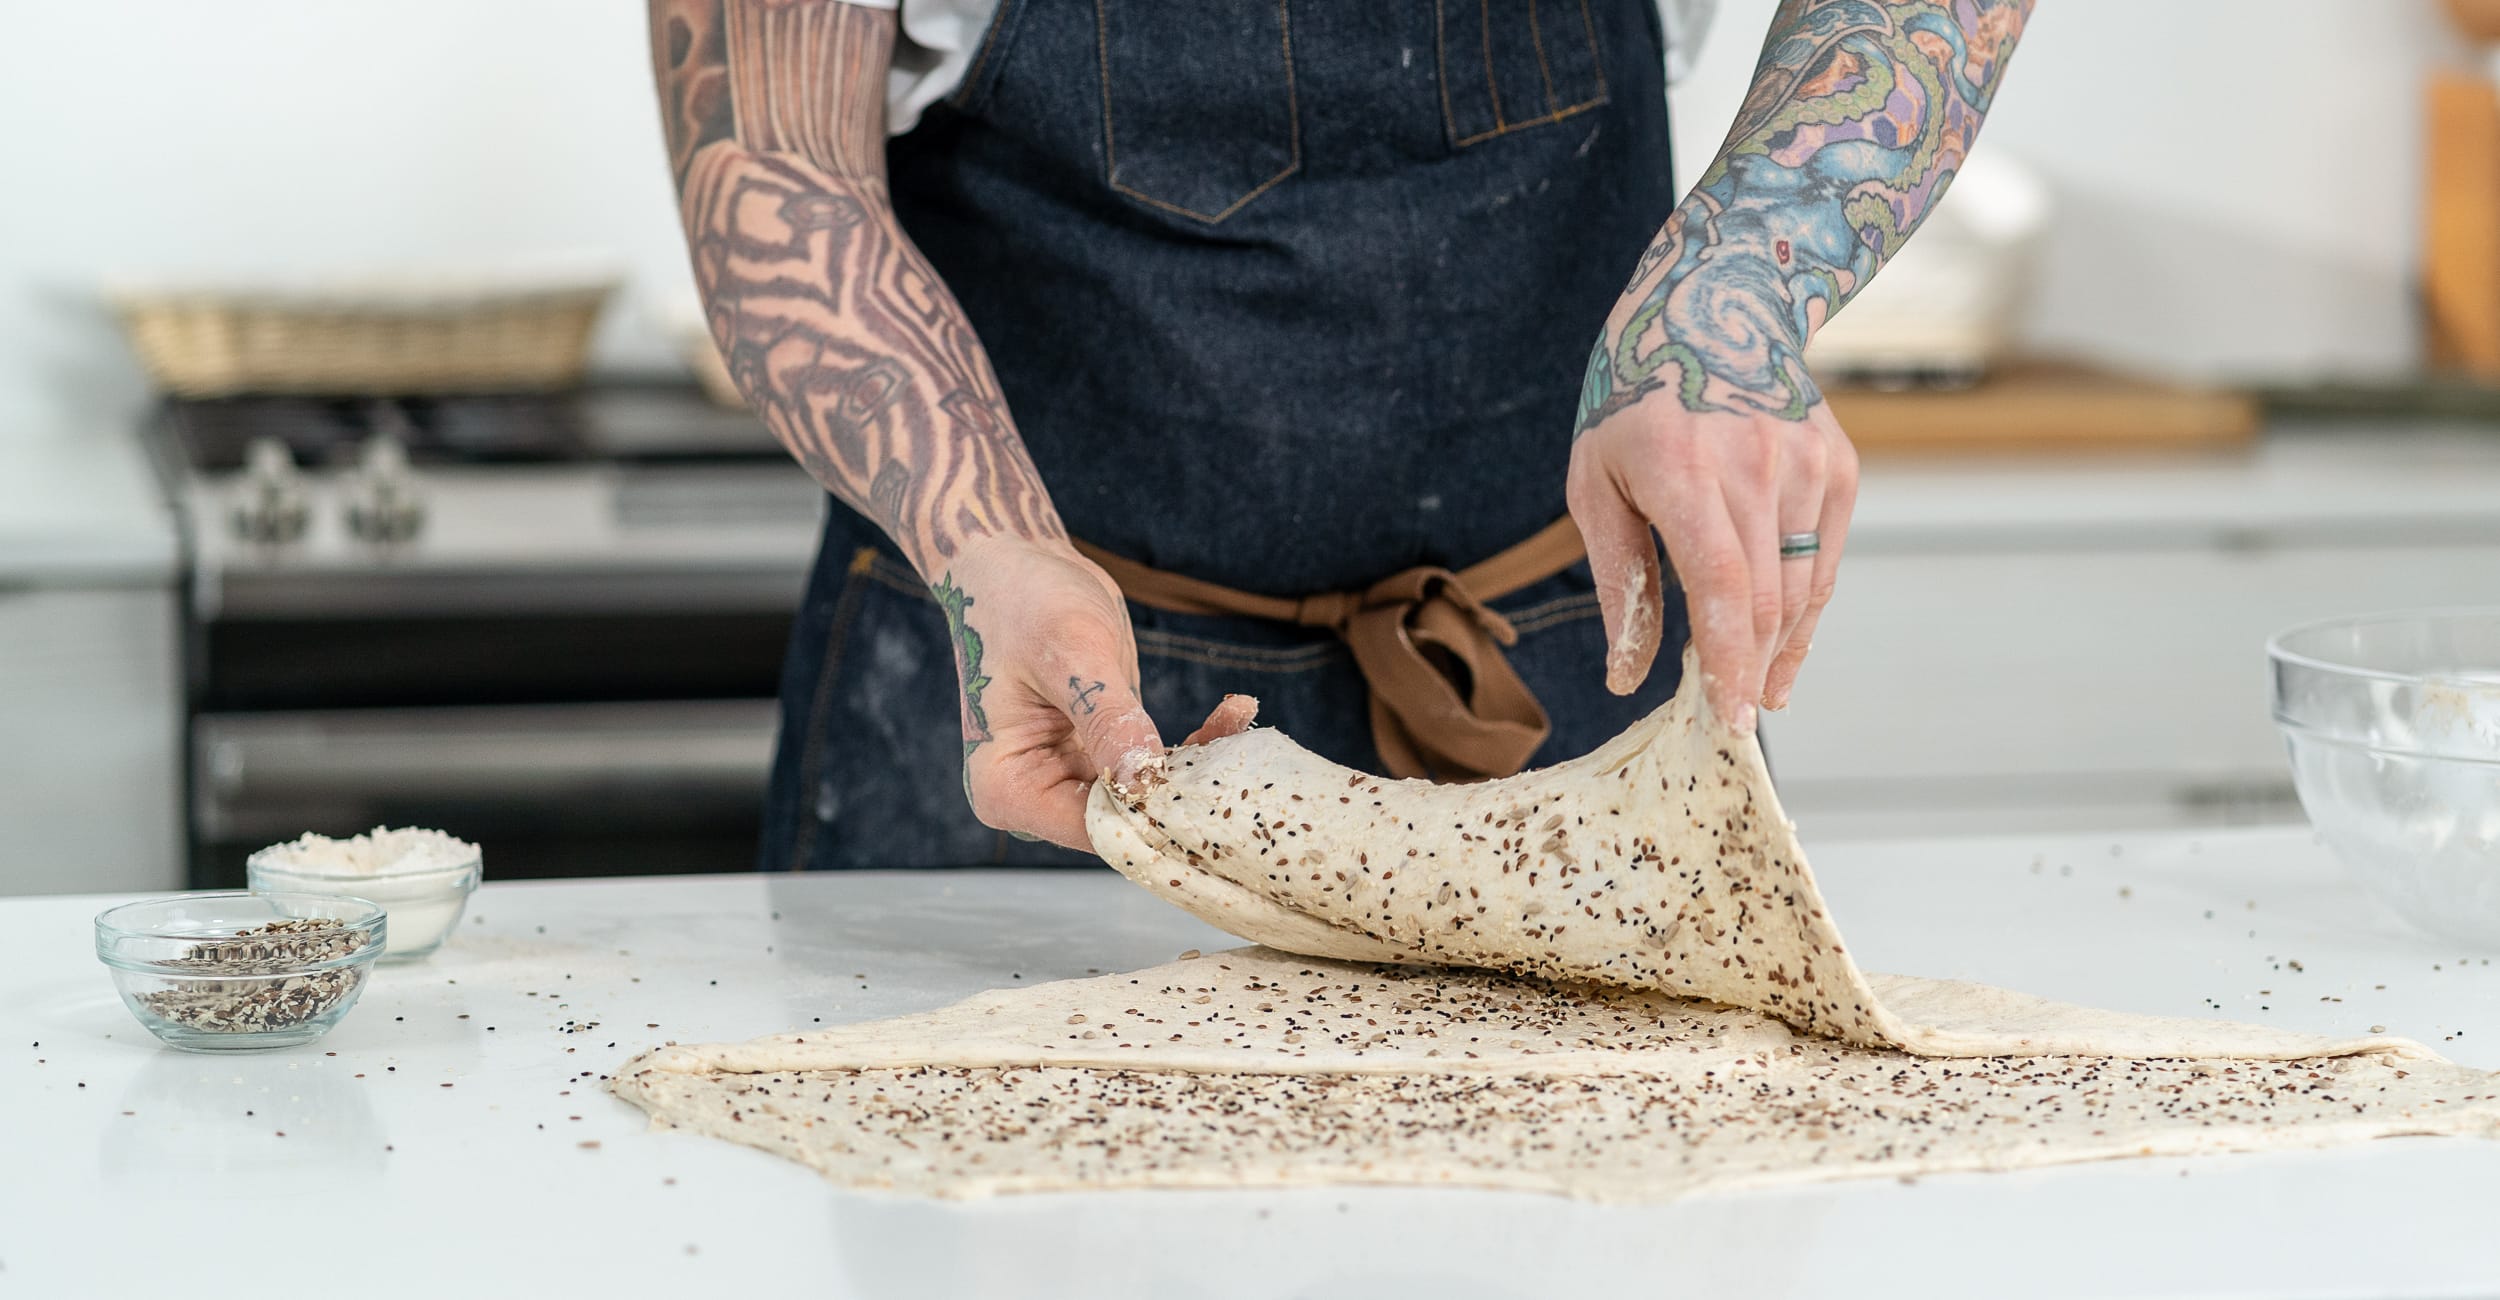
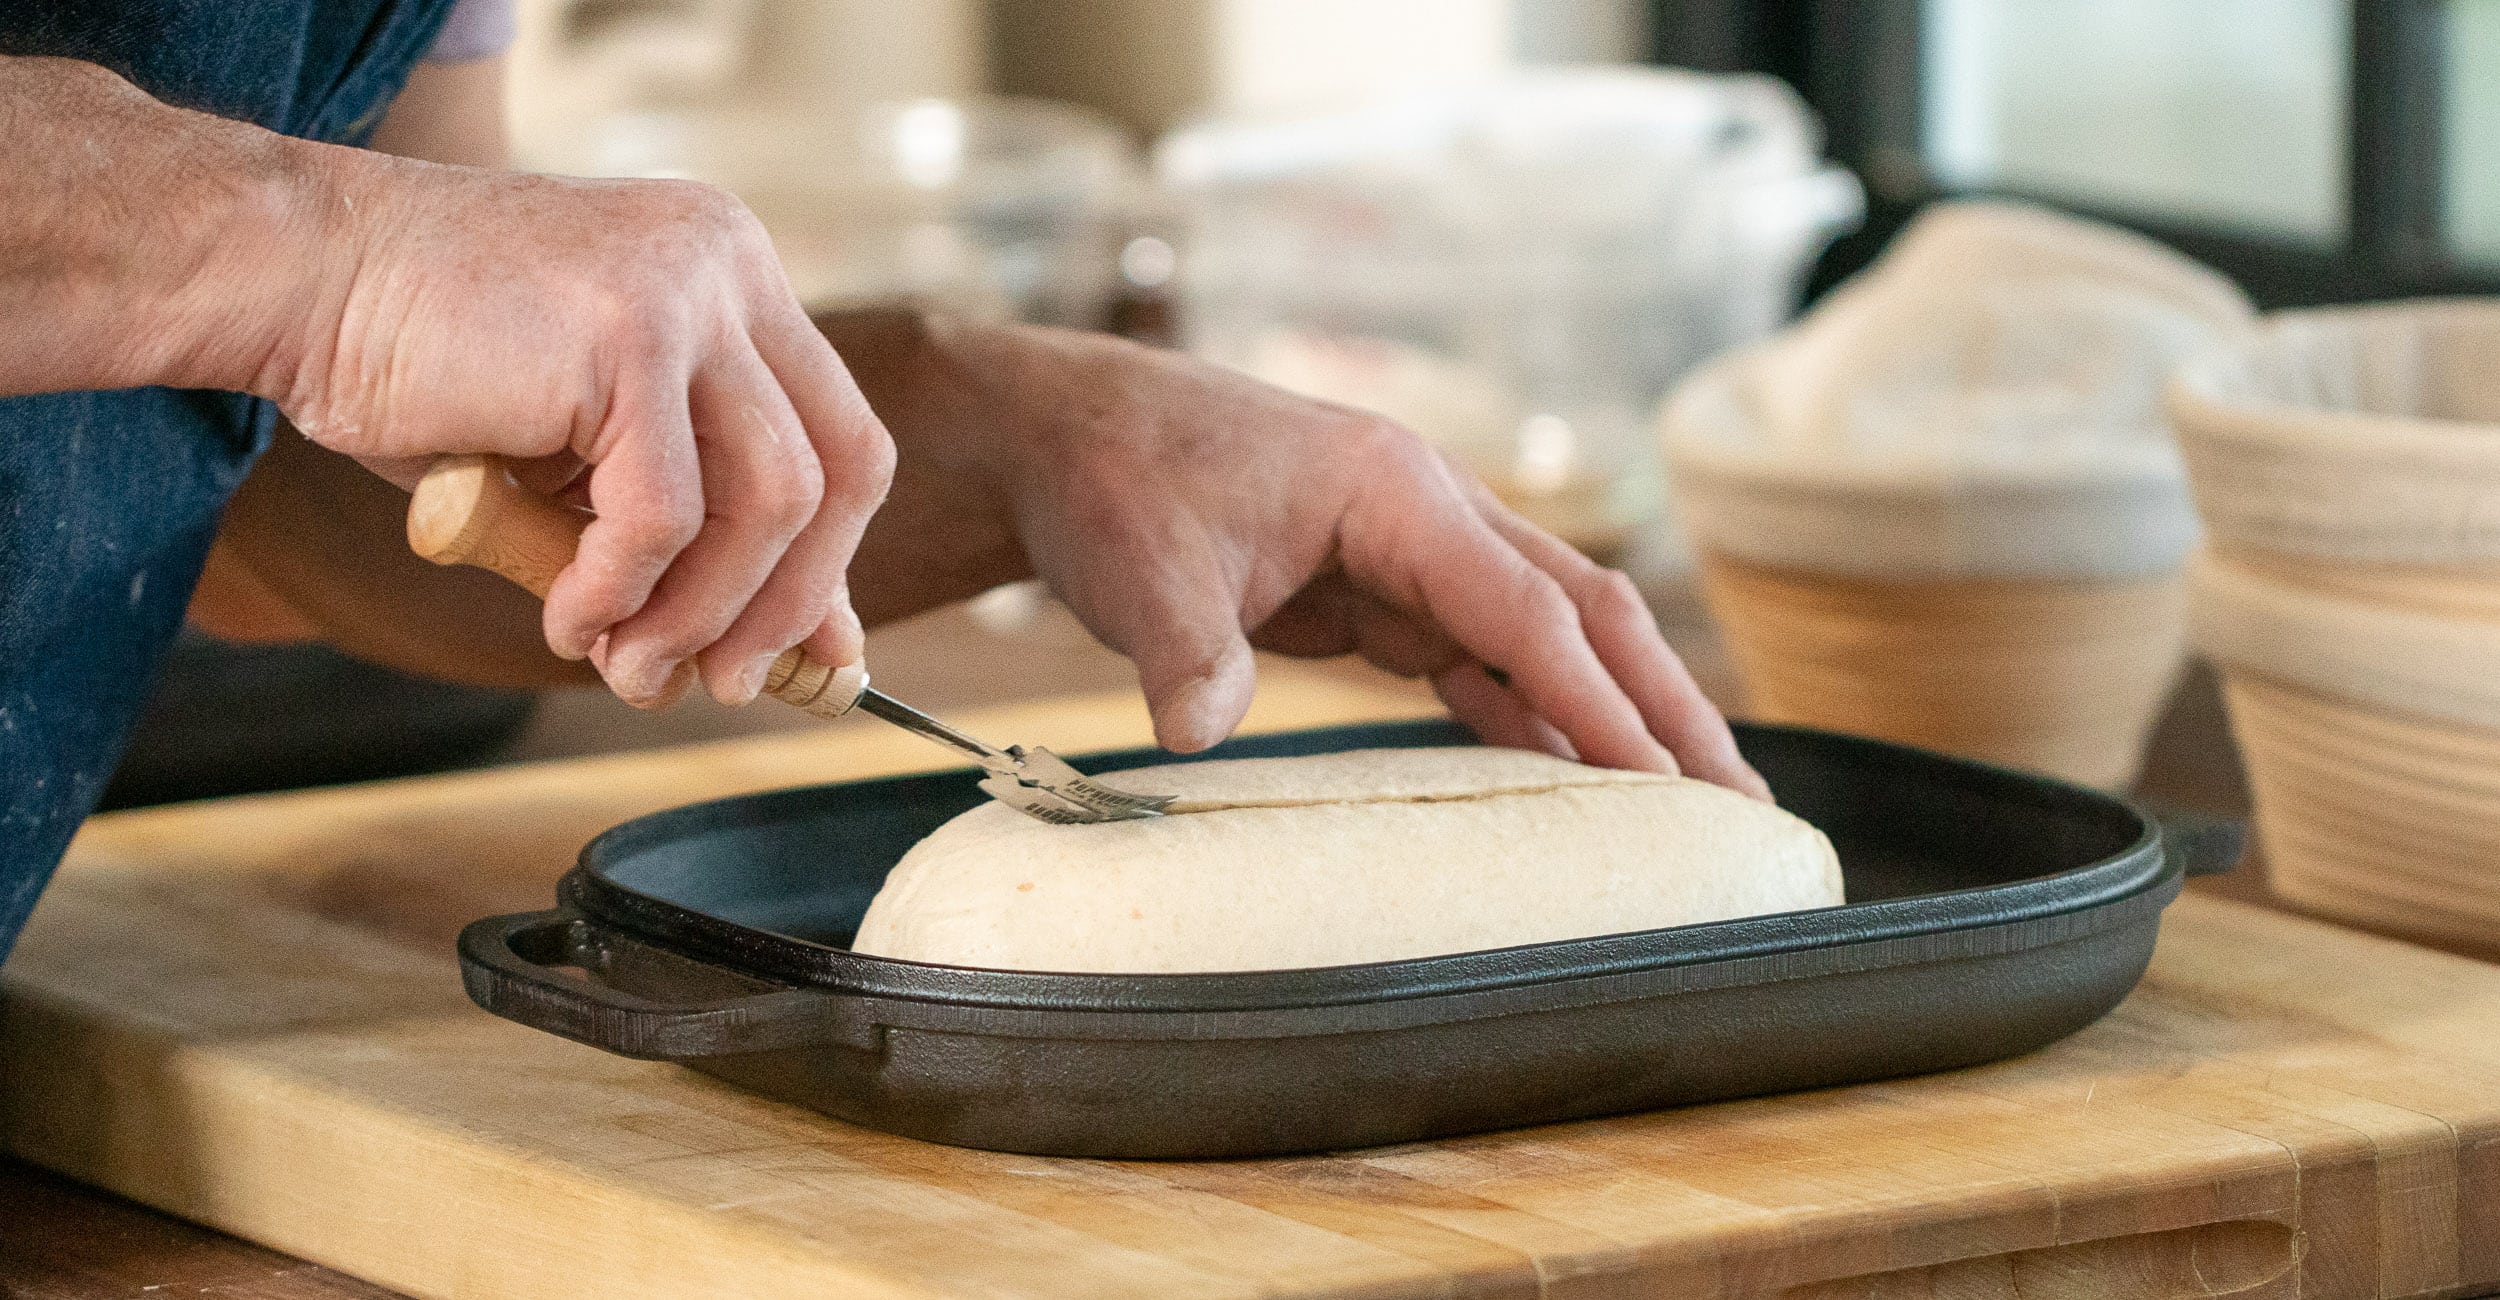
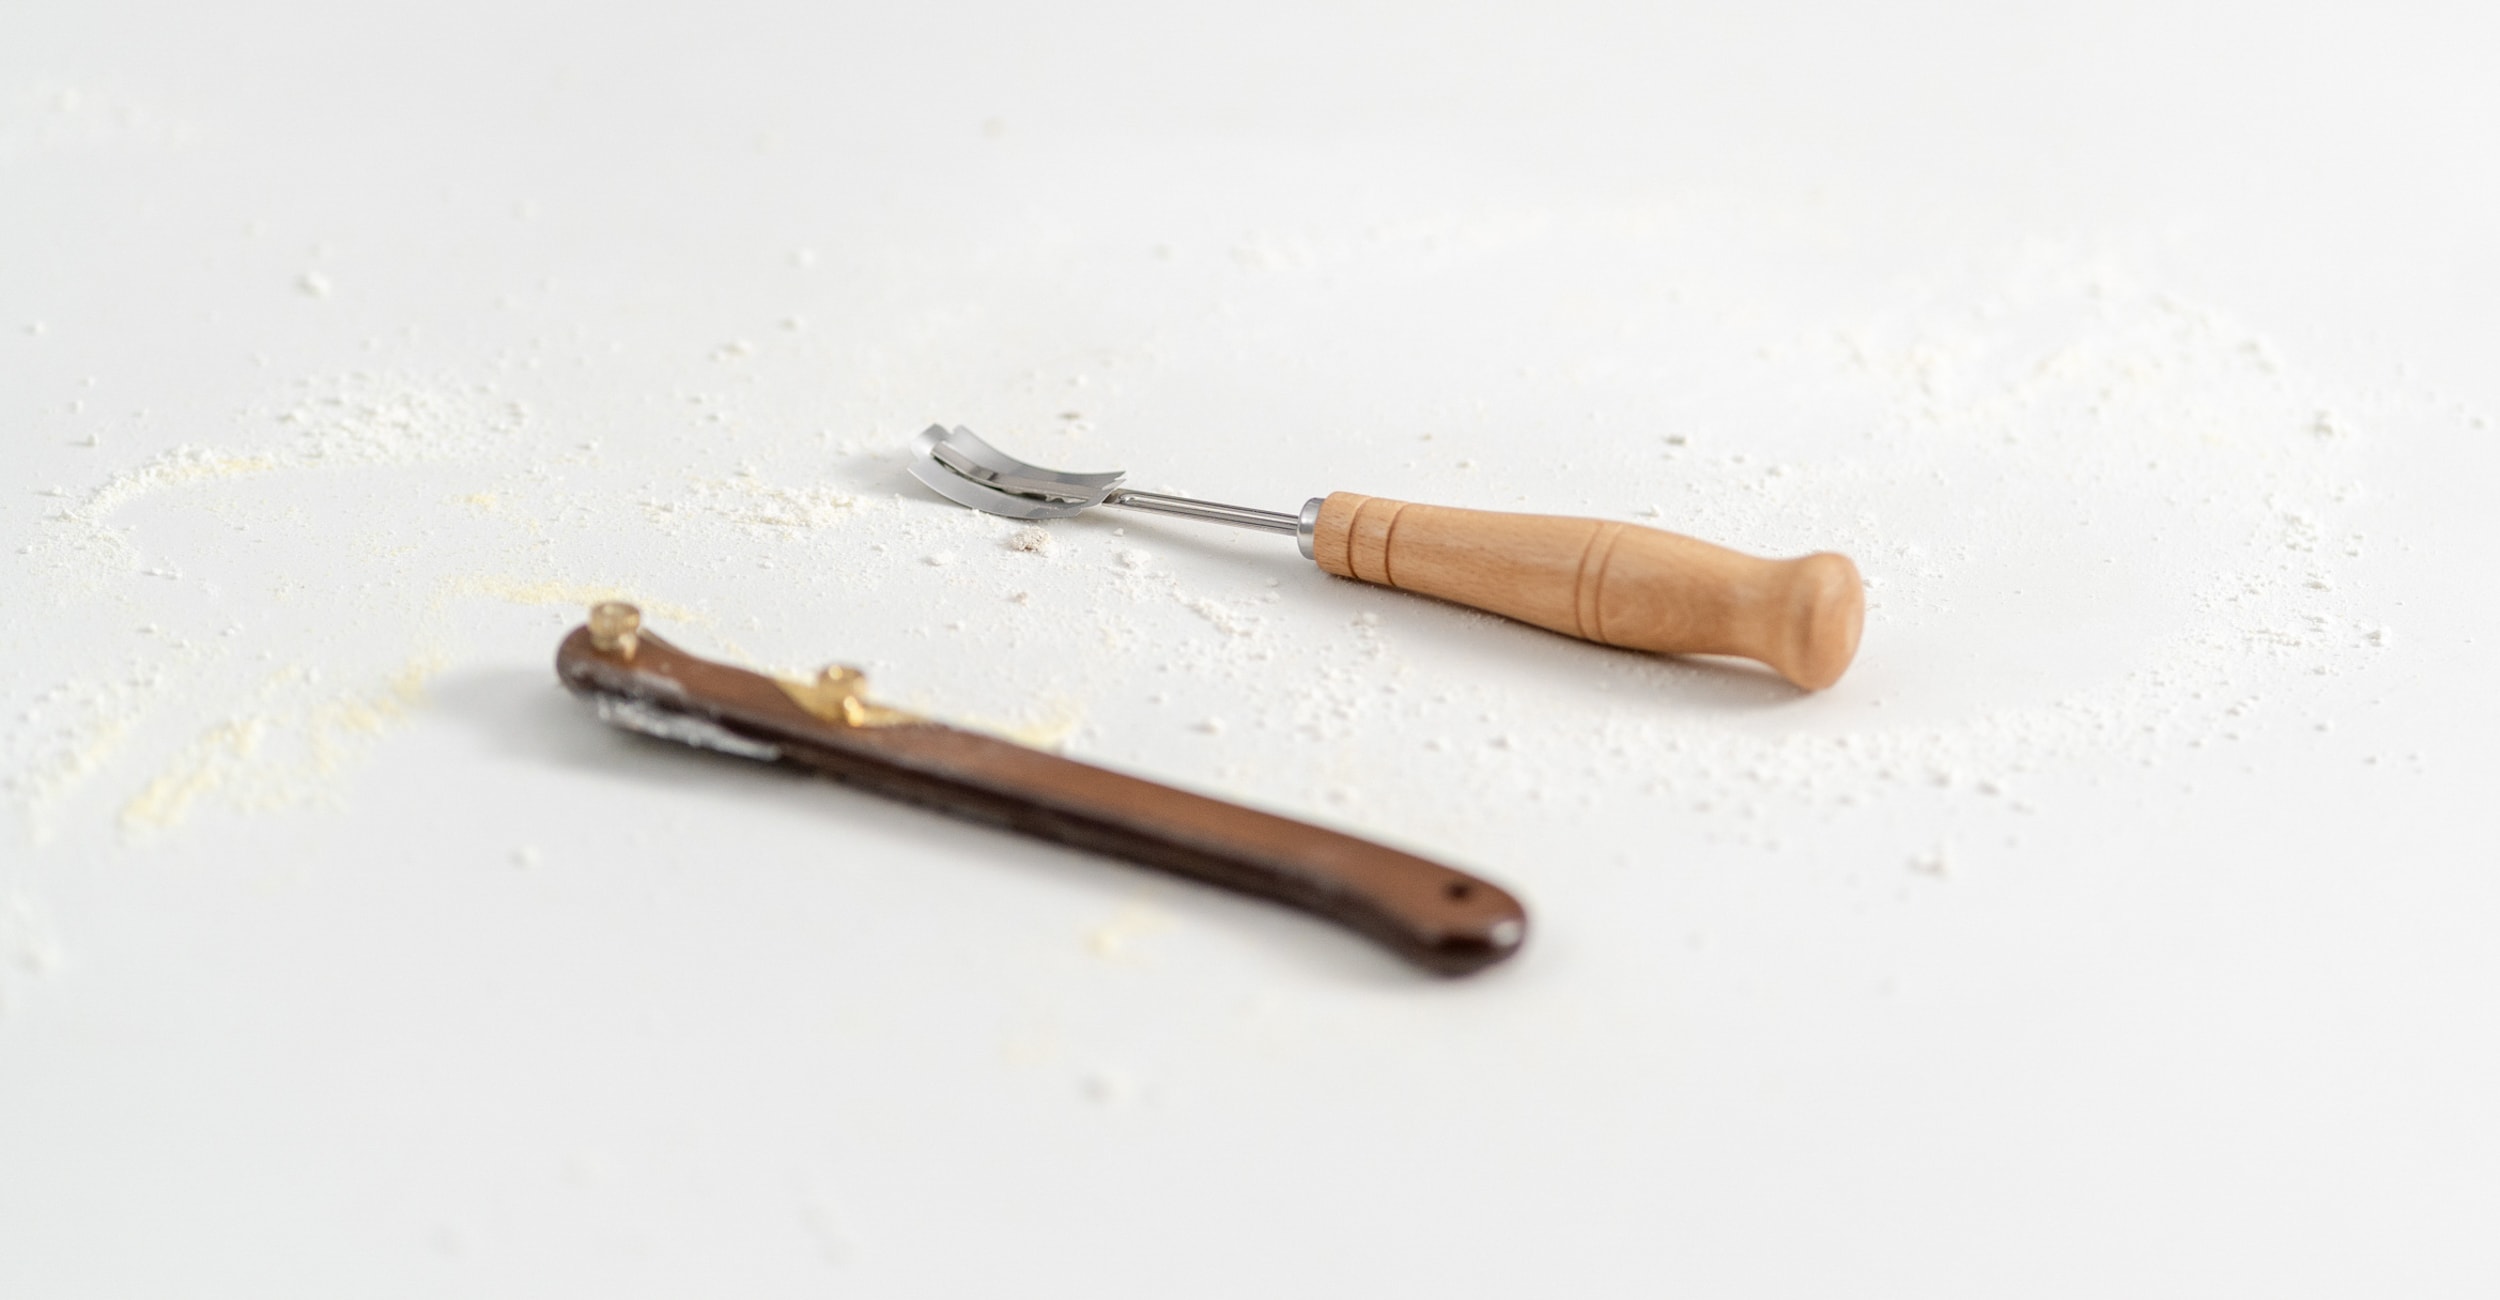
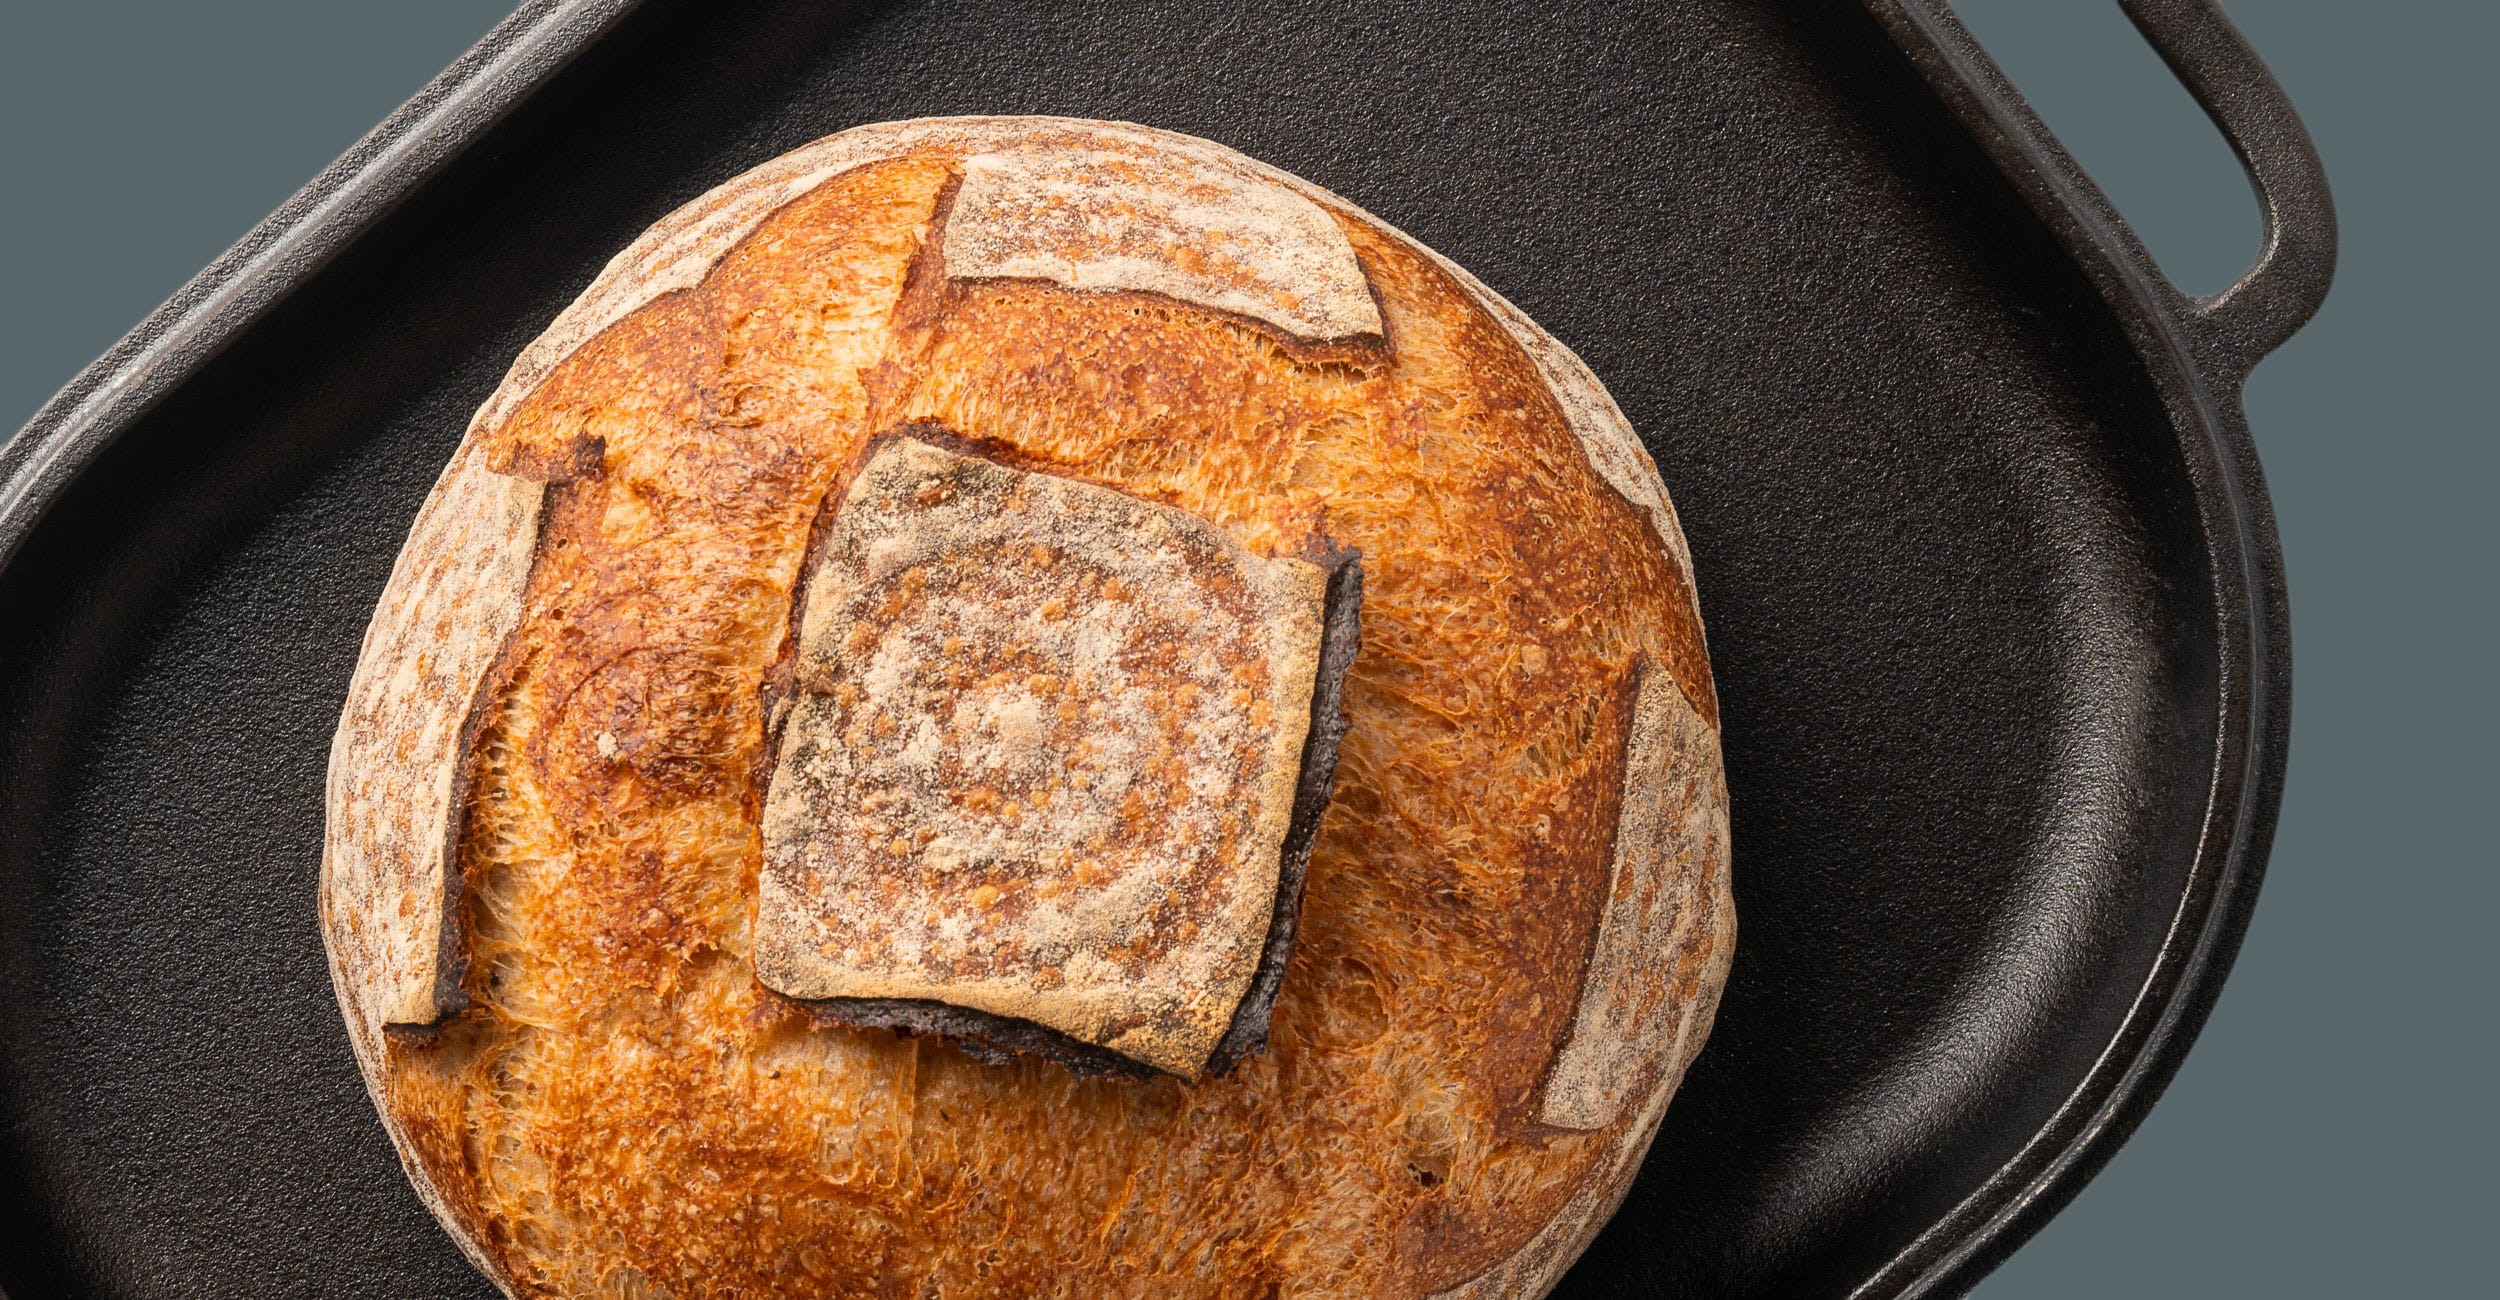
Stenciling is the extra step to make your bread look even more beautiful.
Feb 15, 2023
3 Min Read + Video
Get More Baking Tips
Be the first to know! We’ll send out emails with new products and promotions – as well as recipes and baking tips.
We use cookies to personalize your experience on our site and measure the effectiveness of ads and web searches so that we can improve our communications and products. To learn more or amend your preferences, please see our Privacy and Terms Policy. I AGREE
Privacy & Cookies Policy
Privacy Overview
This website uses cookies to improve your experience while you navigate through the website. Out of these cookies, the cookies that are categorized as necessary are stored on your browser as they are essential for the working of basic functionalities of the website. We also use third-party cookies that help us analyze and understand how you use this website. These cookies will be stored in your browser only with your consent. You also have the option to opt-out of these cookies. But opting out of some of these cookies may have an effect on your browsing experience.
Necessary cookies are absolutely essential for the website to function properly. This category only includes cookies that ensures basic functionalities and security features of the website. These cookies do not store any personal information.
Any cookies that may not be particularly necessary for the website to function and is used specifically to collect user personal data via analytics, ads, other embedded contents are termed as non-necessary cookies. It is mandatory to procure user consent prior to running these cookies on your website.